

How To Felt Your Dragon Egg
FTC Disclosure: Please note that some of the links in this post are affiliate or referral links (full disclosure here), and if you make a purchase or sign up for a service within a certain timeframe after clicking on one of those links, I may earn a small commission paid by the retailer at no extra cost to you. I wouldn't recommend anything that I don’t or wouldn't use myself. Thank you for your support!
Renaissance Faire season is soon upon us, which naturally has me thinking of all things renaissance, medieval, folklore and fantasy. It’s been many years since I’ve been to one, but there is a permanent set-up not too far away from me that I remember fondly the few times that I’d gone. My favorite was probably Mistess Ruth's Herb Garden & Apothecary of Wellcat Herbs, which I’d really love to replicate at home some day, and which sadly is no longer there, though they still sell their products online. At least they have plenty of photos on Facebook which I can use for inspiration. I’m curious what new booths have taken the place of those which have left.
If you’re a big fan of the world of folklore and fantasy, you’ll probably enjoy following these instructions on how to needle felt your own dragon egg. Anyone is welcome to give it a try, but I would consider this project for more intermediate-to-advanced needle felters, so it may be a bit more challenging for some than others. My point being, if you struggle with it, don’t take it as a sign that you’re not cut out for needle felting - you just need a little more practice. This tutorial will also introduce you to a few things I hadn’t covered previously:
how to needle felt scales
how to needle felt with pulled sari silk fibers
how to incorporate non-fiber materials (in this case, abalone chips)
materials
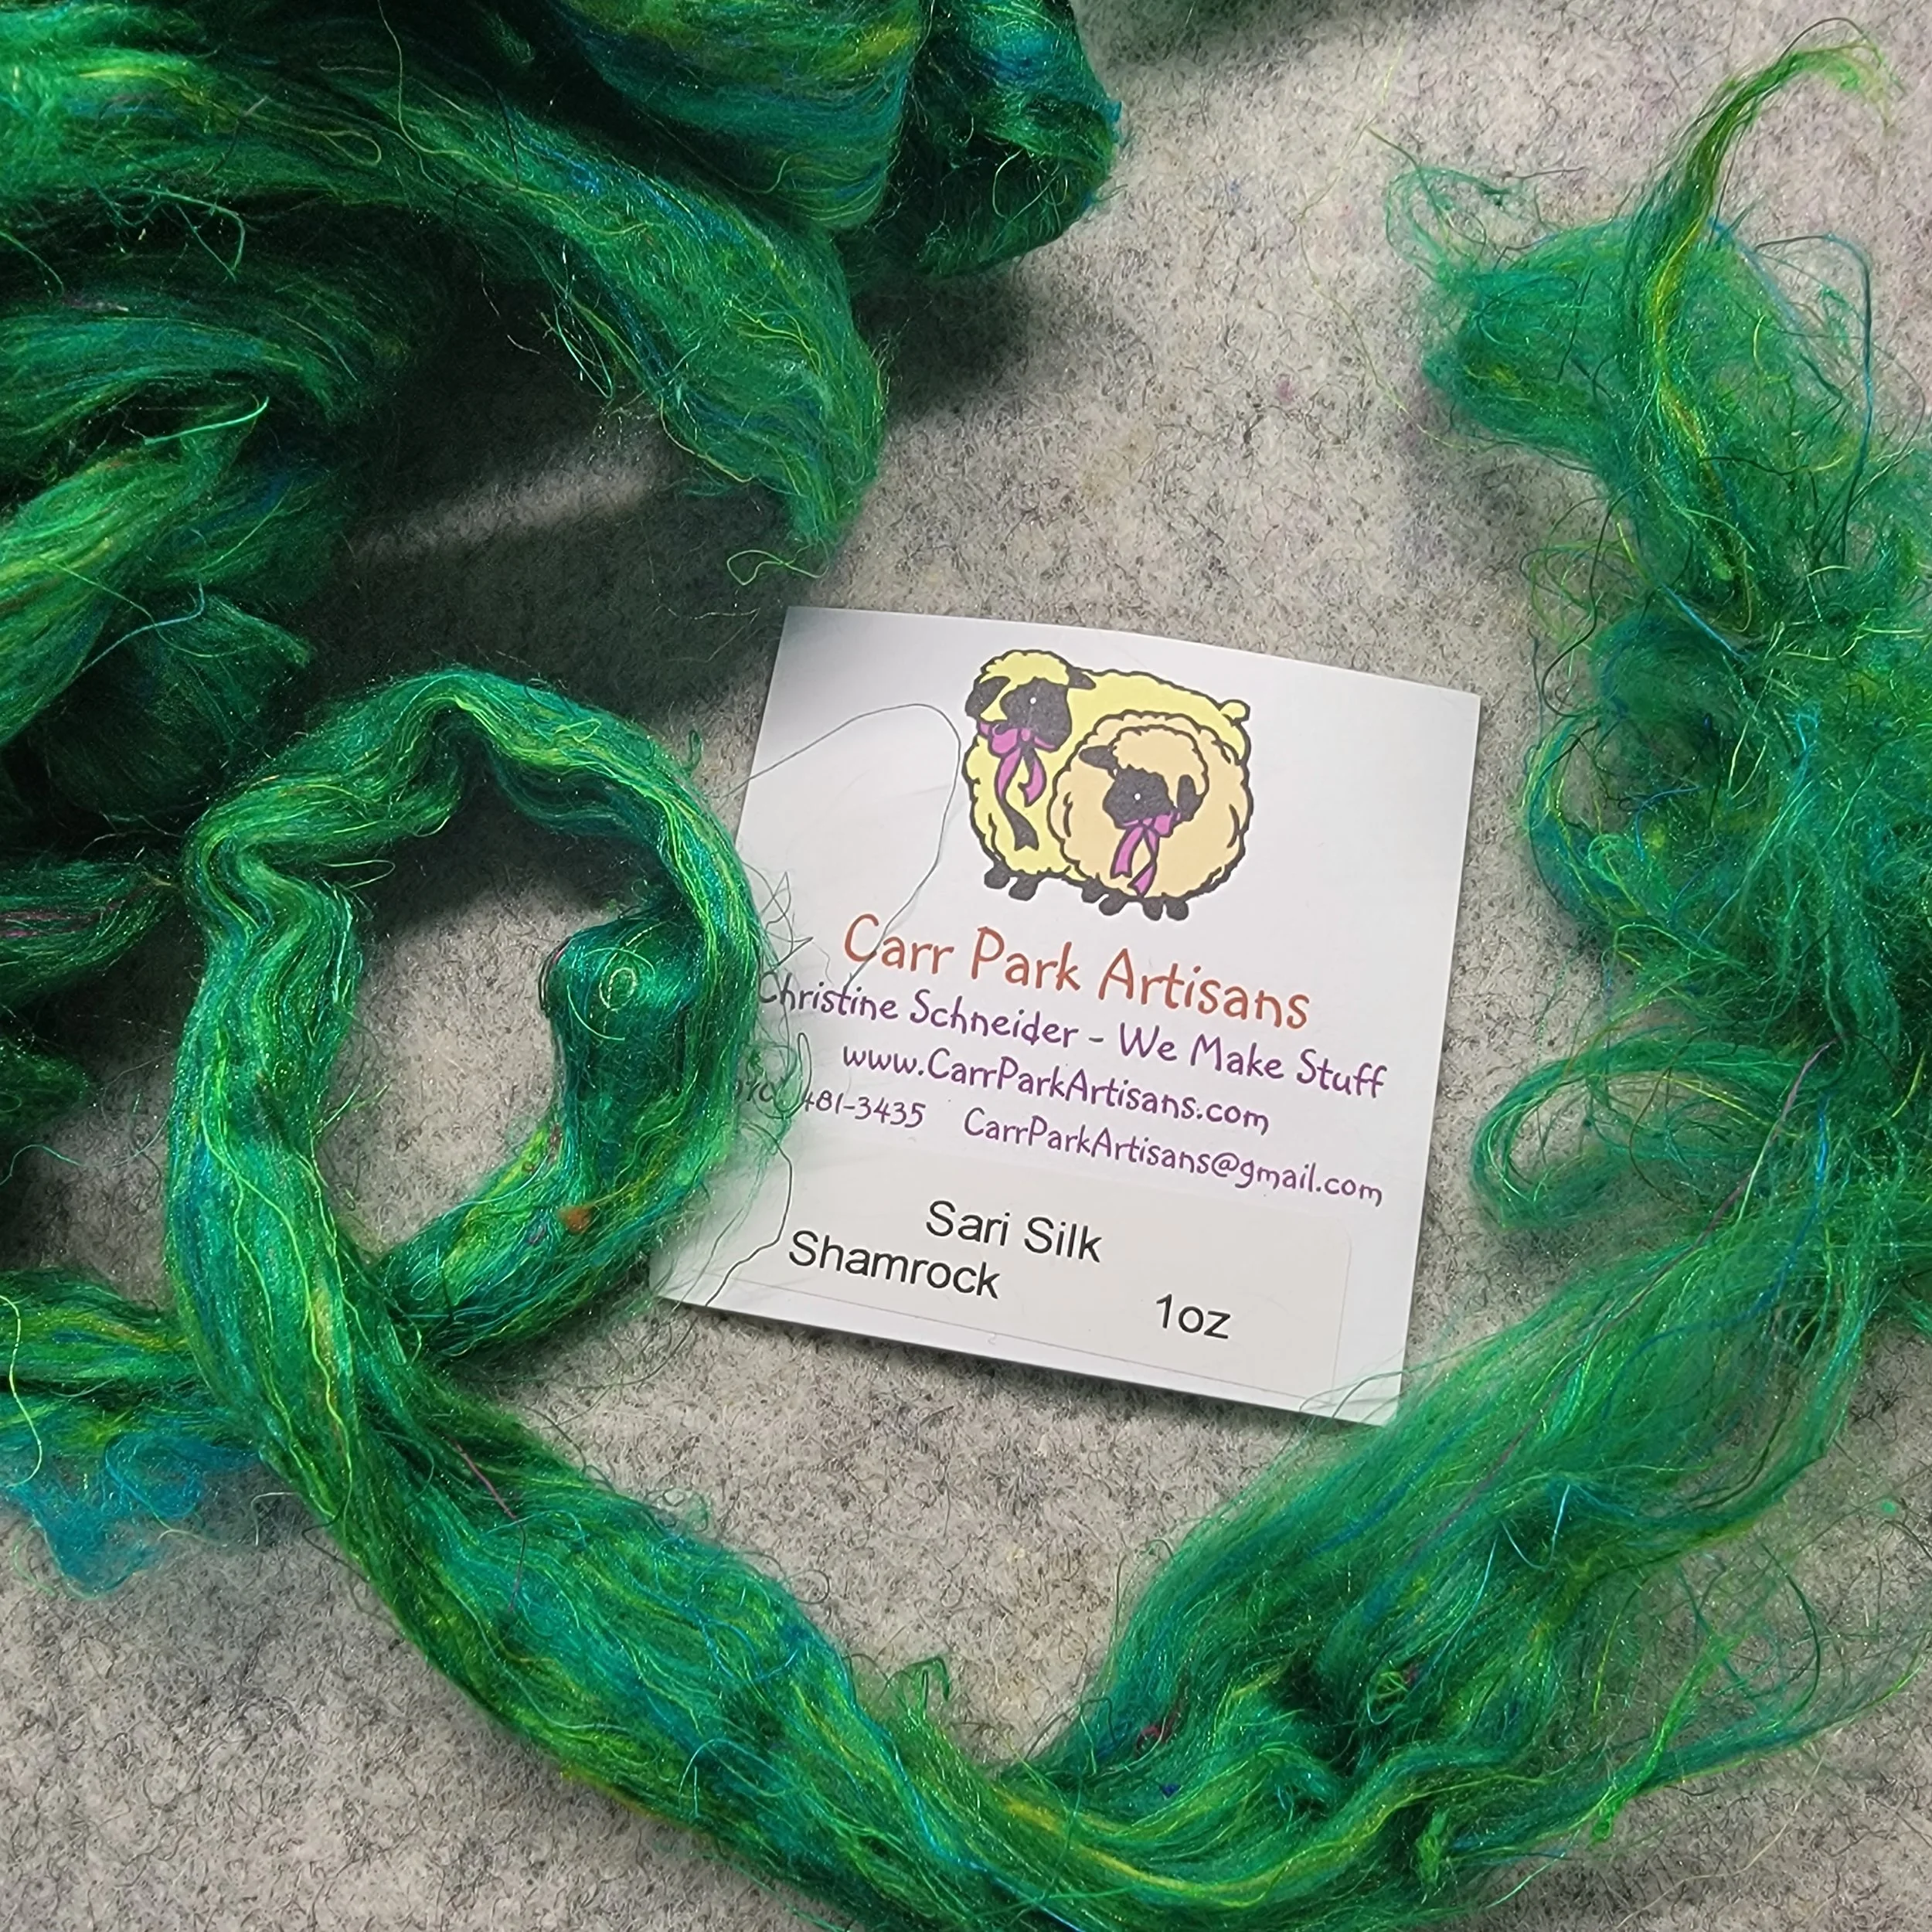
Shamrock is one of several colors I used that I purchased from this shop. A little goes a long way!
You will need the following:
Felting needles - I alternate between using a 38 gauge and 40 gauge needle. Although a few photos show me using a double-pointed needle (which you can obtain from FeltAlive), for the most part I stuck to using single needles. Single needles give me the best control, and least amount of resistance when I need to work in tight spaces.
Dyed wool batting similar to your chosen color scheme - since mine primarily uses emeralds, teals and blues, I went with a dyed aqua/teal color.
Sari silk roving (some shops refer to it as pulled sari silk, or sari silk top). I am showcasing the fibers I obtained from CarrParkArtisans, but many of the shops on my felting supply shop list also carry sari silk fibers.
Scales template (I’ll explain below) - I recommend getting these acetate sheets if you don’t have any on hand to make your template.
Scissors - my favorite scissors for cutting felt are my Tim Holtz scissors. These mini-snips should do the trick here.
Optional - angular-shaped shell or abalone chips, although you could also make your own from air dry clay or polymer clay (or use your imagination). I don’t remember where I got mine, as I’d dug them out from my bead stash, but the best I could find to make an egg similar to mine is this lot of abalone shell chips. These do not have the holes pre-drilled like mine do, but it’s nothing you couldn’t handle with a simple pin vise. This is the one I have, and have found it to be an incredibly handy tool to keep in my arsenal for a variety of projects. This way you can decide where you want to attach the pieces yourself.
Base Egg Shape
You will also need a squishy needle felted core egg. I am not going to show you how to make the egg in this tutorial, but I can explain it in a separate post if need-be. Normally I like to felt quite firmly, and highly recommend doing so. The process of attaching the scales will get you there, which is why it is so important that your starting shape is not firm, or you will end up having a very difficult time with it, possibly also broken needles, pricked fingers and sore arms.

I felted the core egg from a variety of scrap wools while working on placing an order for more core wool. You can see here a variety of dragonscale templates I'd cut out - eventually I only ended up using the largest one. You can get an idea of the smooth, firm skin from the image, with a nice egg shape, but I assure you the egg remained quite squishy still at this point.
Your starting shape needs to feel a bit like a foam stress ball - you want a decent, firm skin on the surface, but the egg itself is quite squishy. You want to be able to squeeze it, but it will still hold its shape. At the same time, if you rub the surface of the egg, it will fuzz minimally at best, you can’t really pinch it, it should feel like a solid skin. This way, as you attach the scales, you will not distort the overall shape of the egg, but the insides will naturally start to firm up as you go along, so the final product will be quite firm.
scales template
To create my template, I used an old sheet of acetate I had lying around (I guess you could say I hoard supplies much like a dragon hoards gold). Another possible option that would provide you with the flexibility you need would be a sheet of flexible vinyl, which I’ve found on occasion in the remnants section at Joann’s. Having used a variety of materials for templates, I personally prefer using acetate over something like cardstock or flexible chipboard, especially since I may need to reuse it at a later date.

You can print out the above template to transfer to your acetate and cut it out manually. Right click to print the image (it should print out at the correct size, check your settings to make sure it is 100% or default size). If you own a Cricut, I created an svg file, though I don’t have any way to test it. If you want to give it a shot, let me know how it worked out. I can then add svg files to any templates I create going forward.
Mine won’t look quite as neat in my photos, since I hand-drew it onto my acetate and cut it out. It doesn’t have to be perfect, as you will be making adjustments while attaching them to the egg. Professional? HA! I just wing it and if it works, you see it in a post like this one. Mine is the prototype, you get the cleaned-up version.
getting started

Cover the base with sari silk.
The first thing you’ll want to do is cover the base of your egg with your chosen base color of sari silk. The color I chose for the overall egg was the one listed as Shamrock in the CarrParkArtisans shop, but Emerald Multi would give you a similar effect with additional colors to incorporate (something I did using other color blends). We will not make separate scales for the bottom - these will be felted in after we’ve got the first row on. Since I wanted my egg to stand up on its own, I made sure to keep the base fairly flat and wider than the top.

Next you will want to lay out a thin sheet of dyed wool about the size of your template, then cover that with the silk roving. Initially I fluffed up the roving with my fingers to go in different directions, but ultimately switched to folding the staples of silk roving in half and going in a single direction vertically (towards the tips). You can decide which look works better for you. Needle felt this into a thin sheet, peeling up and then stabbing again on the same side. We do not want to flip this to avoid having the wool batting show through on the front; however it is important to peel the sheet up on occasion to avoid felting it to your needle felting base.
You may be wondering why I suggest using both wool and silk here to create the scales, instead of just using the silk. Silk will not felt to itself. It is far too smooth of a fiber to do so. You can try and see for yourself - it will pull apart quite easily, even if you give it a good bit of stabbing. It’s great to use as a top, or to add color to an object, but we still need the wool to build or add on any structure to the object itself.

Cut slits in the wool between the scales.

Using the template to create a row of dragon scales.
Once this holds together (it doesn’t need to be solid, per se), lay this over your template and cut slits out between the scales, We will fold these over the scale tips and felt them down. I tried a few different ways, but the method that ended up working best for me was to fold them over and pin them down on my needle felting base, poking it a little at an angle around the tips, then sliding the template out to finish felting down the shapes. At this point, you can line them up along the base with your egg upright so that it is fairly level, making sure that the underside of the egg has silk roving going under the tips. If you have any core wool from your egg exposed, make sure you cover this with more silk roving before adding your first row of scales.

Attach the bottom row of scales along the base.

Stab the tips down at an angle to shape your dragon scales.
Poke them down, primarily along the top of the scales, and then going in at an angle from the base of the tips, shaping the tips to look as you would like them to as you go along. If you find that your silk was a bit thin, you can either add more silk now, or touch it up after your egg is done, following the shape of your scales. Continue making scale tip rows and adding it until you have wrapped your way around. You will likely end up with a space that only needs maybe one or two scales to close the row - how you do this is up to you. The nice thing about the template is you can adjust how many scales you wish to do at a time, or you can make the entire row and cut off the extra bit to then apply to the next one. Felt down a hard line between each scale to separate them from one another.

Stab in hard lines to create scales on the bottom after attaching the bottom row.
Once your base row is done, you can go back to your base and felt down hard lines, creating scales in the wool by stabbing arc shapes going from tip to tip of the row you just added until you reach the middle. You can then go back and add other colors to help differentiate them more. After I completed my egg, I also came back to add my initials to the base, because I firmly believe one should always sign their work - at least when they remember to do so.

Second row tips line up with the slits in the row below it.
The next row up, you want to align the tips of the scales in between the scales of the row below. At the bottom I moved the scales up a bit above where the previous row split, but as I started moving up the egg, I began lining the scales up so the tips meet where the other row splits. You can choose to do either/or, or a mix of the two. The important part is to have the scales alternate, so the tips should be somewhere along the split of the ones below.
As you work your way up, you may find yourself relying on the template less and less, creating the scales directly on the egg by manipulating the wool with the needle, then covering them with the silk once they’ve been shaped. This helps you to create a more organic shape and adjust the scales as needed.
Adding Embellishments

Chain of drilled abalone chips that I had on hand.
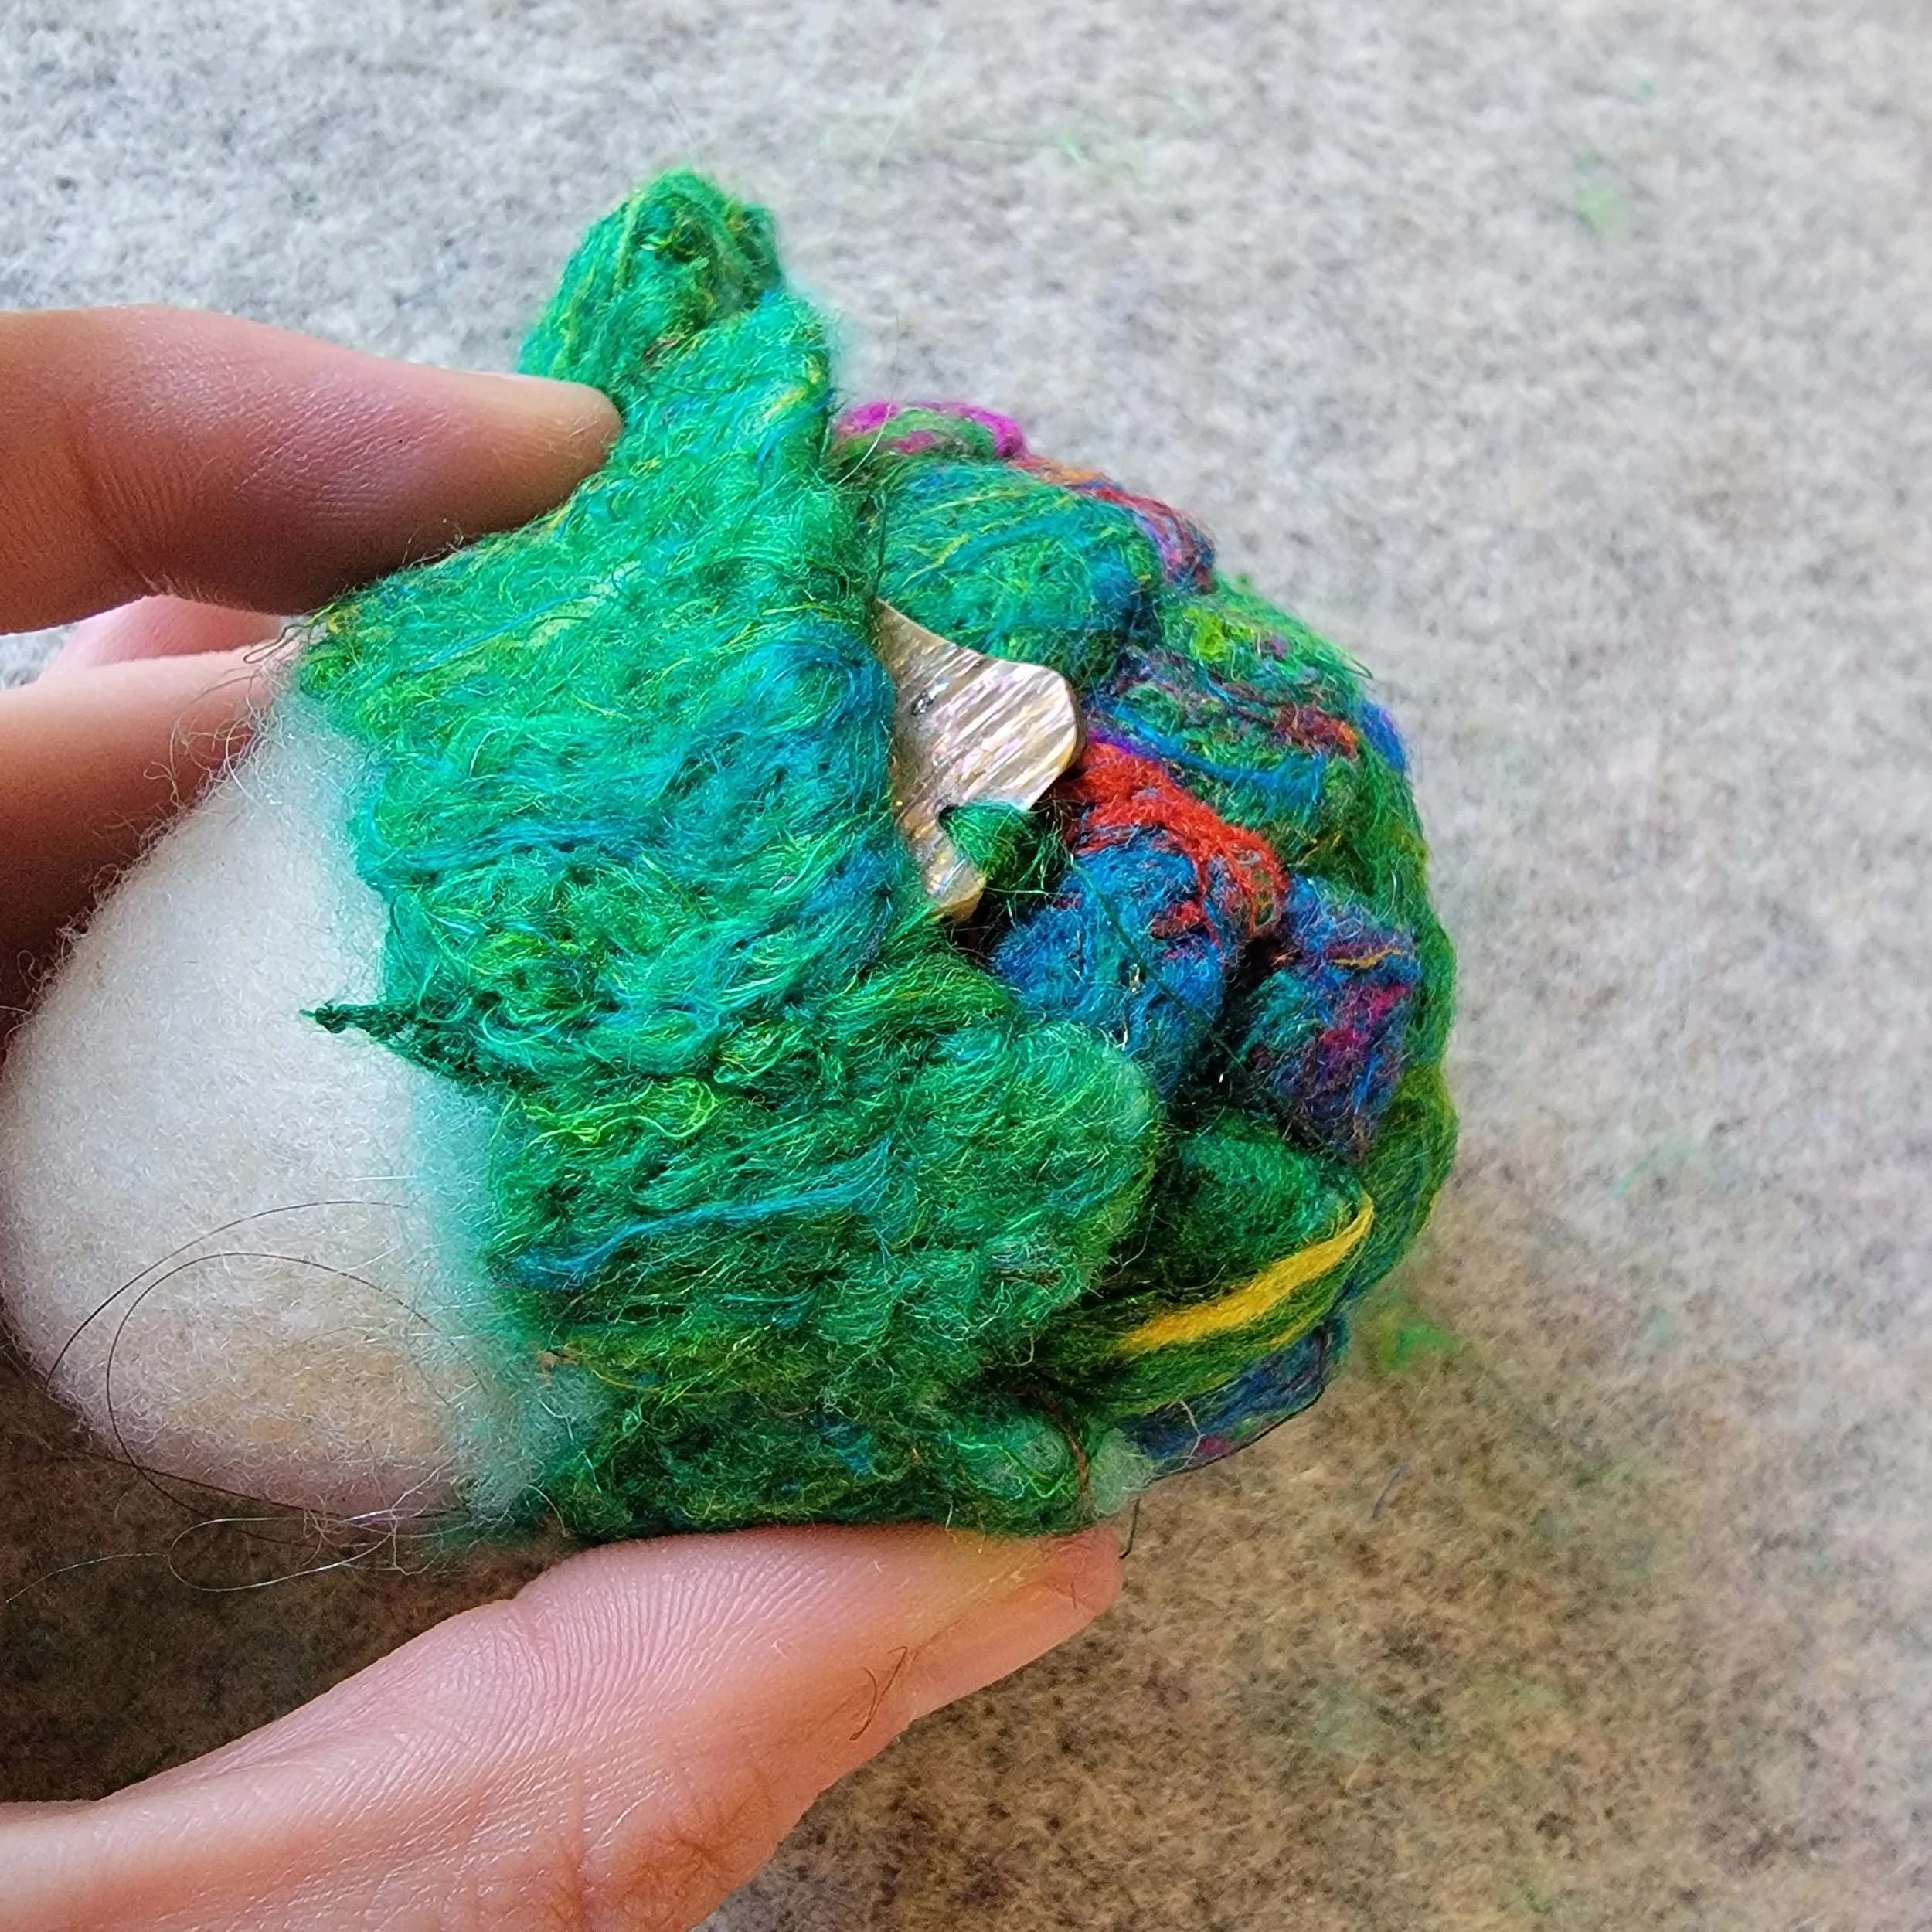
I had the idea to add a bit of extra sparkle to my egg with the rare placed abalone shell - I’d dug around in my jewelry making stash and found these abalone flakes that had holes predrilled on two sides. Of the few I had, some had a triangular shape, which were perfect for adding in as scales, and the iridescent quality of the shell worked perfectly with the color scheme. That being said, You can use what you have on hand, or explore what other materials you have that might work with your egg theme. I’d imagine a sea dragon egg might have other shells attached to its surface, or a crystal one might have gemstone flakes attached.

I used needle felting to attach the shell pieces with a few strands of sari silk. I added color as I went along, but I cover how you can add color in the next section.
You will want to make sure there is enough sari silk covering beneath where you want the scale to go, so that if it shifts, it doesn’t expose any bare wool. Instead of stitching them on, or gluing them on, I was able to attach mine via needle felting. I used a thin pull of sari silk and, using my needle, carefully poked some through one of the holes, then outside the shell, then back and forth until I’d used up all of the silk I had to attach it. You can add more if you wish, if it feels too loose. Repeat on the other side.
Note: if you opted to get the flakes I linked above and the pin vise, choose which ones you want to use and place them before deciding where you will drill your holes to attach. I suggest drilling the holes towards the top, where it is easier to hide them, as opposed to the side/middle like mine are, which made hiding it a little more of a challenge.
Row of scales with the middle folded under over the scale.
Once the shell was attached, I created a row of scales, then choosing one of the middle ones, I folded the wool all the way down over the tip. This way, the scales remain lined up, and I was able to felt at an angle over the shell to finish covering the top/back of it. When working around the shell, you will want to be sure you are careful where you stab, as it is easy to scratch up the surface, or accidentally break your needle tip. Go slow, and you should be able to feel where the edges of the shell are located.

Shell piece covered by wool over the top.
Adding color
Initially I’d started the egg out to be all one color - however I realized that adding strands of other colors would give it more of a rainbow effect and a bit of visual interest.

Fold the sari silk staple in half, stabbing the edge in under the tip at an angle, then attaching the remainder working your way up.
It is not difficult to add color to your scales after they are in place. This is why I chose to include two other sari silk tops when making my egg - I opted for ones that seemed to have similar colors that worked together, but also included a few complimentary colors to make it extra vibrant. Pull a few strands of the color(s) you wish to use, and gently needle felt over the top of the existing scale, making sure to tuck any ends underneath the scale itself or the scales above, so the color goes across the scale. When covering the entire scale with a different color, take more silk and fold it in half, stabbing the folded end under the scale tip and working your way up.
reaching the top
As I approached the top of the egg, I needed to abandon the template entirely, and then for the last two rows, I stopped adding the wool underneath the scales. Otherwise, what ends up happening, is the egg continues to get progressively longer instead of reaching the tip.

Scales all the way to the top.
You can either do a similar effect as on the base of the egg, where you felt in the scales and add color here and there as you wish, or you can do what I did with mine and add a sort of star cap. This is a matter of personal preference. It is your egg, and you can do with it as you wish. For the cap, I felted a small round disk of wool, covered it with sari silk, then attached it to the top. Then to finish it off, I took a few strands of a contrasting color and proceeded to needle felt it into lines in a sort of star or spoked wheel shape.

Adding the cap to the top
Once you are done, you can go back and lightly poke the surface of the egg to smooth out any loose fuzz and give it a nice, finished look. And sign your work!
final thoughts
The fun thing about the dragon eggs is that your design can hint at the type of dragon that may be inside - without ever needing to needle felt a dragon. Maybe the one in here has similar rainbow and iridescent scales. Maybe its crown is adorned with a spoked wheel like the cap on the egg.
You can also reverse this thought process. Look at various dragons in popular culture, and imagine what sort of egg they may have emerged from. Being mythical creatures, there is no reason dragons should come from the same plain eggs as other creatures do, and I think this is what makes them special.
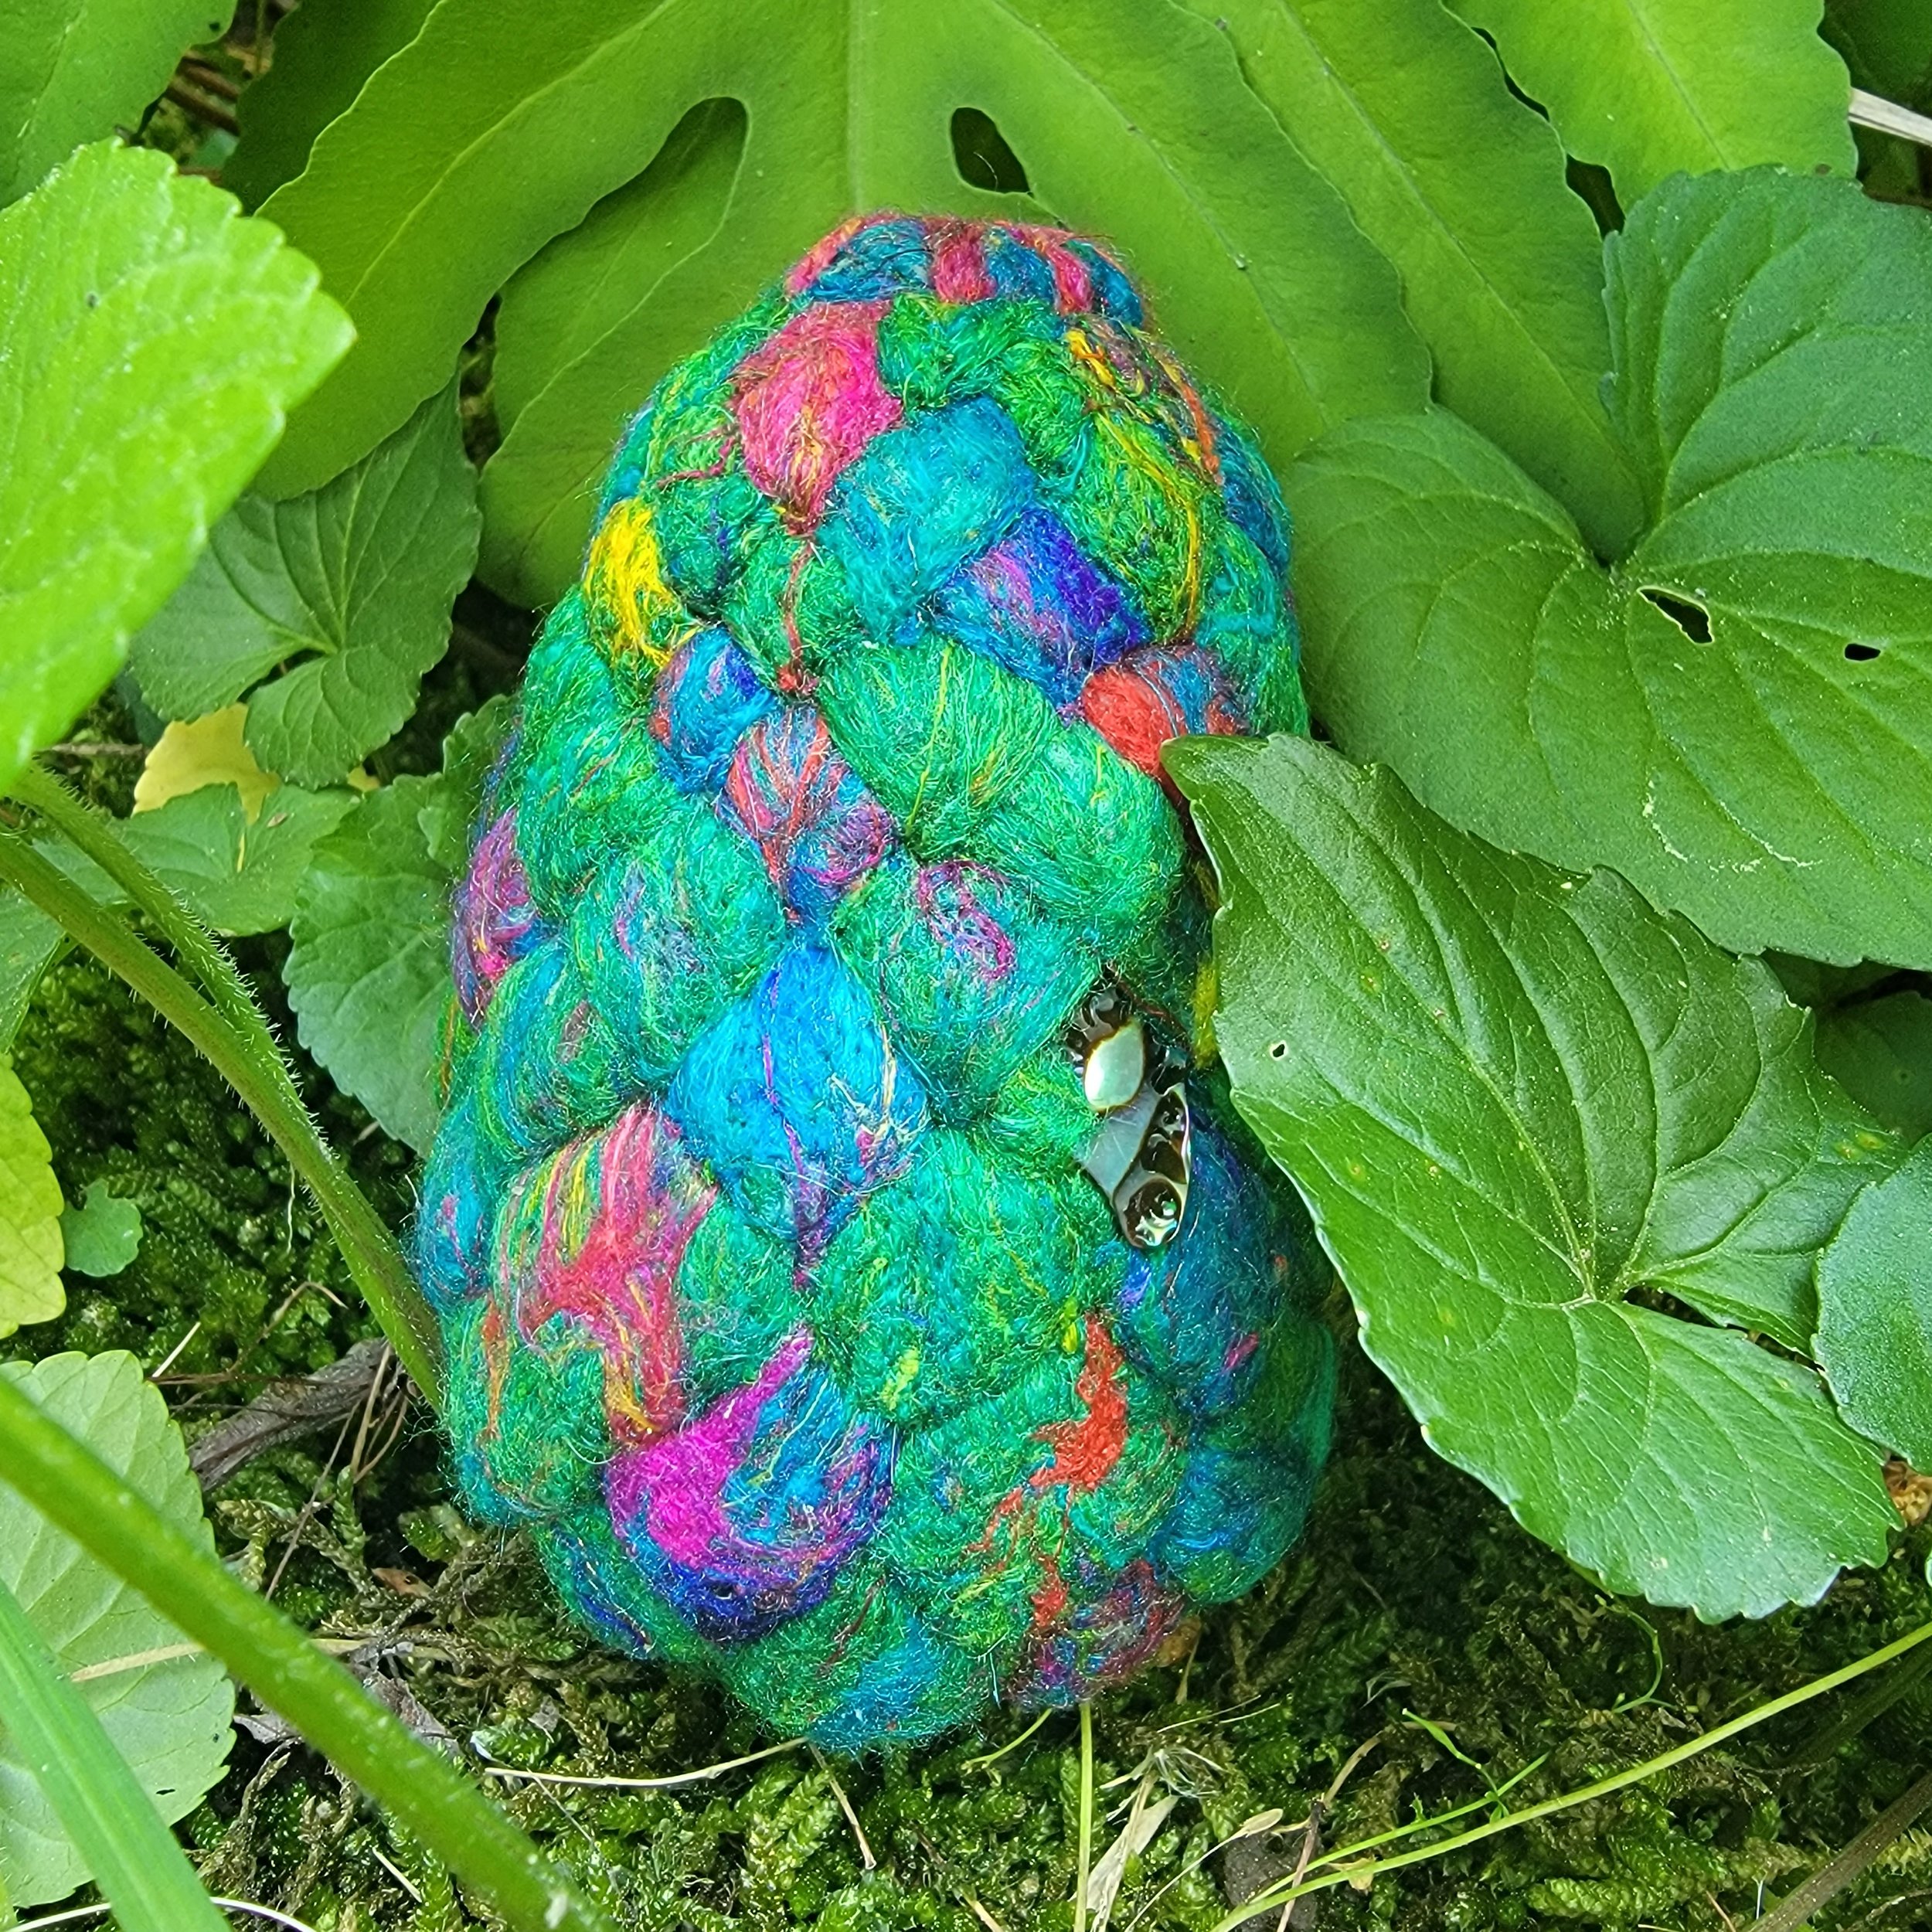
If you would like to purchase the egg that I made while creating this tutorial, it is available in the shop. It is one of a kind, 100% wool core, sari silk outer, with a few abalone chip scales, and signed on the bottom. My desire is to continue making challenging tutorials, but the time involved in a project such as this one is significantly greater than knocking out several easy tutorials. Your purchase helps to support my work, and ensure that I continue making the instructions for fun projects like this one freely available.
This dragon egg is made with 100% wool at its core and covered in pulled sari silk fiber waste, which gives it a beautiful sheen. It is embellished with three abalone shell chips for added iridescence. Signed with artist’s initials on the bottom, this dragon egg is featured in the free needle felting tutorial “How To Felt Your Dragon Egg.”
