

How To Crimp Wool
FTC Disclosure: Please note that some of the links in this post are affiliate or referral links (full disclosure here), and if you make a purchase or sign up for a service within a certain timeframe after clicking on one of those links, I may earn a small commission paid by the retailer at no extra cost to you. I wouldn't recommend anything that I don’t or wouldn't use myself. Thank you for your support!
When you shop for wool for your needle felting projects, you have several options. You can choose batting, which looks like the fiber you use to stuff pillows. You can choose roving or top, which are ropes of loose fiber that has been combed or carded straight. You can choose to get dyed locks, but you are limited by the breeds and colors offered in shops. The breed of sheep (or goat) used for the locks plays a huge impact on the way the locks look - their sheen, length, crimp or curl pattern, etc.
Most of the locks you can get in shops are going to be curly ones, because those are the most popular. What do you do if you need something with a crimp rather than a curl? There are breeds who have crimpy locks that stay crimped after washing and drying, such as Gulf Coast Native, which I used to create my Coral Coast artwork; unfortunately, due to there being very few sheep of this breed and the low demand for such locks, unless you process and dye your own wool, you’re unlikely to find dyed GCN locks in shops to use in projects. If you do know how to process and dye your own wool, I do highly recommend playing around with the wool from this breed. I believe one of the farms in my BIPOC-owned farms list raises this breed, and others can be found through the Livestock Conservancy’s search tool.

Fortunately, there is another way you can achieve a crimped look, and there’s an added benefit that this gives you that you can’t get in locks. Enter, the crimping iron - yes, the same kind that was popular in the 80’s and 90’s to give hair that signature texture that everyone pictures when they think about that decade. The one I used for this project was this one from Bed Head, because it was the tiniest crimp I could find, and has an adjustable temperature with three settings. No matter what fiber you use, you can make sure to adjust it to the correct temperature. While it doesn’t tell you the exact temperatures, the high setting reaches 400 degrees Fahrenheit. I would assume with the settings based on hair type and recommended temperatures, medium is likely between 300-350 degrees Fahrenheit, and the low should be just under 200 degrees Fahrenheit.
For fiber types, you would want to use the medium setting for wool and silk, whereas cotton or linen (if you’re wanting to crimp fiber for other uses) would be on the highest setting, and any synthetics I would use low, so you don’t end up with them melted on your iron. You could go on high on wool/silk if the medium isn’t hot enough, but I wouldn’t hold it for more than 2-3 seconds tops to avoid scorching it - especially when it comes to silk, as higher temperatures would destroy any sheen. As with styling hair, don’t pre-wet or dampen your fiber - it should be dry.
Note: I do recommend having a heat-safe mat on which to place your crimping iron. The mat I’m using in my photos is a wool ironing mat, which can take the heat for the short duration that I’m using this. If you don’t have something heat safe, I would suggest getting a silicone mat for heated hair tools, such as this one.
Let’s test this out!
Use a crimping iron on wool batting

Above, I am using a merino-cross batting (MC-1) from Living Felt (no affiliation). It’s the closest thing I had on hand, but any batting would work. I am sharing the image in case you’re not sure what the difference is between batting and roving. Batting is this fluffy material that’s all mixed together, and it looks like something you would use to stuff a plush toy or pillows.

For the purposes of the photo, and because I only have two hands, I am not holding the batting in the photo, but you can absolutely hold the batting. Just be sure not to touch the hot iron with your fingers, which should go without saying. It’s bad enough we frequently stab ourselves while needle felting, so there’s no need to add burns to the art-scars.

Here is the final result of crimping batting in a heating iron. It will flatten it, of course, but in a wavy sheet. If you were to needle felt with this, I would suggest needle felting in the ditch. I’d be curious to think how this could be used - maybe corduroy material on a felted creature?
Use a Crimping Iron on roving

When crimping roving, I would suggest splitting it into thinner sections to make sure the heat penetrates and creases it all the way through. You will also want to pull it into sections called staples, which is the natural length of wool from base to tip. To do so, you hold the roving several inches out, pinch the tip of the other end and gently pull. If you have to tug or rip, then you are likely holding your hands too close together. It should give minimal resistance before sliding right out.

Here is the crimped staple of roving. You’ll want to carefully line it up as you slide it across to get an even crimp throughout, though sometimes I had mine a bit off. You can always go back and attempt to correct any goofy spots. Just don’t hold the crimping iron closed for too long.

If you want a nice pointy end, take a second to twist the tip of the staple. I start crimping from the pointed end and work my way down to the base (where I’m holding it with my fingers).
I also wanted to point out here that this is a blend of both merino and silk, and this is where crimping can really make things interesting. You can obviously buy locks, but you can’t buy locks with blended colors and fibers. This opens up the possibilities as far as textures go in your artwork. Which, brings me to the next thing - how are we going to use this?
Free Tutorial: Tiny Potted Plant

Once you’ve crimped several staples of roving (I have 9 of them in the photo above, but it’s your choice as to how many you make), you can combine them into a tiny potted plant. You will also want a bit of brown roving or batting (doesn’t matter, this is for the soil) and a tiny 2-inch pot. You will also need a felting needle, which isn’t in the photograph, just to stab it all together.

Since newer leaves tend to be on the thinner side, and older leaves will be thicker, I have arranged my crimped leaves here from thin to thick, left to right. The direction in which you work doesn’t matter, just remember that the thin ones go in the center, and thick ones on the outside. Since I am using a blended roving, I also looked at both sides to see which one I liked better, and laid that facing up.

Working from thin to thick, nice faces facing inwards (if there’s a difference), slowly pick each bundle up and overlap the ones underneath, until you have a completed bundle in your fingers. As you’re pinching the bundle with one hand, take your brown wool and wrap it around the base, pinning it down. Then take your felting needle and poke around the base to hold it all together.

Your completed, needle felted bundle should look like the photo above. At this point, you’ll want to take the remainder of your wool batting, wrap it around this base, and shove the whole thing into your 2-inch pot.

Being as gentle as possible to avoid making your crimped roving frizzy, move the leaves out of the way to poke the brown wool into the pot around the base. You don’t need to use any glue, especially if you are using an unglazed clay pot like I am here, because the rough texture of the clay is enough to help hold the wool in place. If you use a plastic pot and find that your plant keeps slipping out, feel free to add a dab of glue on the inside to hold it in.

This is where you can add the final touches if you like. You can move a leaf over to the side a bit if there’s an odd gap you’d like to cover. You can also add volume by holding them up and poking them down lightly through the center of the leaf, which will help them to stand up a little bit more. Keep any needling and handling to a minimum to avoid frizz. If you do end up with leaves that are too fuzzy, you can always go back over them with the crimping iron to fix them up.
I did not test out using any sort of hair spray, because I don’t want to add anything to the fiber that might make it sticky. As long as it isn’t handled, there shouldn’t be any issues with it holding its shape.

And here you have, the completed, needle felted plant with cute, crimped leaves. This is a quick and easy project, that anyone with access to a bit of wool and a crimping iron could be able to make. It only took me in total maybe 15 minutes to put it together.
But wait, there’s more!
Have you wondered what else you could make using a crimping iron? After all, why spend money on an iron if all you’re going to do is knock out a few potted plants?
If you checked out my Coral Coast artwork that I linked to at the beginning of this post and found it inspiring, but you don’t know how to process and dye your own wool, nor do you have the extra income right now to spend on dyed locks, you can use the crimping iron on wool you already have on hand and still make your own coral reef. In fact, at the same time that I published this post, my first-ever eBook teaching you how to make your own corals with crimpy locks went live in the shop. In it, I teach you how to make 18 different corals (well, 16 corals, plus anemones and sponges which are not corals), ones which you can rearrange however you like, and either turn it into a relief (three-dimensional wall hanging) or go for a 3D needle felted coral reef diorama. There are full color photos for each of the ones I made, plus a few notes on the real-life creatures that inspired each of them. Some even have suggestions on variations you can try.
With summer upon us, bring in the beachy vibes to your home and felting pad with some vibrant wool corals.
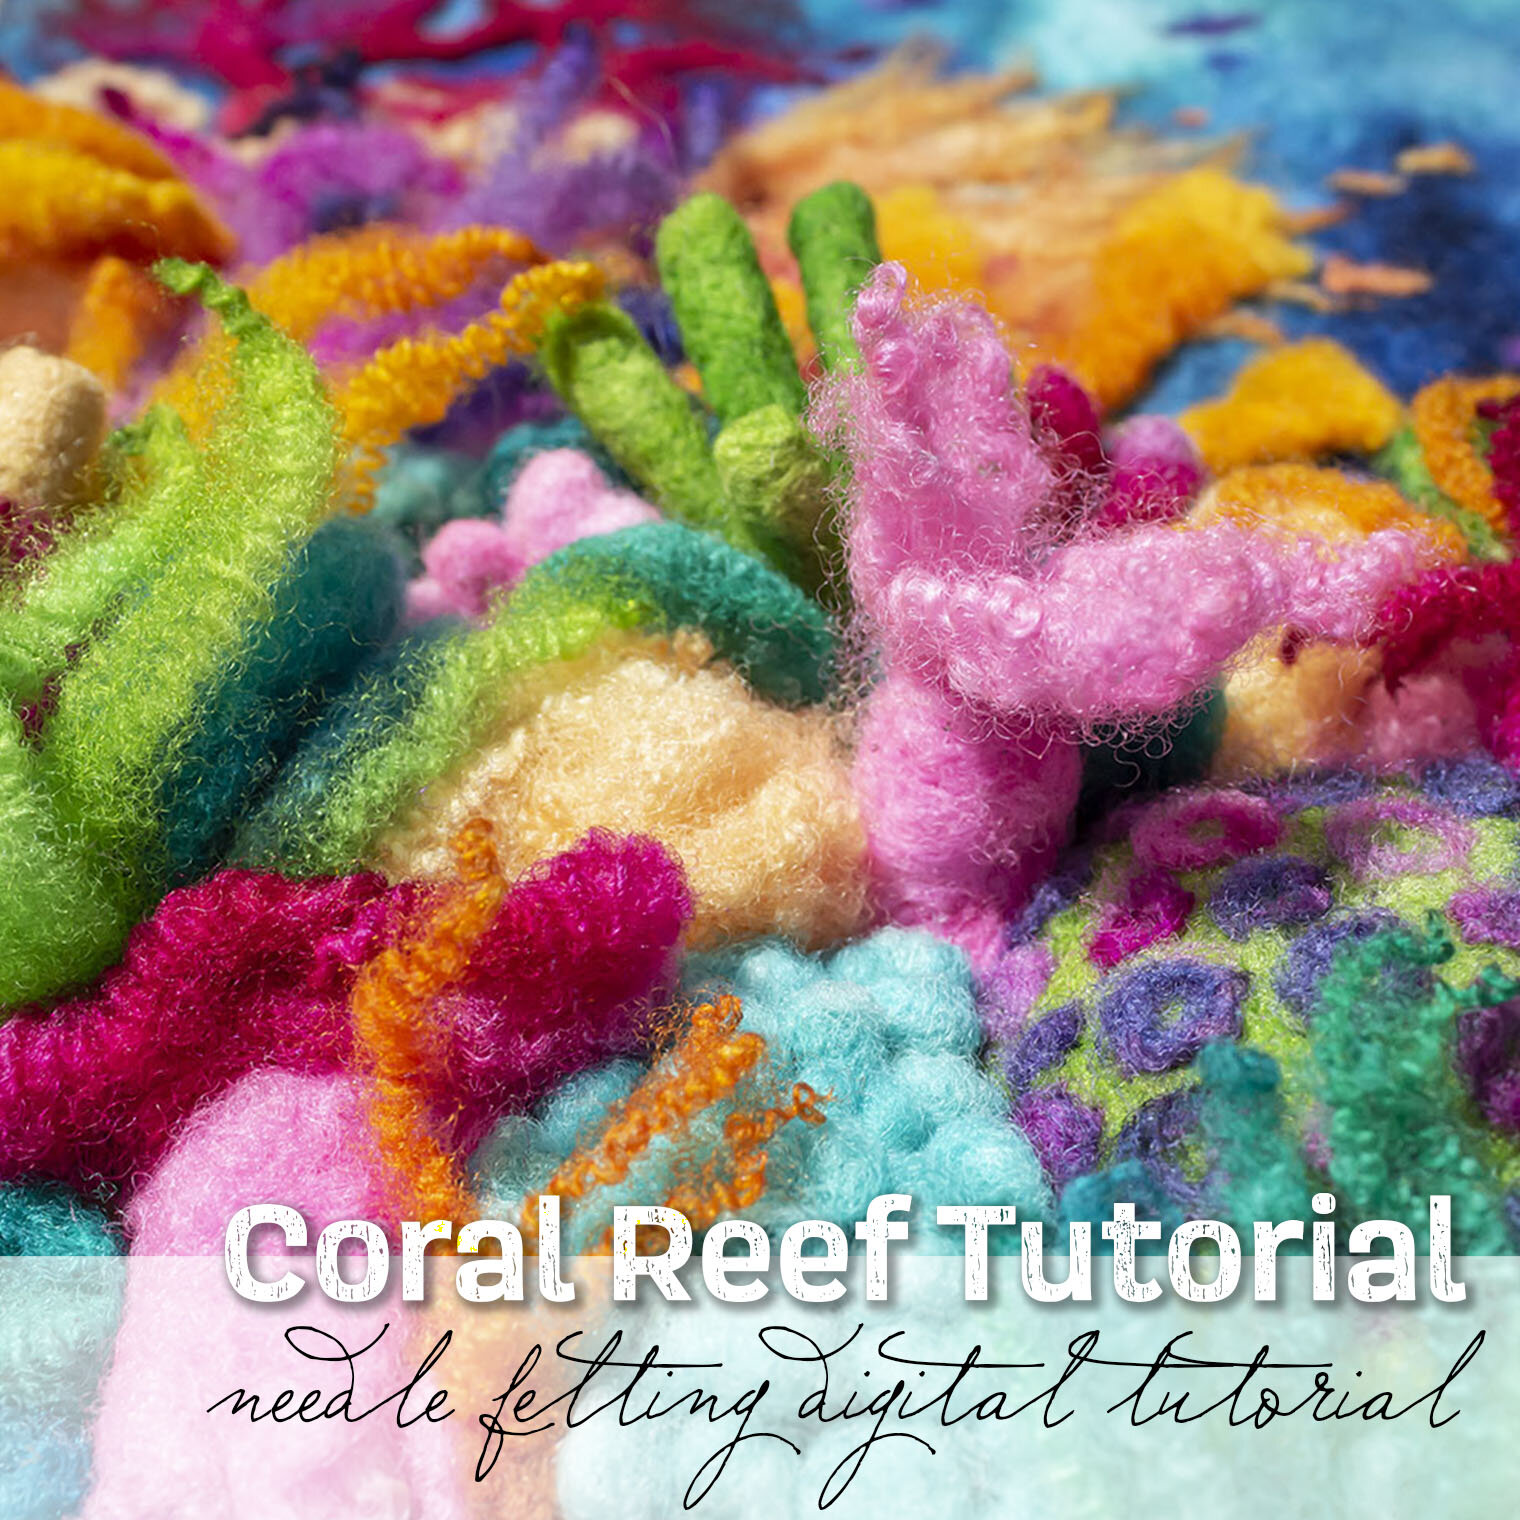
In this PDF eBook with full color images for each step, I will show you how to make 18 different needle felted corals, which can be applied in either a relief artwork or 3D coral reef diorama.
This is a digital download - no physical product will be shipped. You will receive a link from which you can download the eBook upon successful payment.
Due to the nature of this item being a digital download, I do not issue any refunds.
Stay tuned next week when I show you how to curl wool, and another quick, free tutorial to go along with it.

