How To Make 3D Needle Felted Crystals
FTC Disclosure: Please note that some of the links in this post are affiliate or referral links (full disclosure here), and if you make a purchase or sign up for a service within a certain timeframe after clicking on one of those links, I may earn a small commission paid by the retailer at no extra cost to you. I wouldn't recommend anything that I don’t or wouldn't use myself. Thank you for your support!
This post was last edited/updated in March 2021.
One of the things I find really enjoyable in life are crystals. They’re just so beautiful, and it’s fascinating how in a world of rocks, these molecules figured out how to arrange themselves into a structure that is pleasing to the eye. In fact, this year, my kids are studying Earth sciences, and with that comes a few weeks of studying rocks and minerals - including crystals! So I can maybe buy a few more and file it under homeschool expenses… right? Side note to my homeschool friends in here - I absolutely recommend checking out Geological Specimen Supply if your kids are also doing earth sciences - you can get the study set and pick out one of each of the samples, and these are decently sized, beautiful specimens that probably would cost you a fortune if you sourced them from anywhere else. Not to mention, they really go above and beyond with the educational aspect of teaching about these rocks, right down to showing photos of where some of the samples came from, how they formed, and the history of that particular geological formation. Or for minerals, they will provide the chemical formula for them. I absolutely love them. Back to the tutorial.
But why learn how to make crystals? Because learning how to make defined edges while needle felting will open up your ability to make anything else that might require making defined edges. Imagine practicing this skill to the point of making interesting geometric shapes, like big needle felted dice sets? A tiny village? Maybe someone would take this to the next level and make a needle felted geode within a wet-felted orb? The possibilities are truly endless, and when needle felting 3D shapes, this is a good skill to have. For example, this is what allowed me to needle felt the very blocky rectangular tail for my daughter’s Minecraft ocelot costume last year.

The second skill you will learn in this tutorial is one that will likely be a challenge for some of you. I have noticed a trend in the needle felting community to just stab until it holds together. That is totally fine, there is nothing wrong with that, but it has limited application. The issue lies when some of those people ask how you get those really nice, smooth finishes on needle felted objects. The trick here is stab until it makes you sweat, basically, and then keep stabbing. Those objects with the really smooth finishes are extremely densely felted. If you were to try to press into them with your finger, they won’t budge. They are hard as a rock. Or, in this case, a crystal.
So by challenging I don’t mean difficult (I don’t think it’s difficult in a complicated sense) - it’s just going to be a much longer felting process than you’re probably used to. In the middle of this tutorial you may start to hate me, because you’ll feel like there’s no end in sight. Good - take that anger and keep stabbing. And then, maybe if we’re lucky, you may start to enter a state of flow, with a rhythm to your stabbing - basically like stab meditations. As you watch it really take shape, you’ll probably find you have a hard time stopping, and will keep wanting to refine it further.
Yes, there’s a bit of a symbolical reason choosing a crystal to teach these skills.
The kind of crystal we will be needle felting is a single-pointed 8-sided crystal with a flat bottom and 8 triangular faces that reach a point at the top (an octagonal cross section if you were to cut it). I’d initially considered doing a 6-sided crystal, but it’s easier to teach the proportions on this to start. Once you have this figured out, you could probably figure out how to make other crystal shapes going forward.
Supply list is pretty simple for this one:
needle(s) - I use a 38 gauge spiral for the entire piece. You may get a 40 gauge needle if you want to refine and smooth it down further, but that’s totally optional.
foam/base - whatever you have on hand to keep you from stabbing yourself or your table.
Wool - any core will do. I think people think of core as something that has to be covered up, and that’s not true - it’s just undyed wool. You can add color later if you want, but it’s not necessary. I will show you how to do that. I am personally using Clun Forest wool that I processed myself, because that’s my favorite needle felting wool so far, but the core you can get or already have on hand is fine. If you want to make a single-color crystal, you can also pick dyed core in another color. You may want a few bits of dyed wool if you plan to add color to your crystal (later on in the tutorial). Do not use fine wool top for your core - core wool has a short staple and is very fluffy/fuzzy.
And, let’s begin.
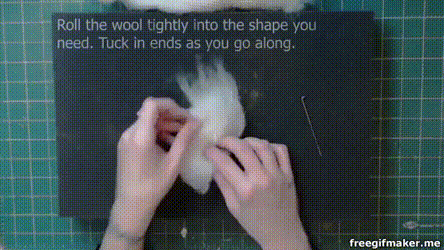
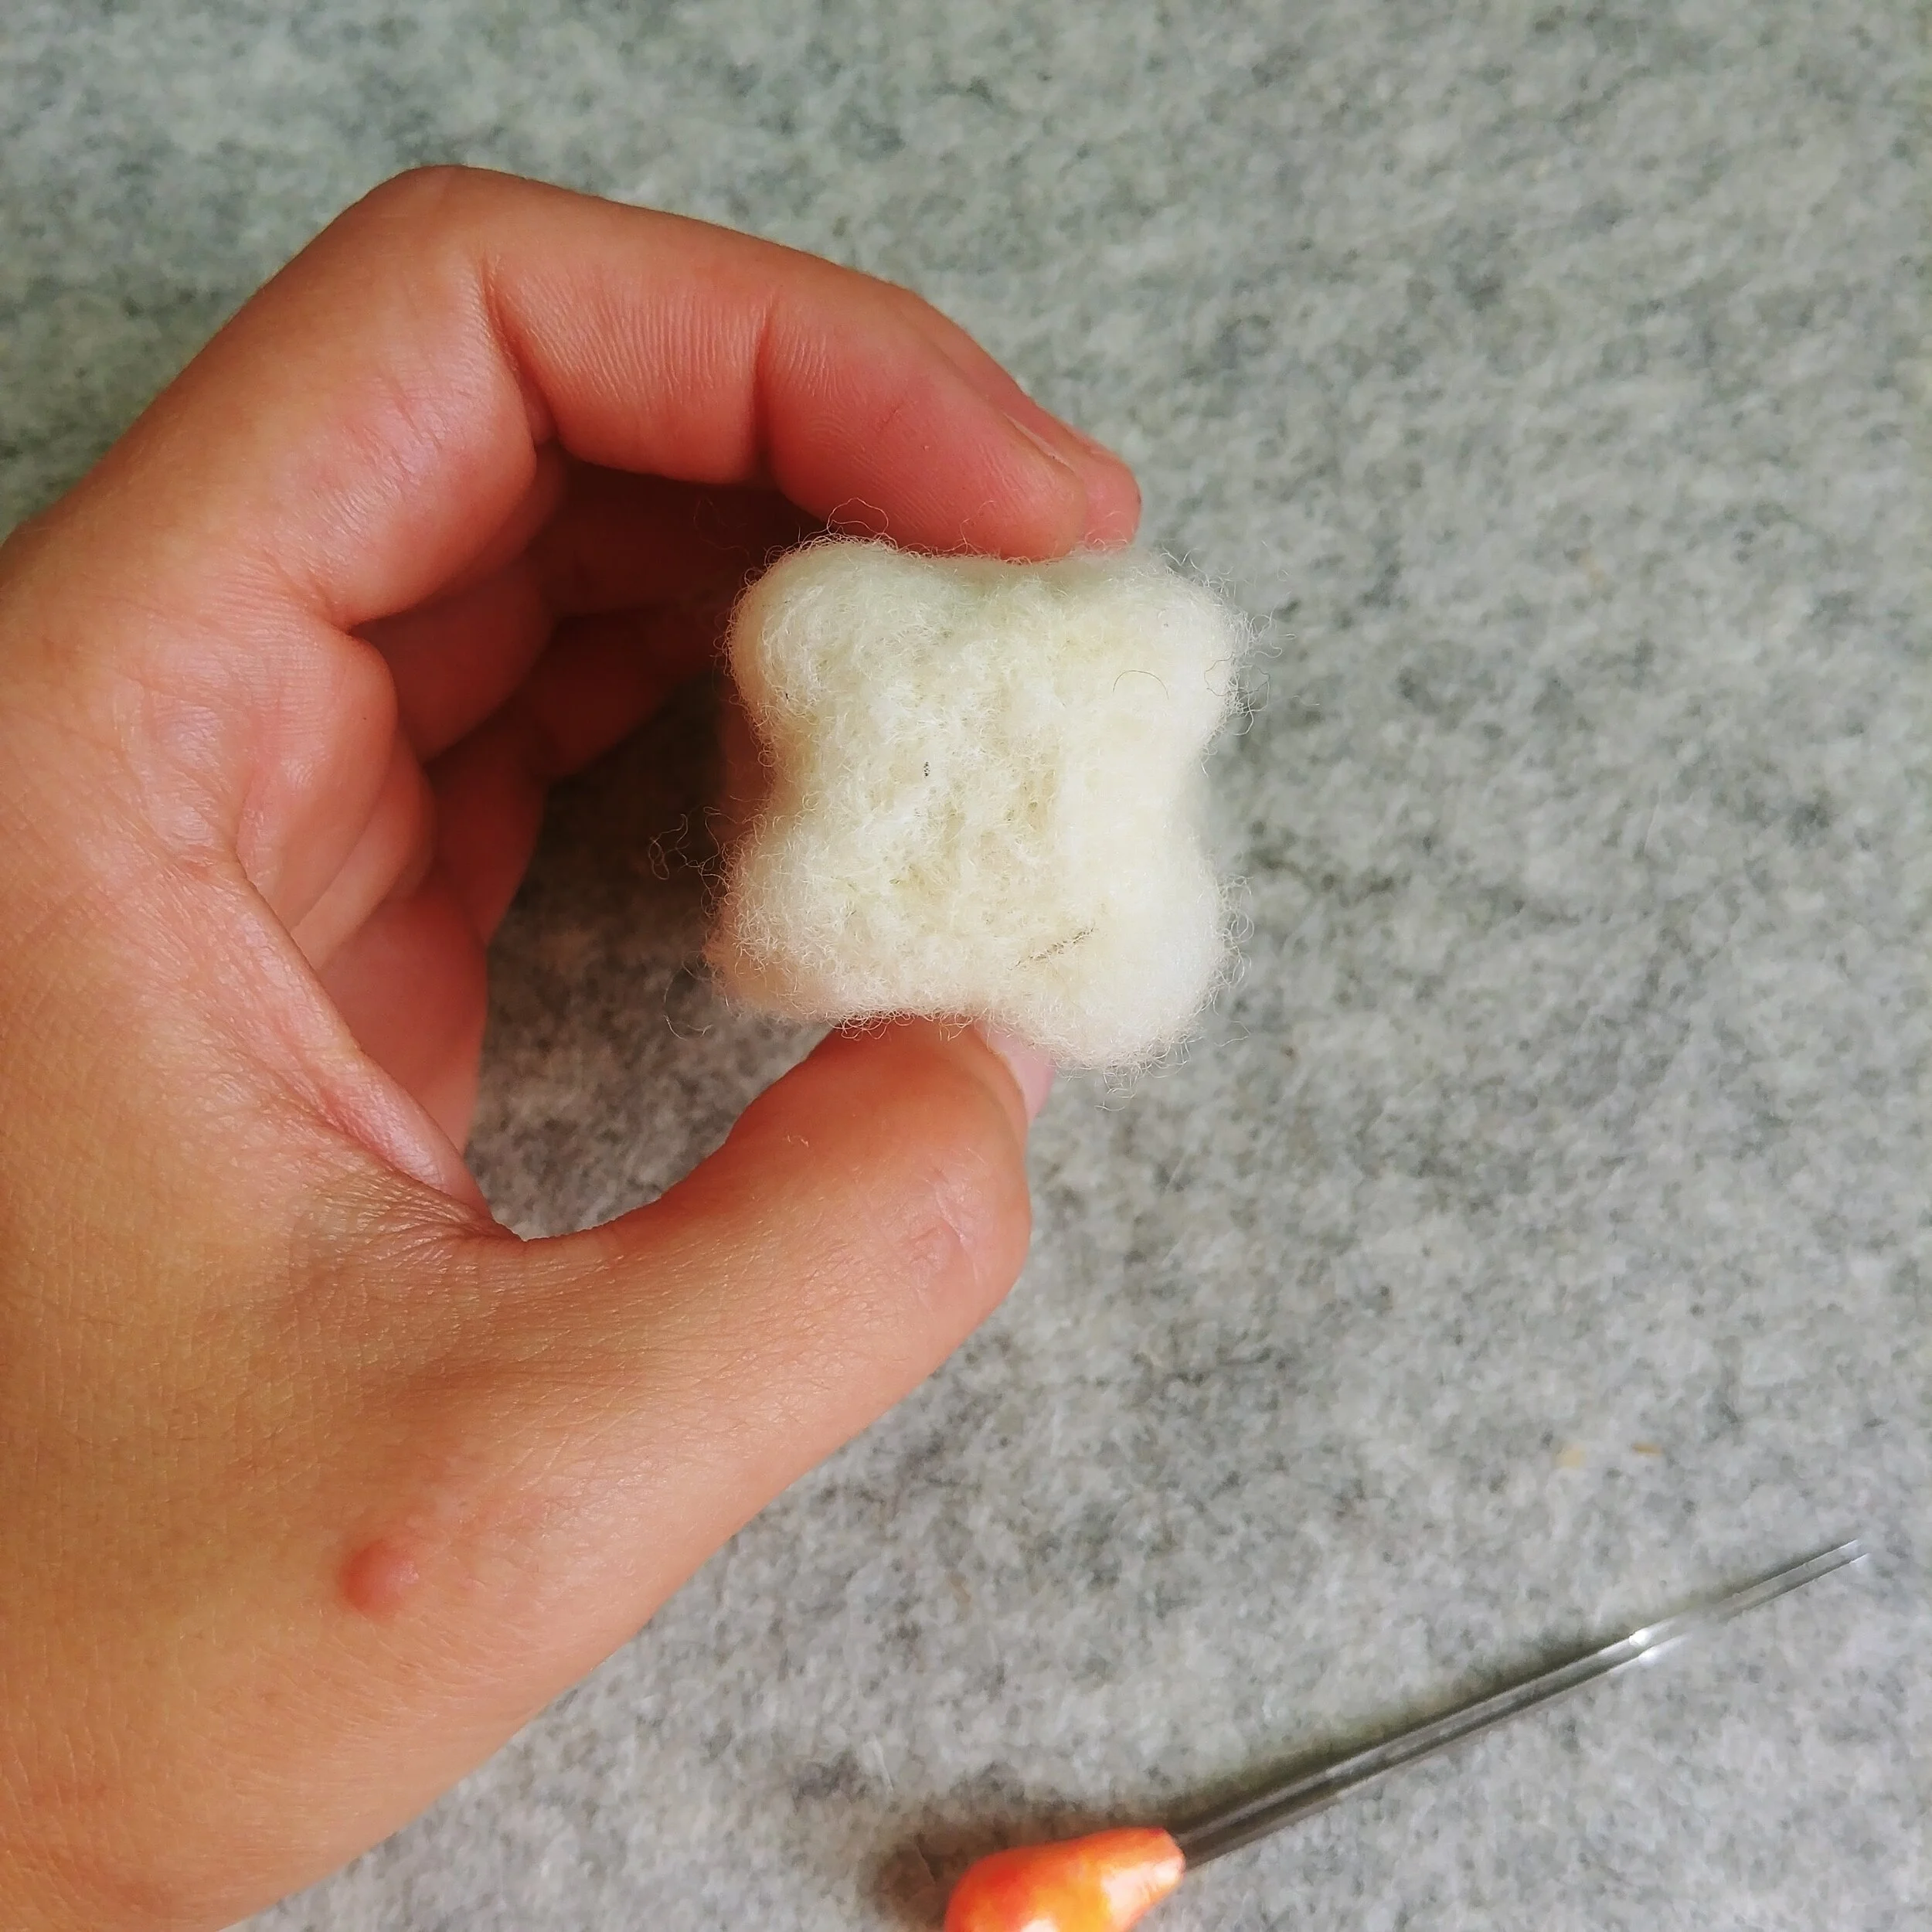
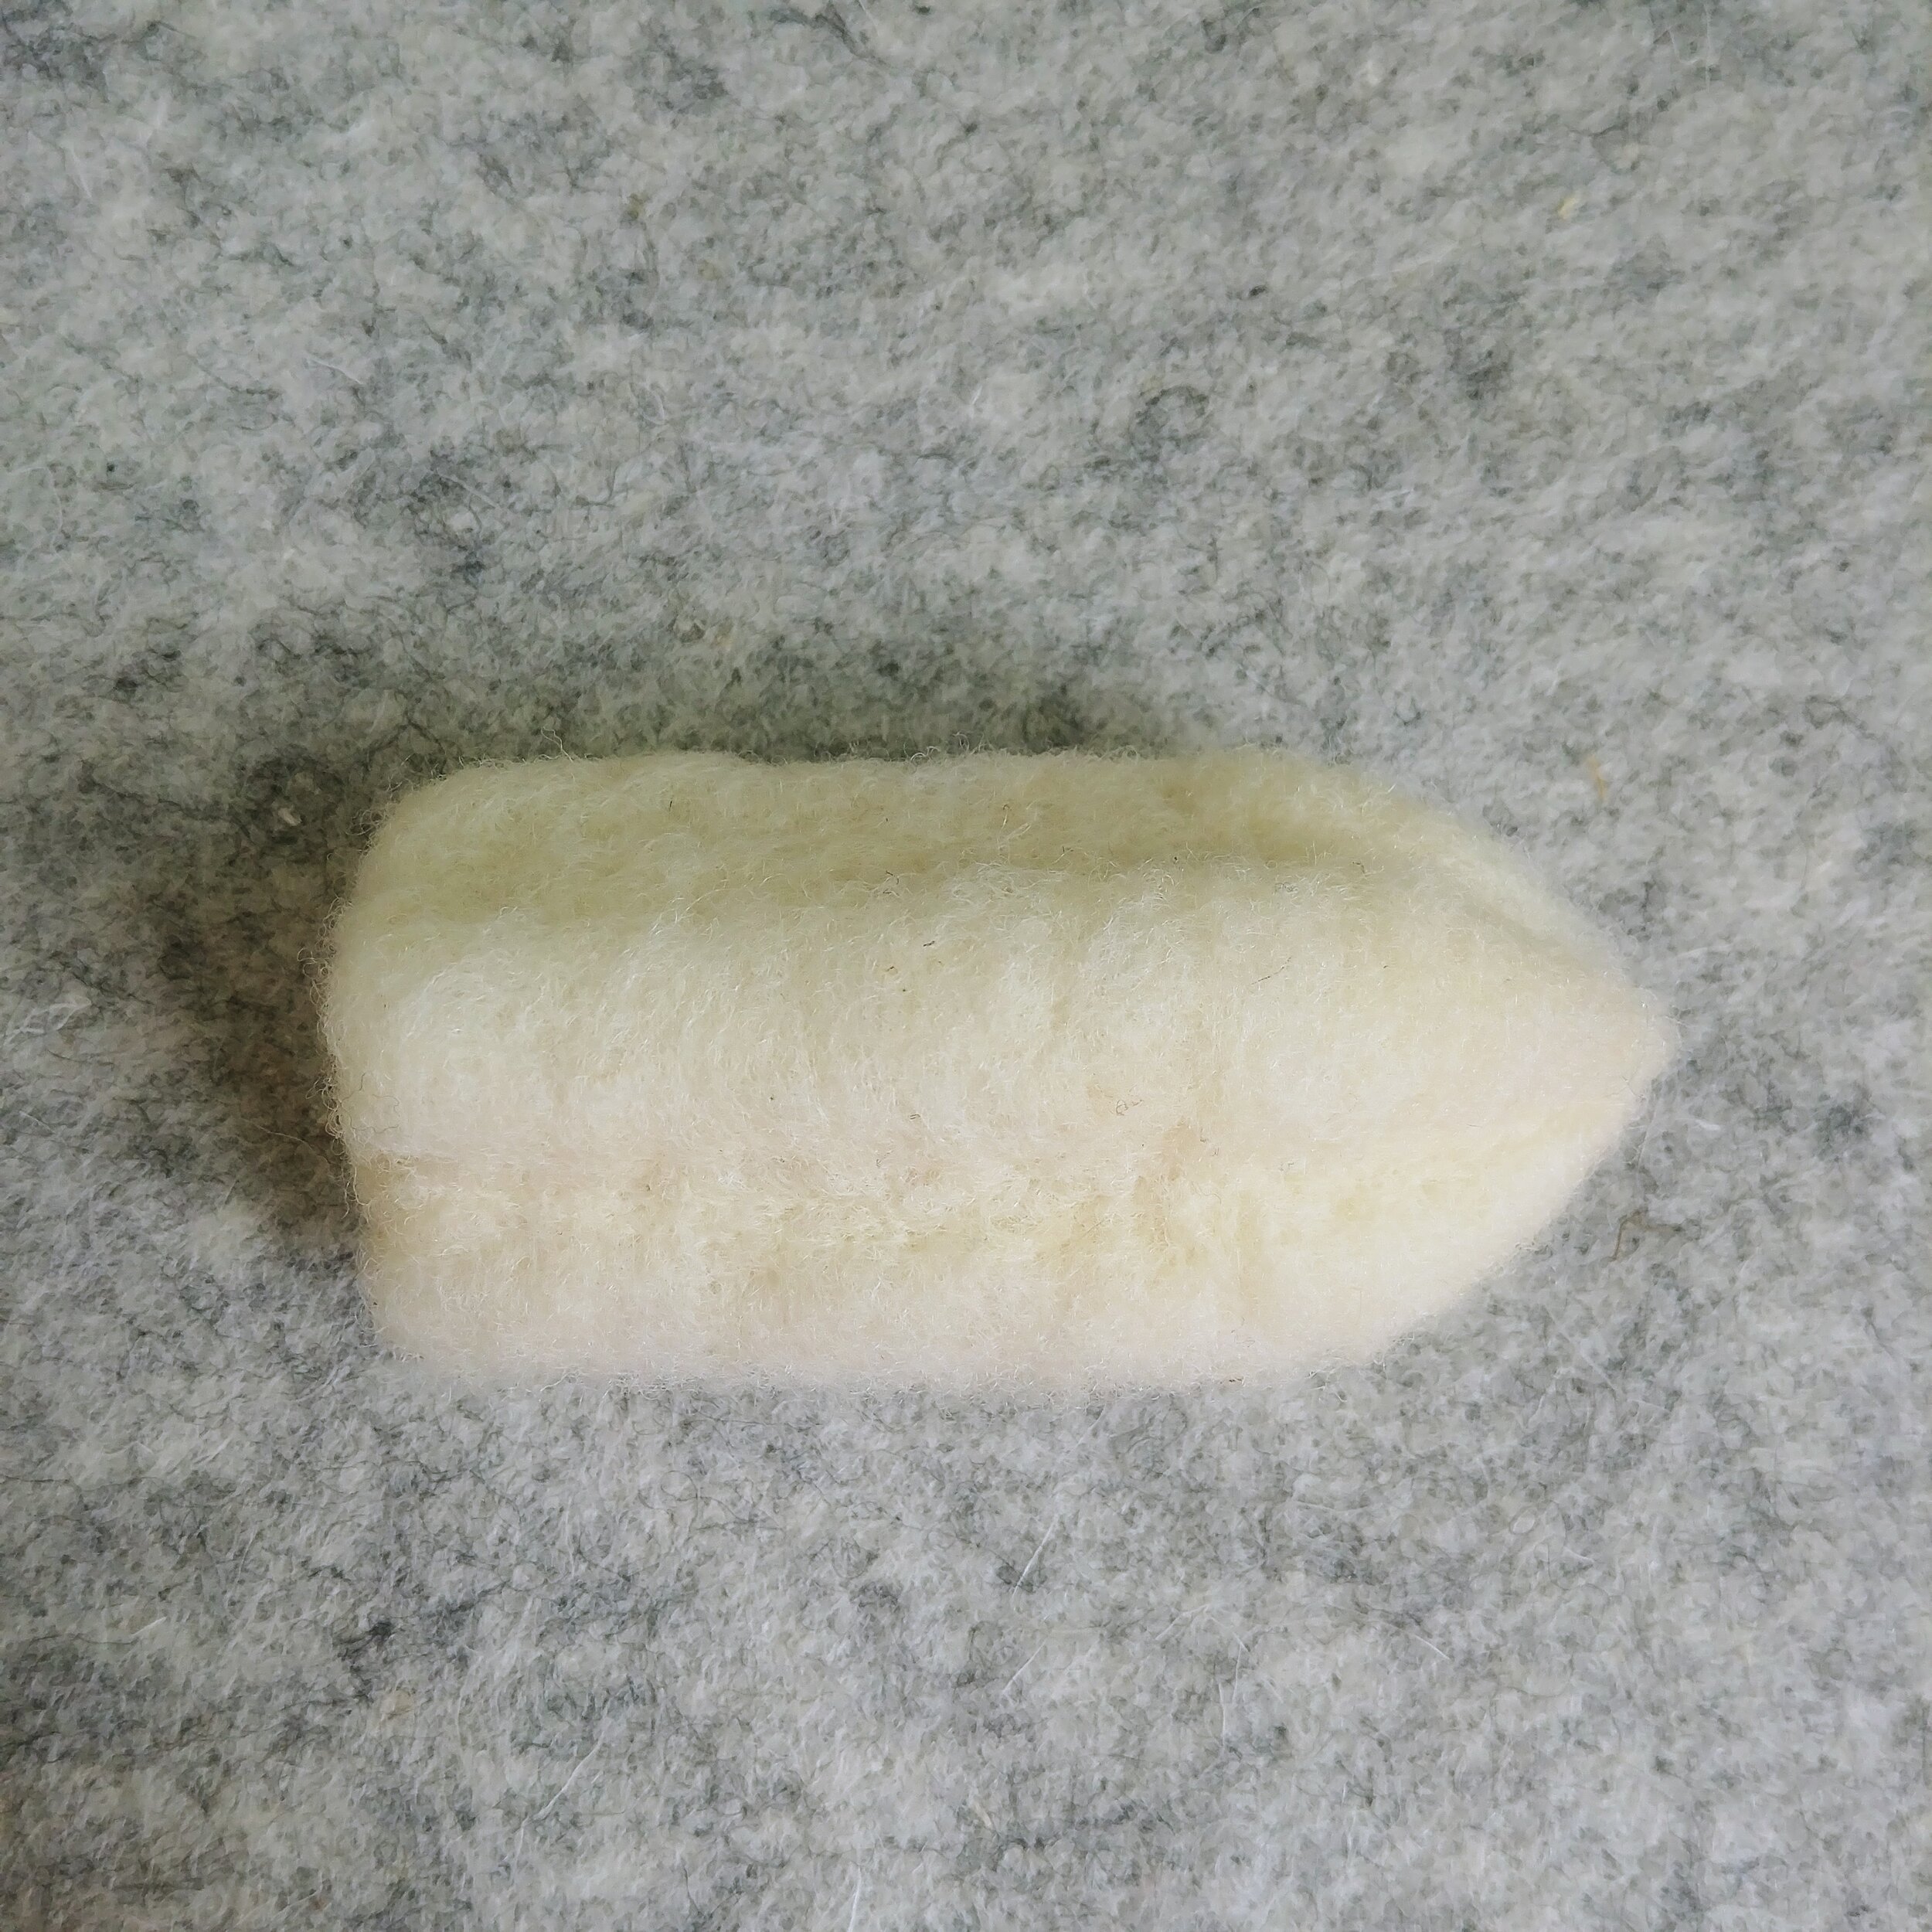
The first part is to felt an egg. We aren’t at the point of getting ridiculously dense yet, just a simple, tightly rolled egg. If you don’t know what I mean by this, please refer to my beginner’s guide to 3D needle felting. I wouldn’t worry too much yet about stabbing the ends, just try to tuck them in some as you’re rolling. You will want to make it bigger than I did in the tutorial gif above, because a very tiny crystal will be difficult to work with to start. As you get better at making these, feel free to play around with sizes. Stab it a little just to hold it together after you’re done rolling. Here’s mine - it’s about the length of my palm, and maybe an inch and a half wide?

Long “egg” about the length of my palm and between two and three fingers wide.
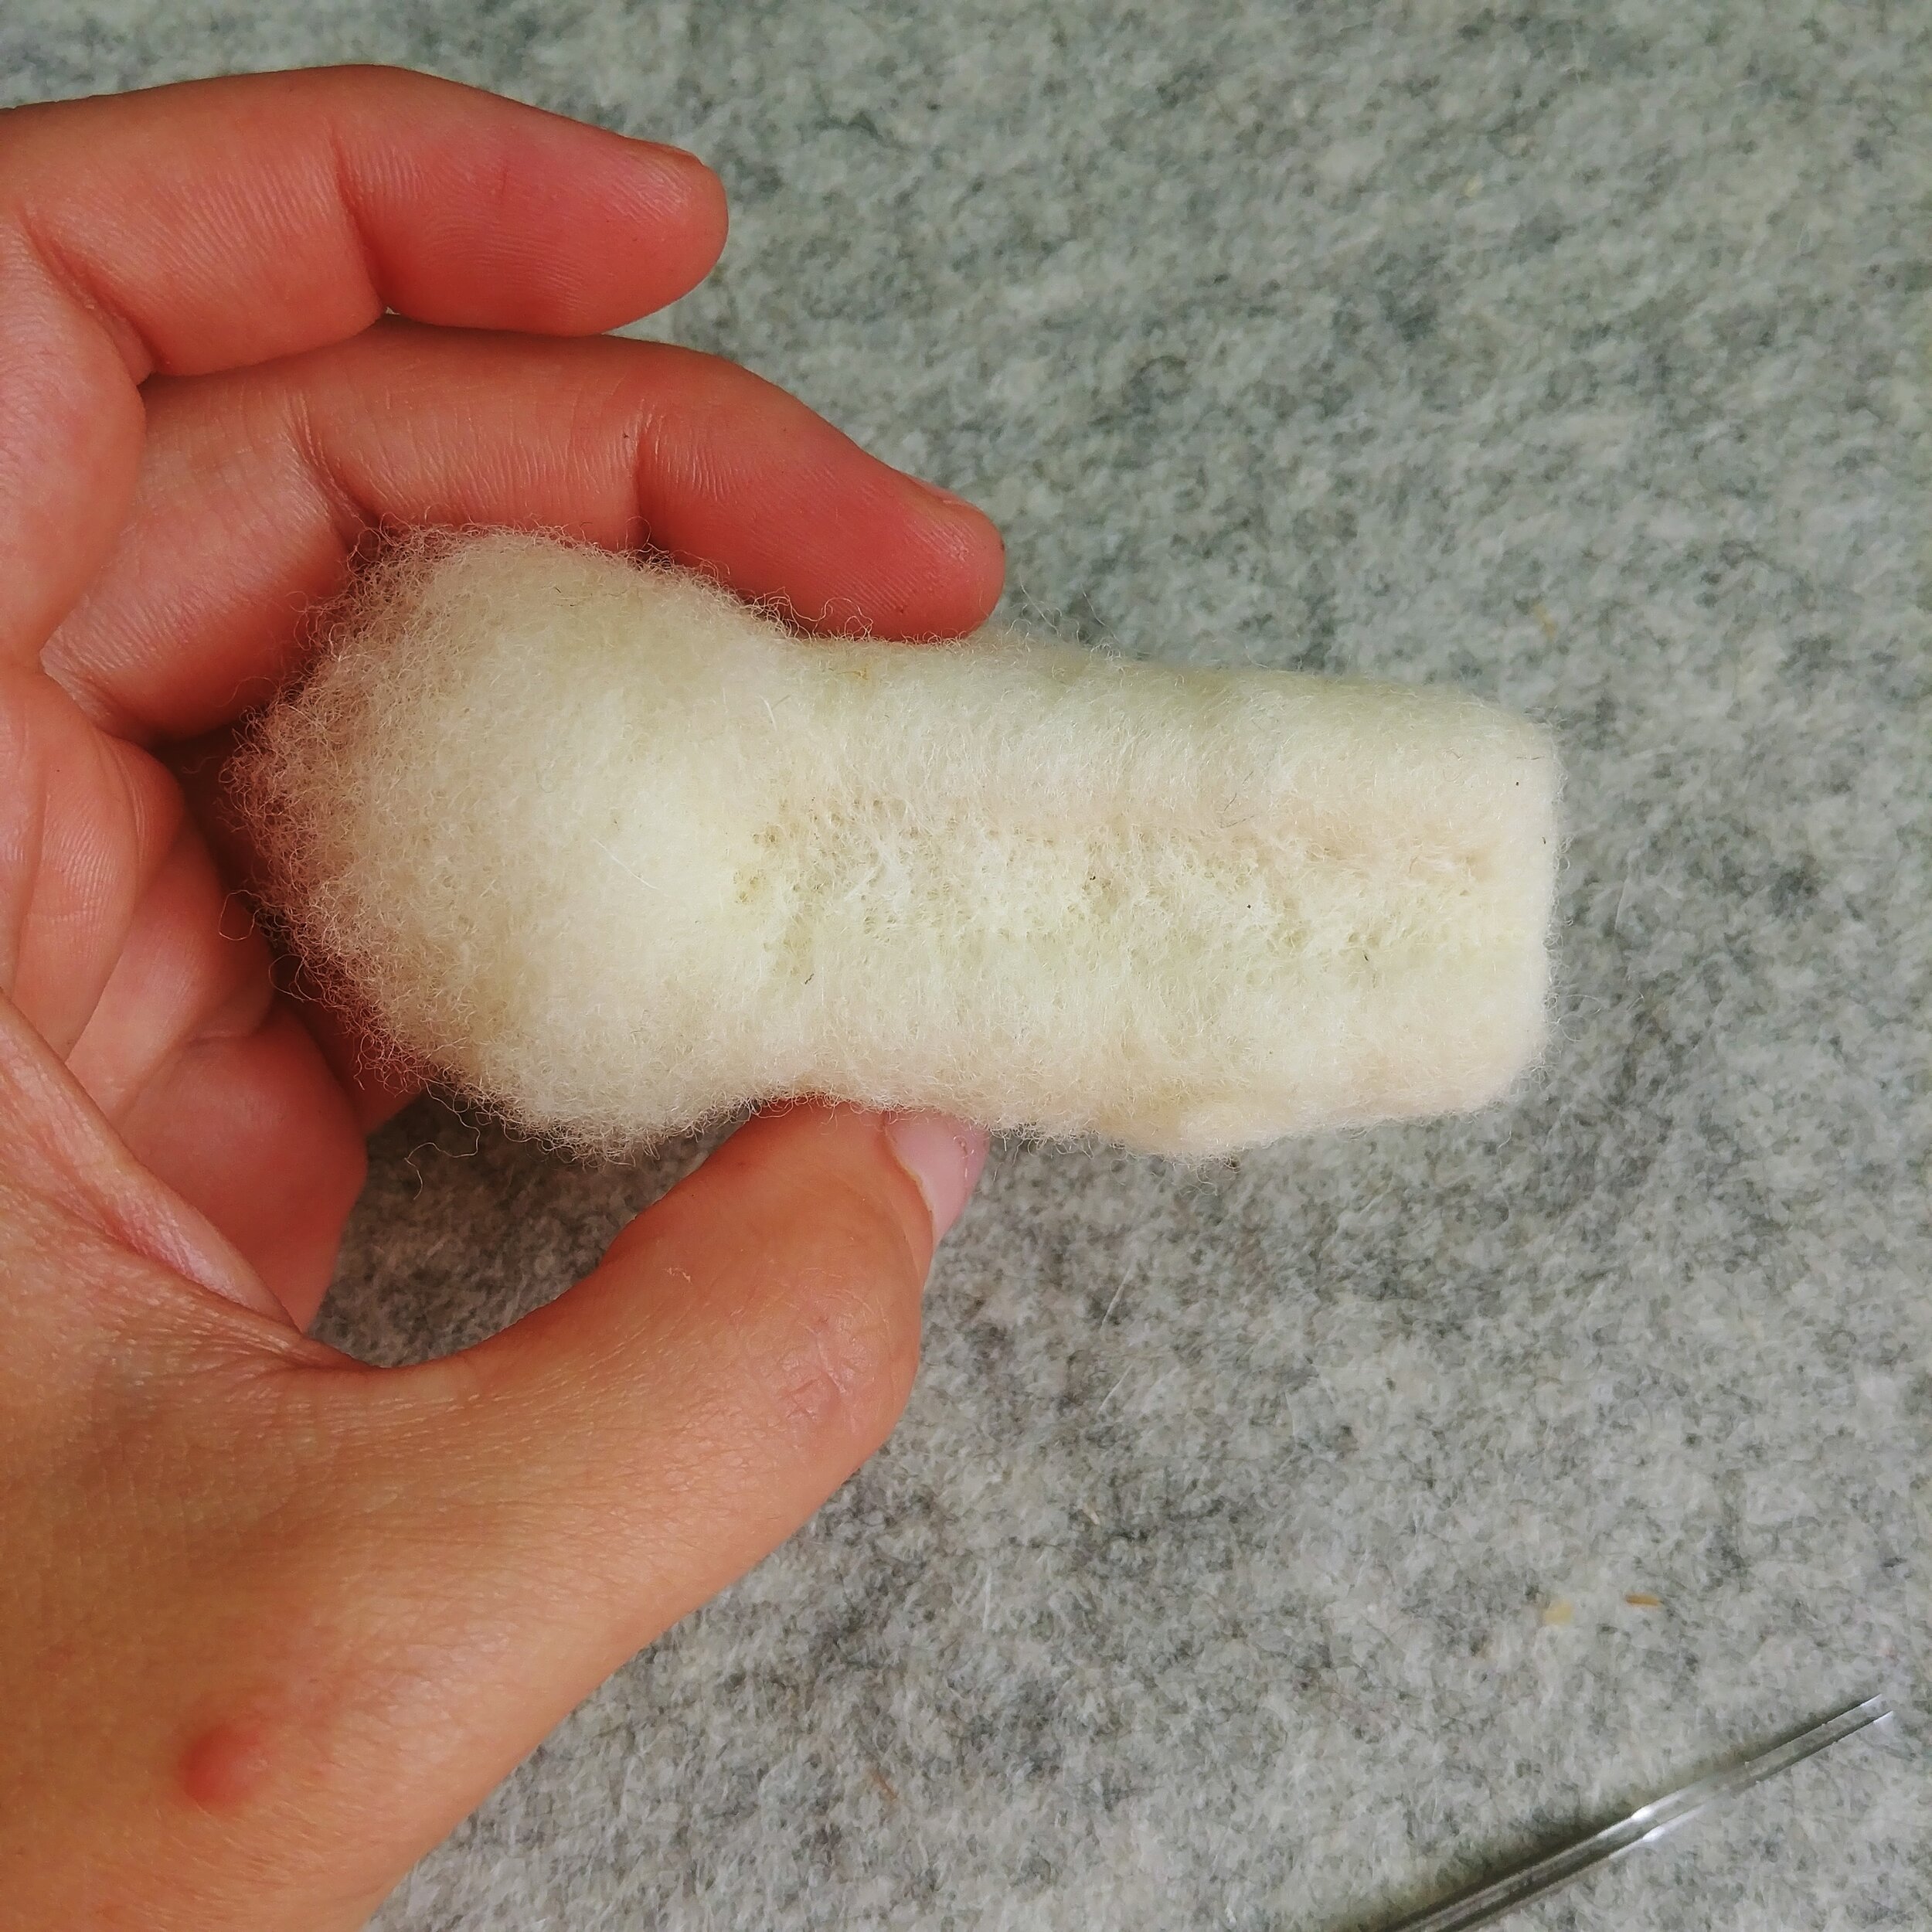
Next, you’ll want to determine which end will be your flat end, and which end will be your point. If you listen to your wool, it will behave better. Yes, I know some of you will think I’m weird saying this, but after a while it will help you see the shapes forming as work with it. Start stabbing the flat end a bit totally perpendicular to the surface - you will not be rounding any edges here. Feel your shape, smooshing what will be the pointy end with your fingers to get a feel for where it changes to being slightly less dense than the center of the wool egg. This is where you will start the triangular faces.

It looks a bit like a bullet shape now.
The entire process involves slowly, and as evenly as possible, refining the entire shape a little at a time. There will be a lot of rotating things around.
Pick one side, and start stabbing a strip down the middle, perpendicular to the bullet, stopping at where the point begins. It should look something like this:


Then flip it all the way around, so that the part you just stabbed is on your felting pad, and do the same on opposite side, so that when you look at it from the bottom it looks a bit like a concave lens with rounded ends.

Turn the piece 90 degrees, and then do the same thing on that side, and its opposite - the cross section will look like a quatrefoil with flattened inner corners.
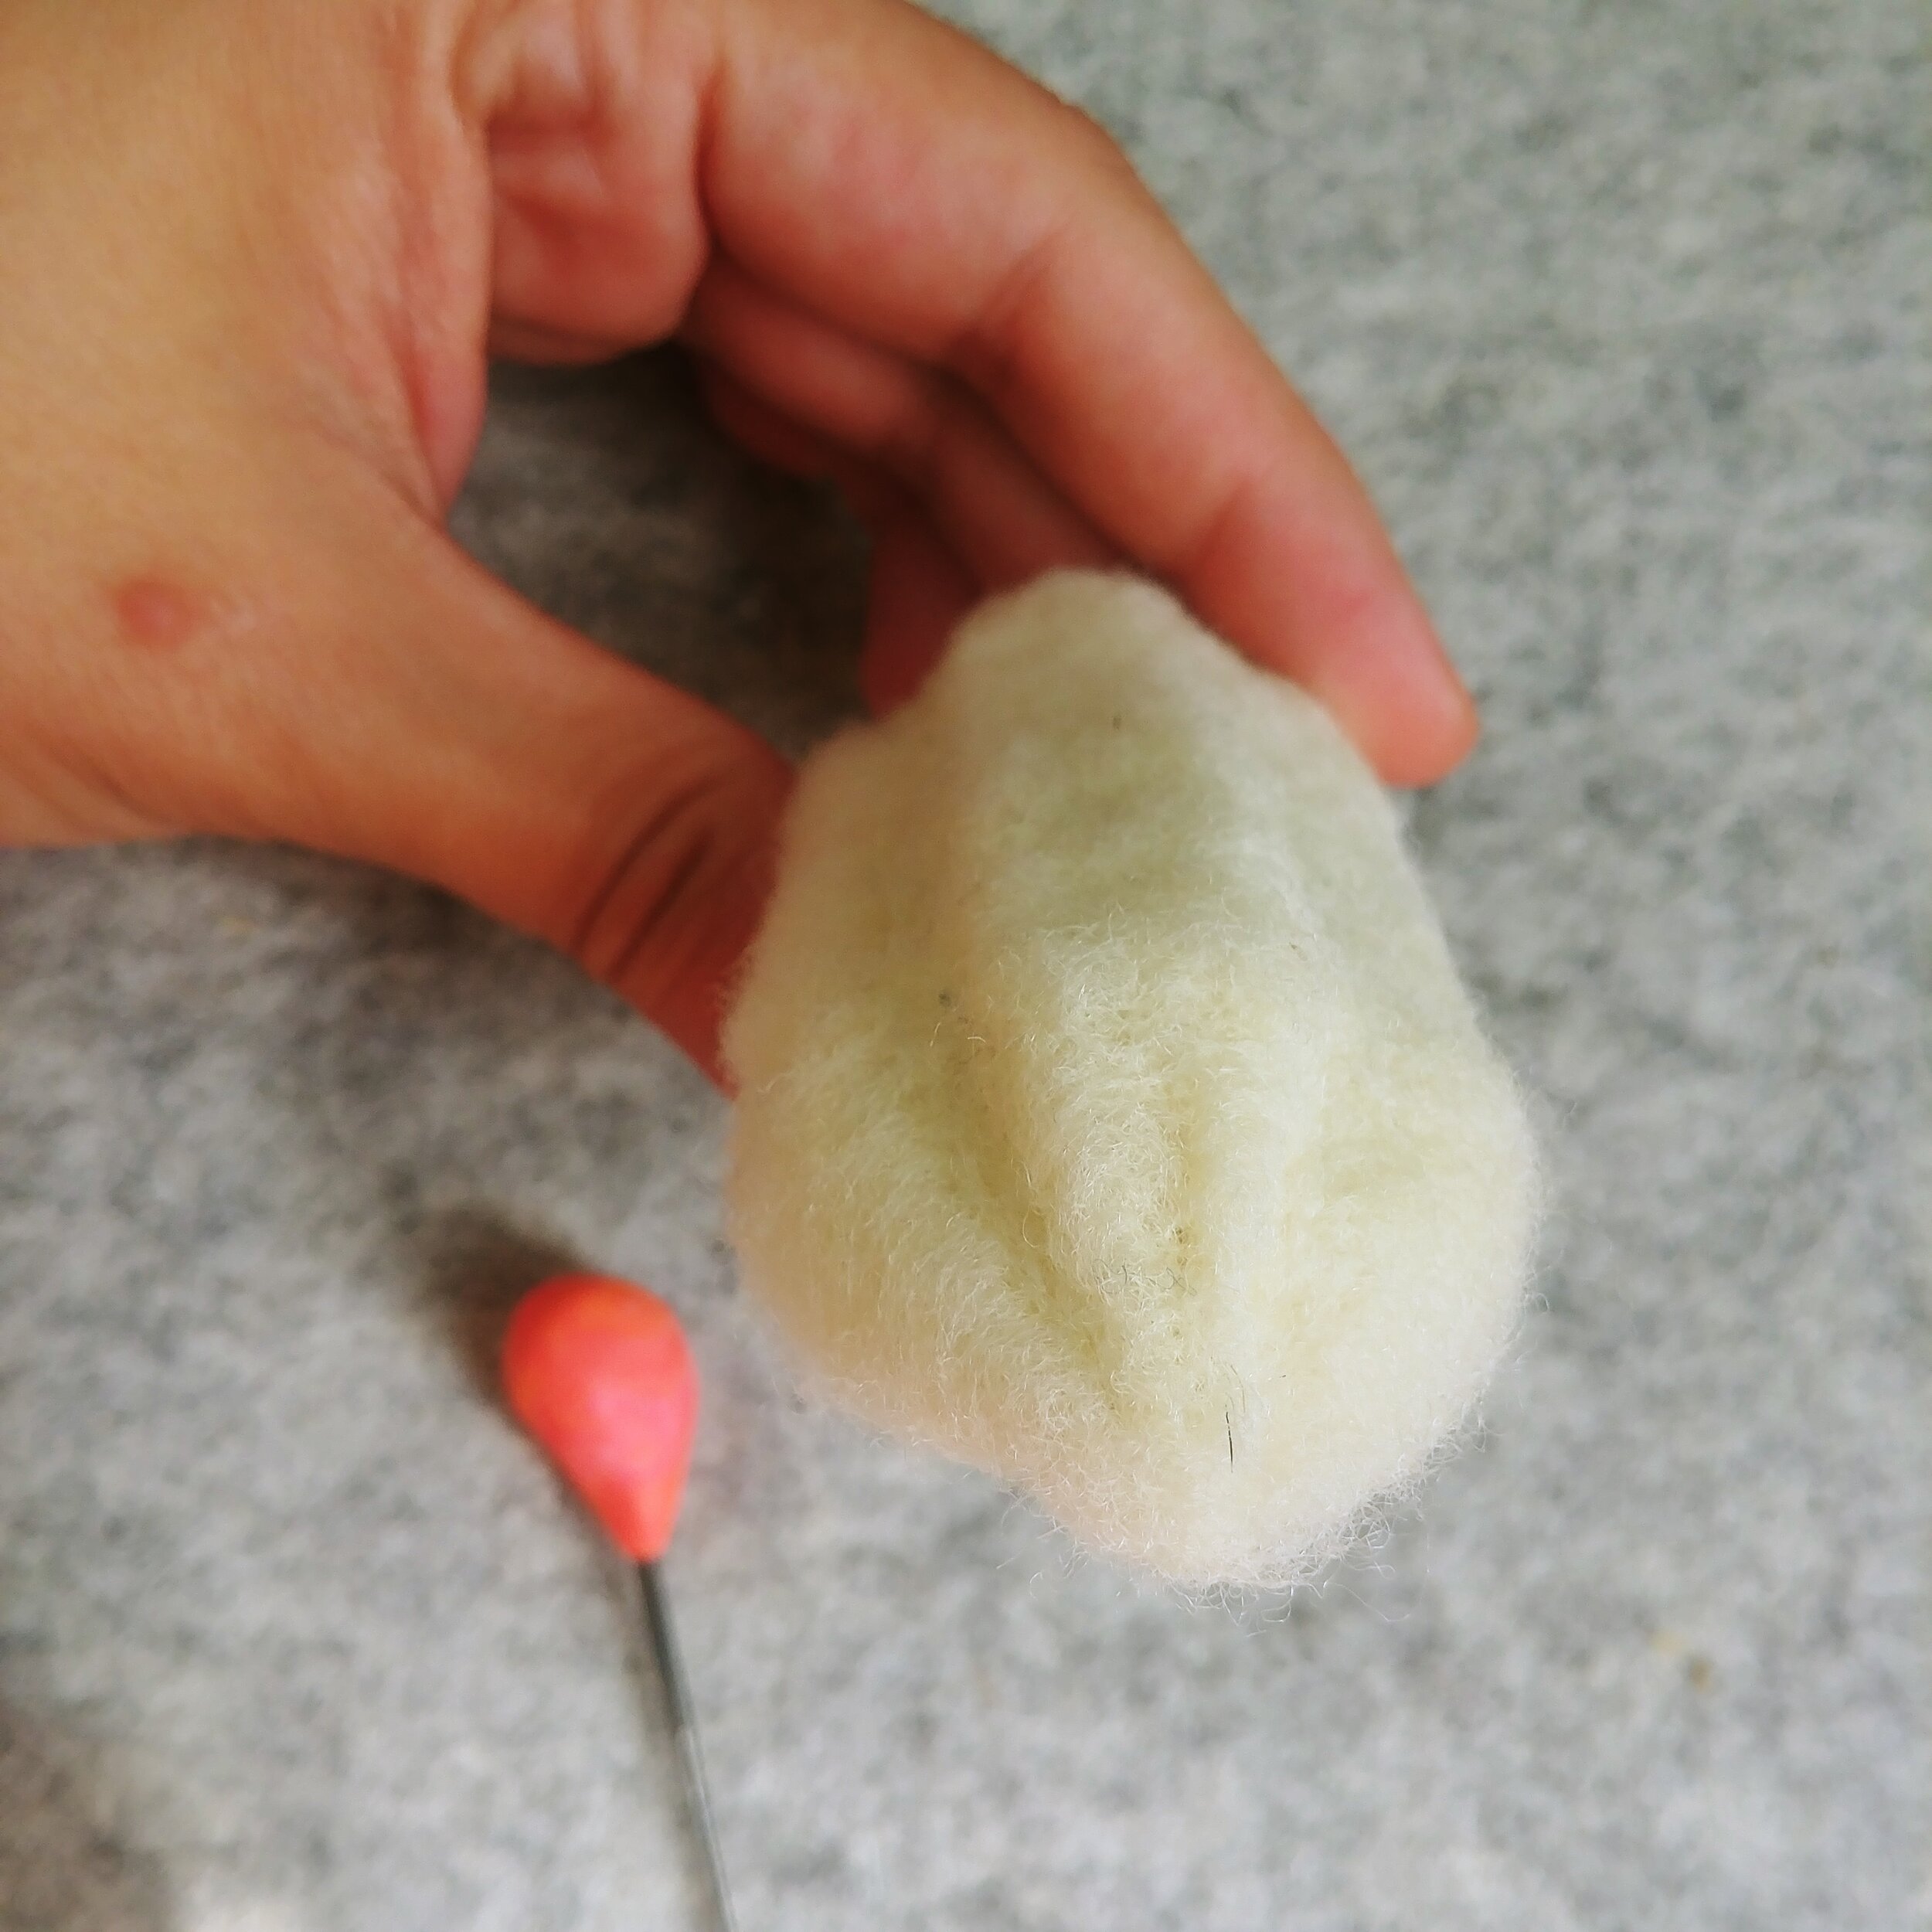
Now we start on the tip. You will not place this flat against the mat, but rather pinch the very tip with your fingers as you stab a strip (as perpendicular to the desired angled surface as possible) and then carefully between your fingers. Do the same rotational sequence: 180 degrees to do opposite side, then 90 do one side, and then 180 again to do its opposite. Like drawing a cross.


When you’re done, your piece should look like this. Yes, a bit like a needle felted tampon. Disclaimer: I really hope nobody gets the idea to use it as a tampon. This isn’t Goop.
Now is the fun part, when we get started on those other sides. Try to make sure that the side you are working on is facing directly up, not at an angle to you, and you are stabbing perpendicular to the face. Continue down to the tip. Do not go all the way to the edges; those will be resolved during the refining process.

Do all four corners. You don’t really need to do the 180/90/180 again this time, but I think it helps.
Now we slowly start refining the entire shape. Start being a bit more forceful in your stabbing as you go around, keeping it as even as possible. Don’t work on any one side until it’s all the way done. Stab it down a bit, rotate, stab that down, rotate, stab it down, rotate, and so on. Don’t touch those annoying bumps at the edges, they help keep you “within the lines” so to speak. As your crystal starts to get a more defined shape, you can start moving just a little bit closer to the corners with each pass.

Now I know that some (possibly many) of you would say “okay, this is good,” (referring to the photo above) and call it quits. Oh nonononono…. no, we aren’t done yet. This is the moment I told you at the beginning of the post that you’re probably going to hate me. Keep stabbing.

Look how much more you can refine this shape! Still not done. Keep stabbing.

Close, but no cigar. Keep stabbing. It’s looking good, though! It definitely looks more like a crystal than a tampon at this point. Suggestion, try going in little rows - it’s so satisfying watching it felt down more bit by bit. Also, it’s a bit difficult to see on a white shape, but notice how I am getting closer and closer to the corners. I don’t think you need any more photos - you get the idea, right? I’ll show you when it’s done. Also, during this entire time, don’t neglect the bottom - you can work on flattening that down too, so you can make your crystal stand on end. It’s getting harder to put it down now, though, isn’t it. You got past that annoying “oh I’m so done with this project,” and now as you watch it get more and more refined, you’ll keep noticing spots here and there where you can stab a little more. Oh and just this one more spot right here. And this one. And oh this can get felted more… Then, before you know it, a few hours have passed and you have something like this:
You can tell it’s done when you really can’t refine it any further, it feels like stabbing isn’t making any difference. If you attempt to squeeze the shape, it won’t budge. Forget the pinch test, there’s nothing to pinch. Squishing the tip too doesn’t do much, and it retains its edges. This is how a densely felted object should feel, and as you can see, the denser it gets, the more crisp those edges get. But Magi, how would I know since you didn’t want me to touch the edges until the end? You can try it for yourself with another one. If you had stabbed all the way to the edge from the beginning, it would be very difficult to maintain your shape, and you would risk rounding your edges by accident. Corners are always done last in pieces like these. And that’s it. You can either decide to stop here, because the white crystal on its own is quite pretty, or we can add some color.

This is done. You could call this done, and call it a day - white crystals certainly exist and are also beautiful! For the purpose of this tutorial, however, I’m going to show you how to add color if you wish.
You have two options to add color to your crystal. At least, two that I’m going to talk about. You could possibly try dyeing it too with silk dyes, or dust on pastels, dunk it in a cup of coffee, or whatever other ways you want to try experimenting. It’s your crystal; have fun with it.
One is the most obvious, and the one I will share - needle felting dyed wool over top of it.
The other, which would take your needle felting into the world of mixed media a little (which is fun) is watercolors. Wait, what? I can paint this? Yes. You can. It won’t have the same effect as dyed wool, as the color will be far more muted. I also don’t think this works on any pieces that are not densely felted. I’ll explain a little about how it works, but you can see it in the photo below, the round disk on the mat.

It’s subtle, but it’s pretty cool, isn’t it! You can play around with color variations. This will not dye the wool. If you were to go wash your object, the pigment would wash out. This is simply a way to deposit pigment onto the wool, to give it a water color effect. I would not do this on anything that would be handled frequently, especially if you make toys for small children who may mouth them, or toys for your pets who will also chew on them and put them in their mouths. Even if a paint is non toxic, it doesn’t mean you should ingest it.
You will want to pre-wet the surface some. You don’t need to soak the whole thing, but without prewetting the surface, the paint will bead and roll off, which it still will to some degree. You don’t have the same sort of control here as you would in a painting. Then take your choice of colors, dab them on the surface, and then using your finger you can press them in a little. You can then tilt the object and let any excess water run off, and set it somewhere to dry. If I were to flip that painted coin over, you would see some color in the edges where I pressed the paint in, but for the most part there is no color on the other side - it’s only deposited on the surface.
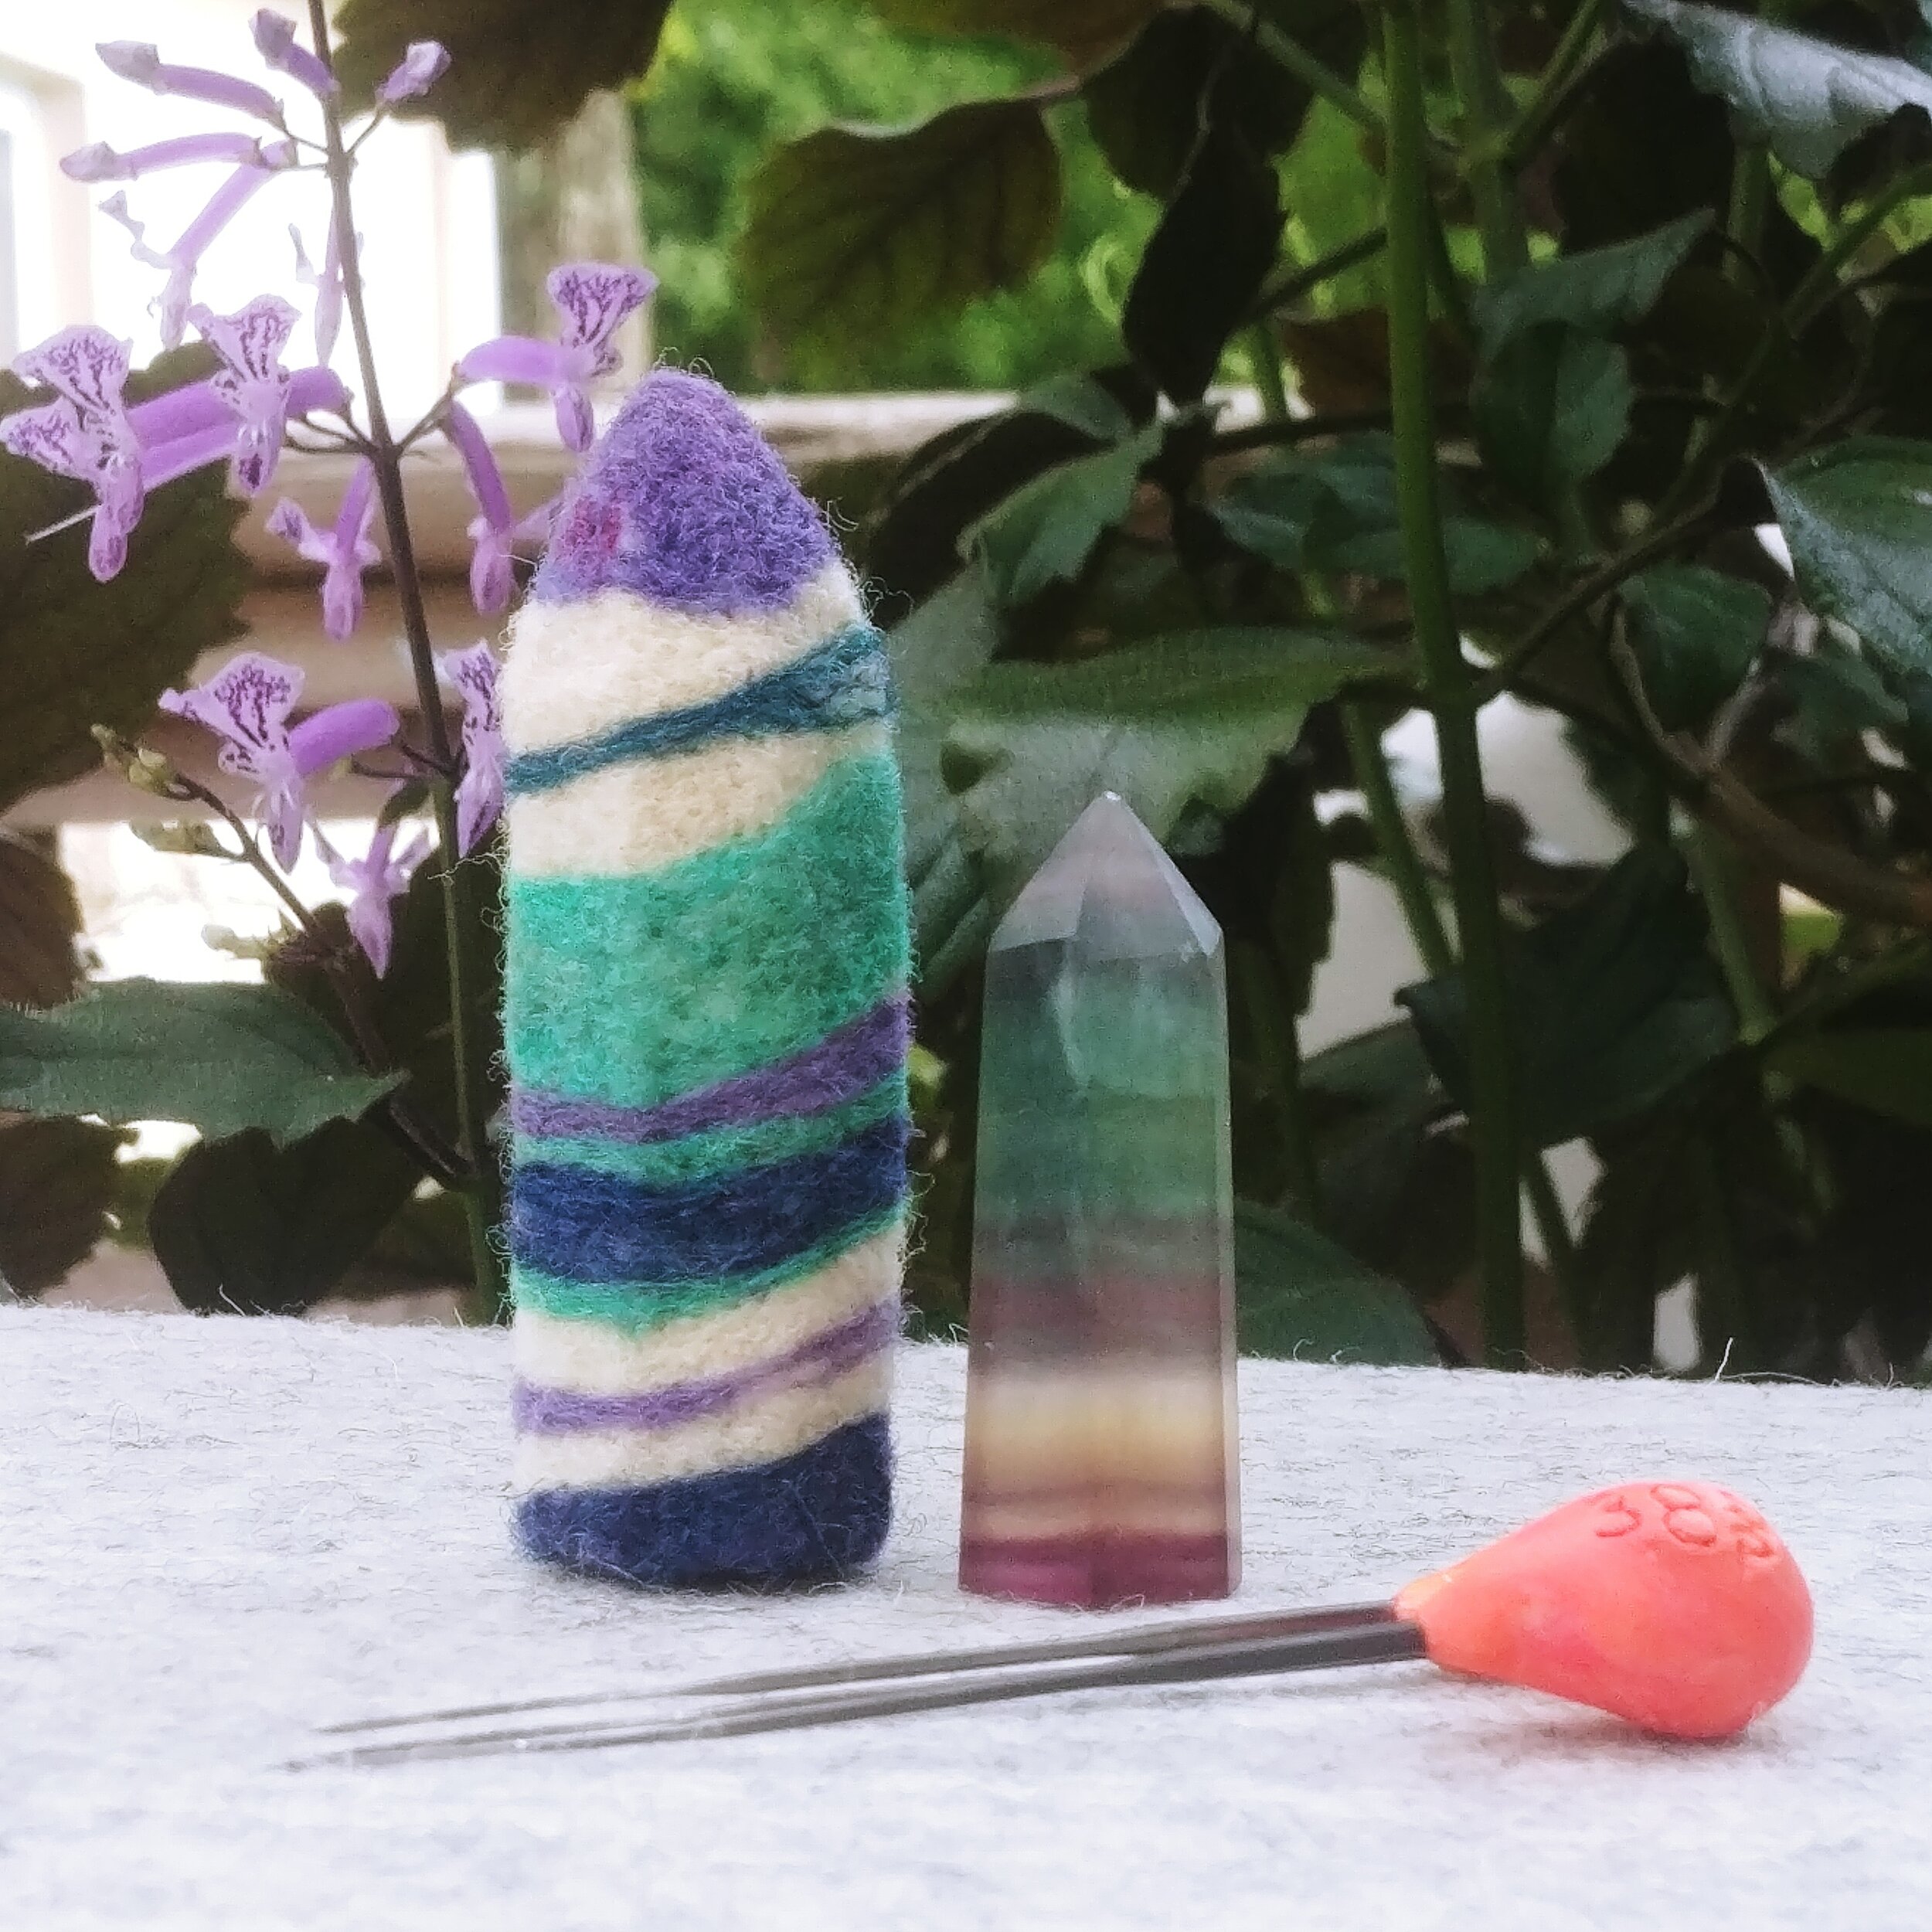
The other option, which I’ll go over here, is how to add color to your object. I picked out some colors (as you can see in the photo) which somewhat match the actual fluorite crystal I have on the right.
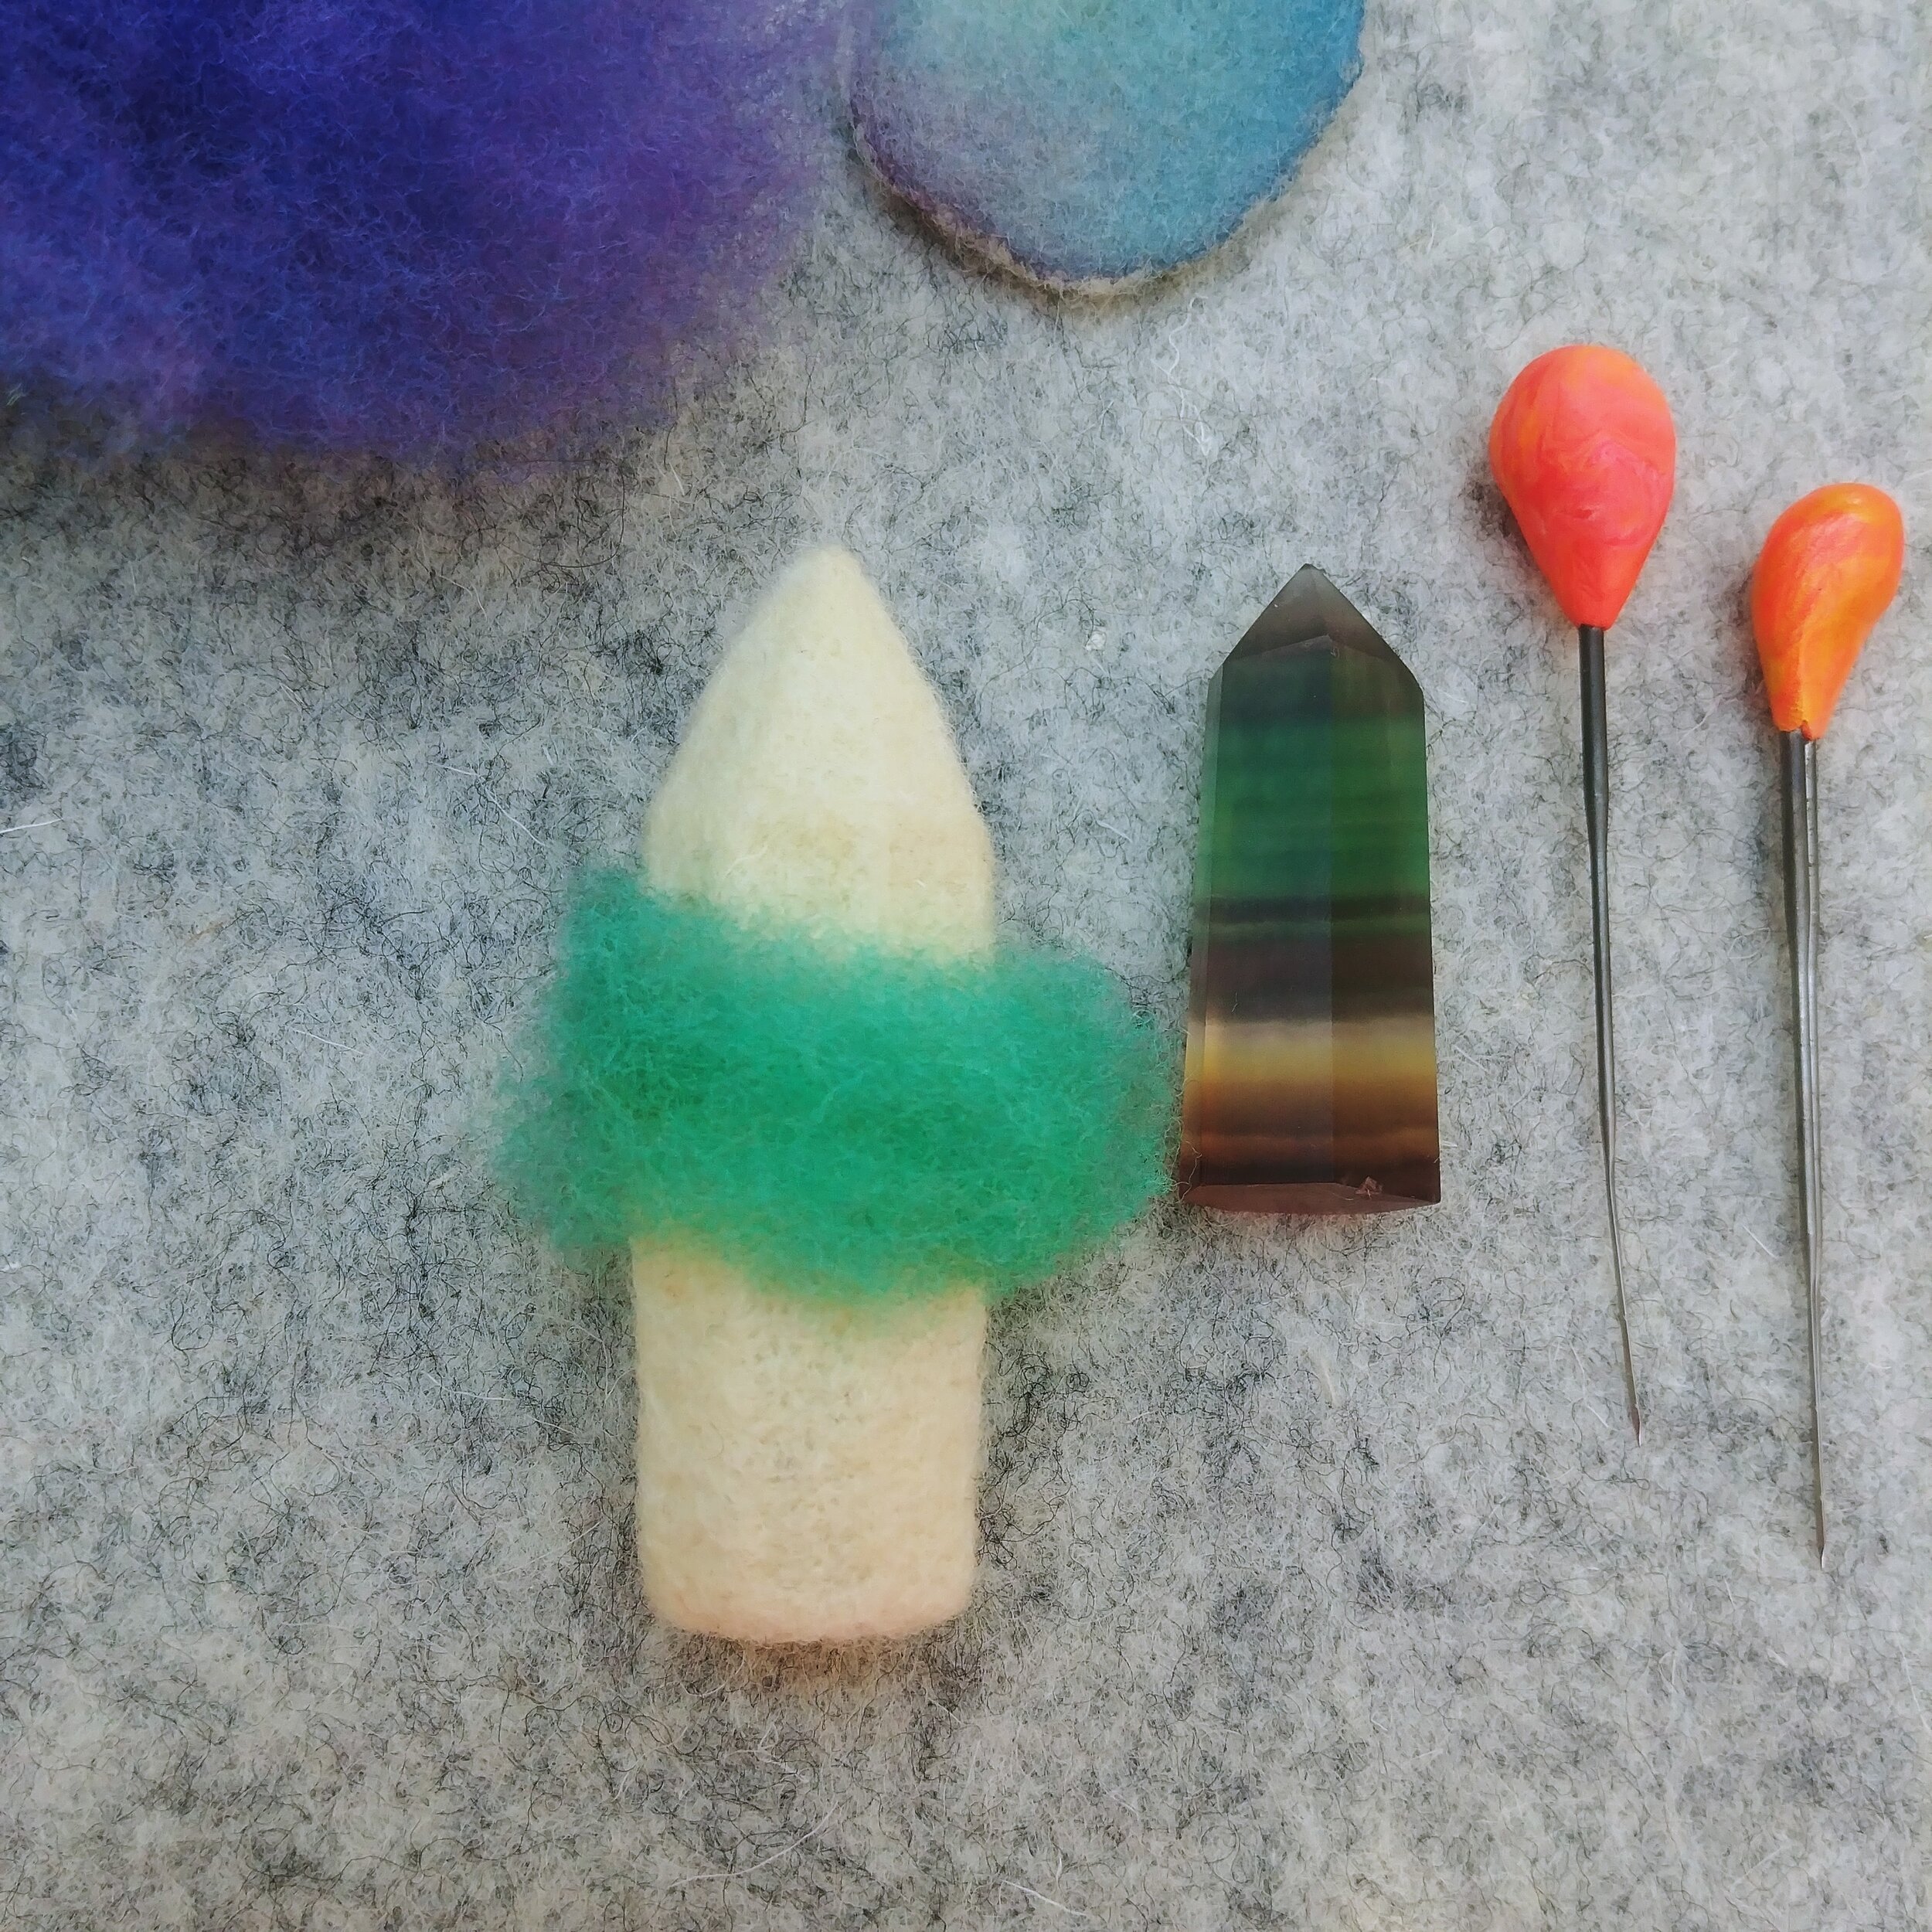
To make it easier on yourself so things line up properly, create a tube with the dyed wool by wrapping it around the object entirely and rolling it up and down a little (…like a rubber band on a pencil?) which will help the wool stick to itself. Then you can position the color where you want it to be - like at a slight angle. Start stabbing, being careful to pay attention to the angles in the crystal. It’s pretty densely felted so it shouldn’t mess up much, but you don’t want to end up with rounded corners now.
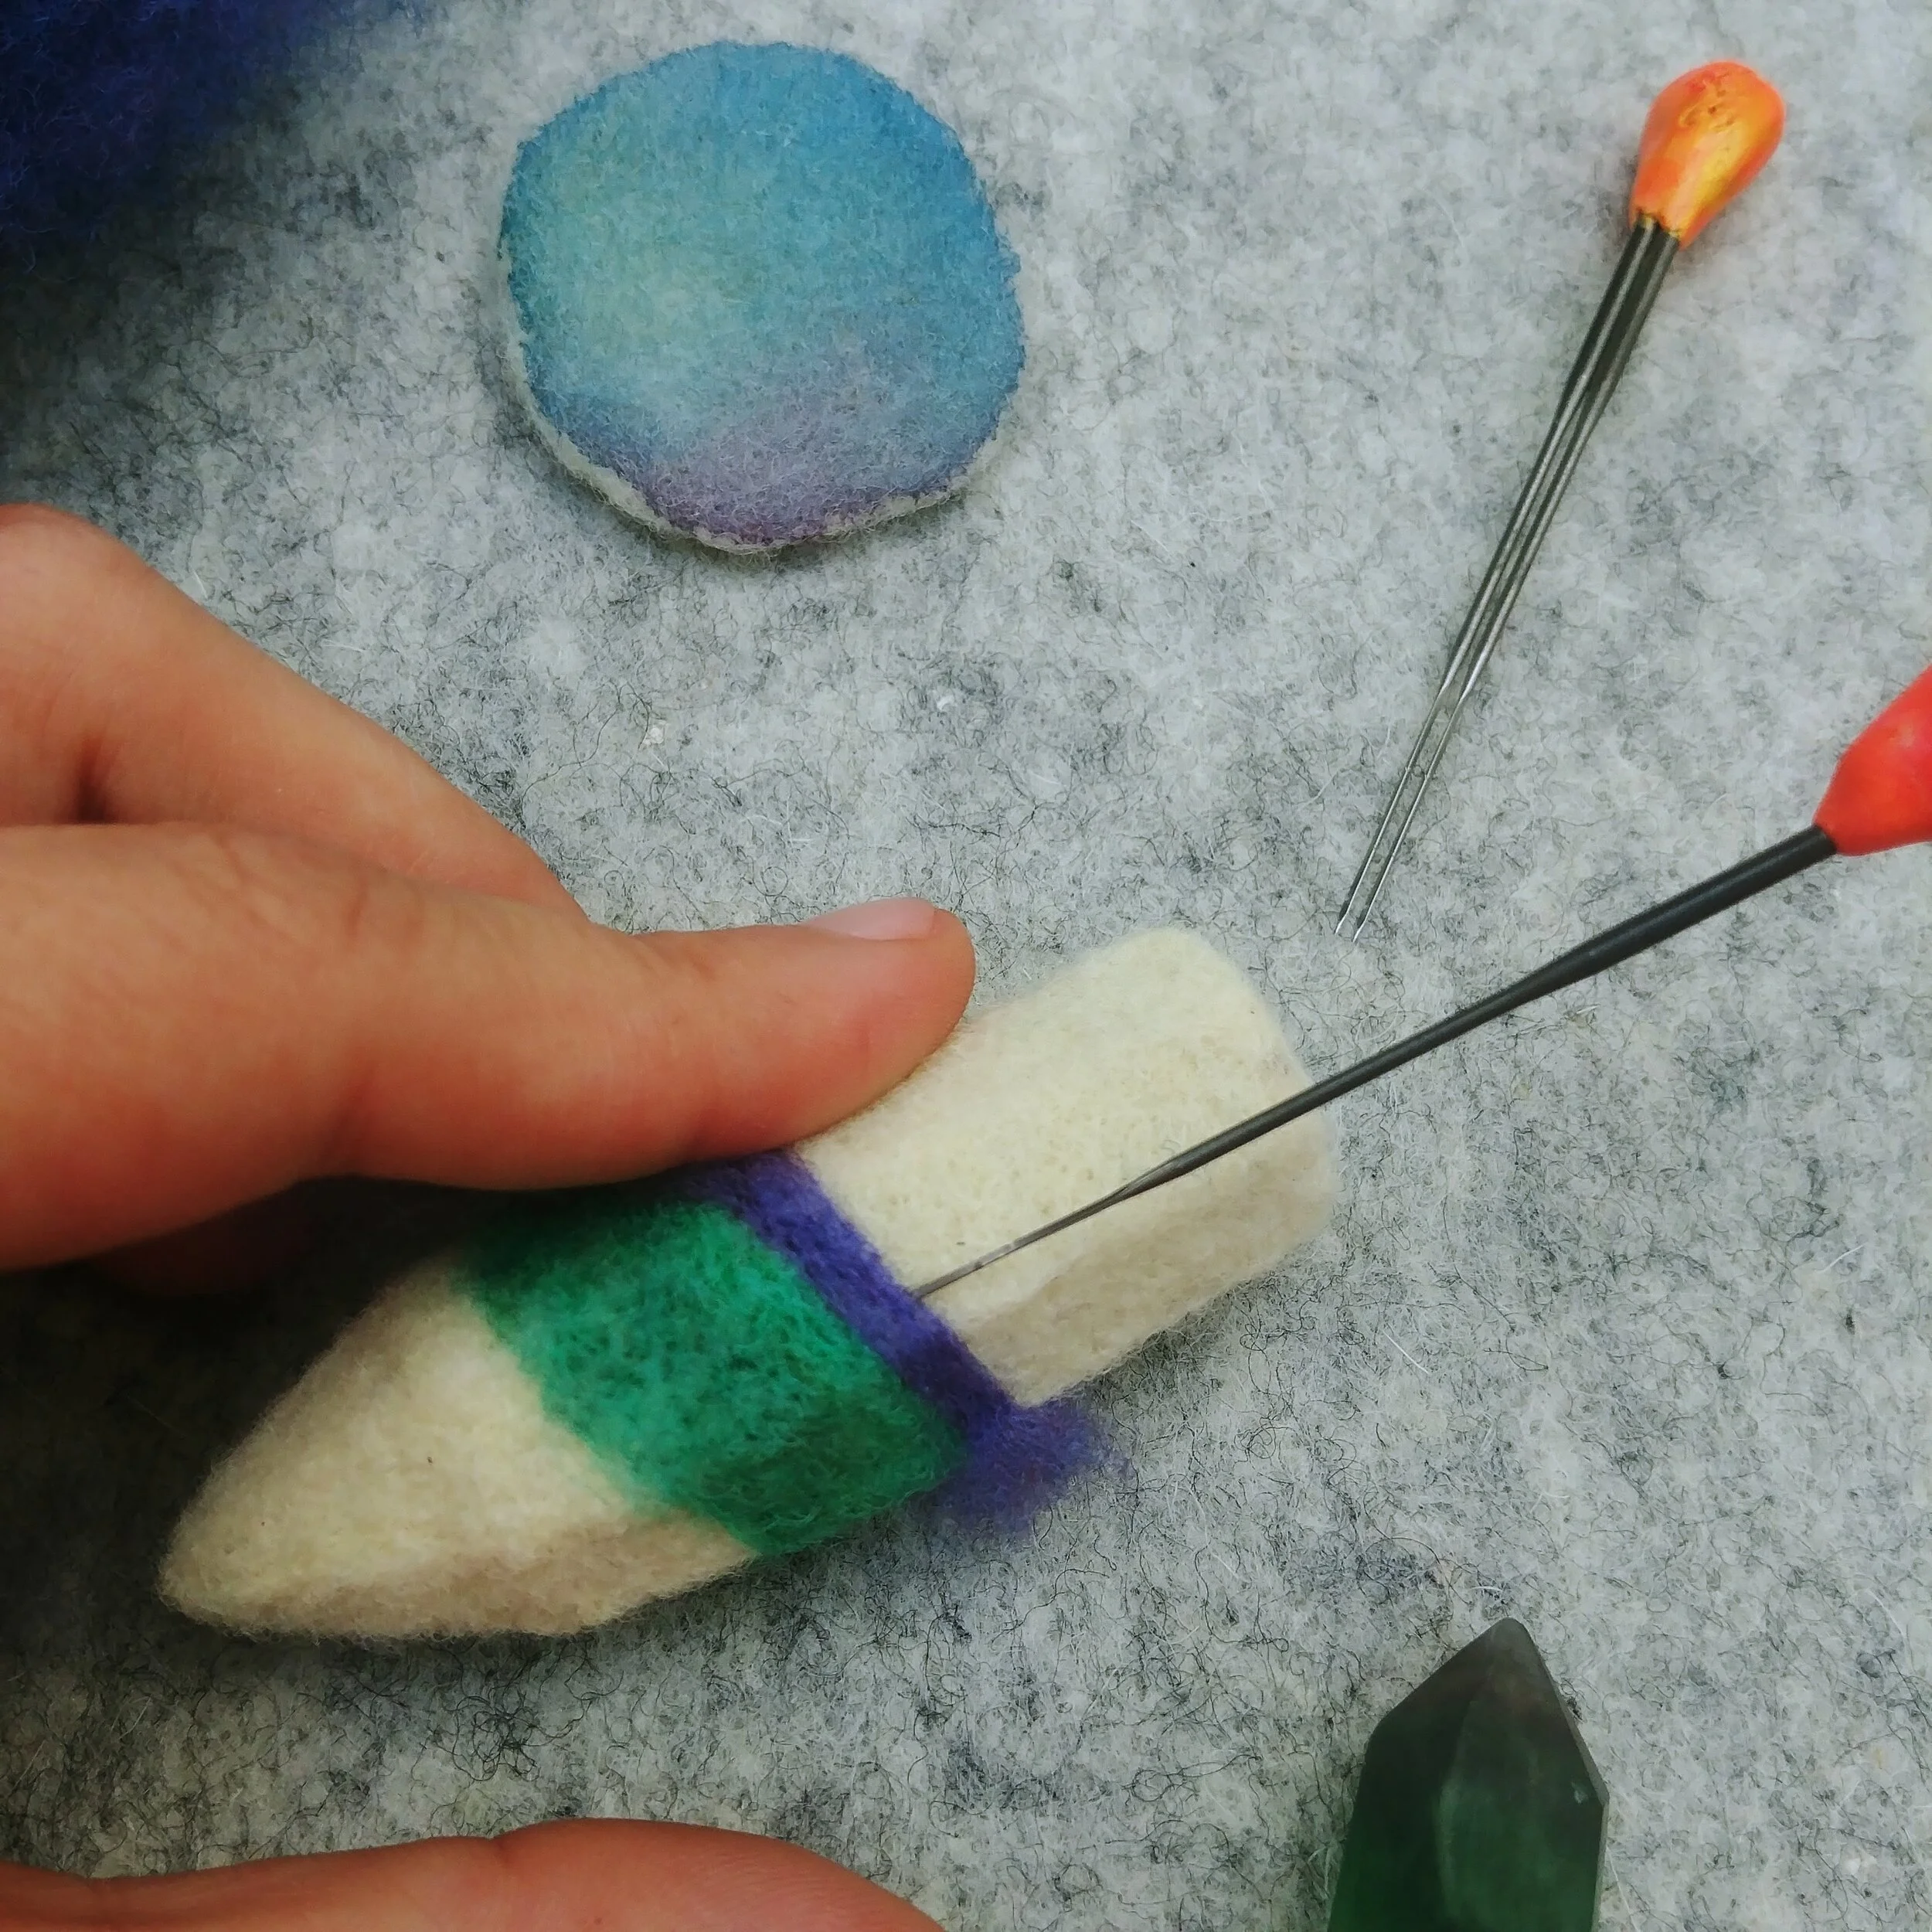
Continue adding color as you wish. To get those nice, crisp edges, stab in at an angle so that it catches just the edge of the wool and sort of tucks it under as you go.

Feel free to play around with how you lay the color down. Maybe some will split and go over another band. Maybe you allow some of the base to peek through, since crystals aren’t always uniform in the saturation of color - you’ll find clearer bits and more colorful bits throughout a crystal. While we can’t make this see-through, we can try to evoke similar qualities we see to that in some crystals. Use whatever crystal inspires you, and pay attention to how the color is shown throughout. Or create your own crystal that doesn’t exist yet.

Don’t be afraid to leave parts alone without adding color. You don’t have to cover the entire thing.
So, two things, which I unfortunately forgot to take photos of, but I’m pretty sure I can easily explain. If you decide to cover the base, do the very bottom first, leave enough overlap to wrap up the sides, and then finish felting it on, paying attention again to the angles.
For the top, similar idea - I put the wool over the tip, and then worked my way down from the tip down the sides, again, paying attention to the angles. It’s a little tricky to get, and you might end up with a slightly rounded tip which is okay. You can try pinching the tip a little with your fingers to fix the point.
And here it is! The completed crystal! If you wish, you may take a finer needle at this point, and continue refining it by gently poking it down further all over. It doesn’t have to be rough, just a gentle poke poke poke poke poke. I unfortunately did not have the chance to get this far, because I was being nagged by my kids, but really that is the trick to it. You may also go over it with a razor (I have a free sample razor I got in the mail I keep with my tools in case I want to shave off any stubborn bits) for the ultimate, smooth finish.