
The ULTIMATE Guide To Felting Needles
FTC Disclosure: Please note that some of the links in this post are affiliate or referral links (full disclosure here), and if you make a purchase or sign up for a service within a certain timeframe after clicking on one of those links, I may earn a small commission paid by the retailer at no extra cost to you. I wouldn't recommend anything that I don’t or wouldn't use myself. Thank you for your support!
This post was last edited/updated in March 2021.
Important PSA: Before we start discussing what the different types of needles available do, I need to address a point that’s definitely become more of an issue in recent years. Quality absolutely matters. All steel is not made the same. Make sure you buy quality needles from a reputable seller!
Edit: I updated the text in this post to note that felting needles are technically notched, not barbed. I’ve made a note to update the graphic on this post, as well as add similar-styled graphics to my other guide posts. The most important thing here is to understand that felting needles look nothing like sewing needles, as they’re designed to snag loose fibers and push them in (or pull out, if you use reverse felting needles) whatever material it is you’re actively stabbing with them.
The main tool for needle felting is an industrial felting needle. These are the exact same needles used in commercial machines to make all sorts of felt, including the polyester or "eco felt". One of the more "affordable" commercial felting machines available to purchase by end-consumers (by affordable I mean it's still several thousand dollars, but not tens of thousands) uses 11.5 needles per square inch and comes in 36", 48" and 60" widths. How it works is there are notches/barbs on the working end - the first inch or so of the needle from the tip - which catch the fibers and push them into the material, causing the fibers to interlock. Because of this, needle felting allows one to use other fibers that are not easily used in wet felting applications, which depends on the microscopic scales present on animal hair/fur to lock them in place.
from left to right: triangle, star and spiral shaped needles
Types of Needles
There are four types of needles most commonly used by needle felters, three of which are based off the shape of the cross section of the needle: triangular, star, spiral (or twisted). The spiral and triangular needles are the same when it comes to the cross section, except that the blade on the spiral needle is twisted as opposed to straight. The notches/barbs on both the triangular and spiral needles are located on the three corners going up the shaft, versus the star which has notches/barbs on four corners (and has the cross section of a 4-pointed star).
The reverse felting needle (the fourth type) is also triangular in cross section, except that the notches/barbs go in reverse. So, instead of punching in wool, you're pulling it out. Why would anyone want to do that, you ask? Is it to undo your work? No. You can't really undo something that's been felted. What it does is when you have a different color core wool from your top, you can pull the color of the core wool out (we'll get more on the topic of what core vs top means in a separate post). The most popular application of reverse felting needles that I've seen is to give the appearance of fur on a needle felted animal. That way, you can make sure that the surface of the animal is felted tightly so it doesn't come apart, then using a reverse needle you pull the fibers out from underneath to give it some fuzz. You can get really creative with how the fur looks based on the color of the fiber you use underneath the "skin."
Which one should you get? In my opinion it's a matter of personal preference. Each needle felter will give you a different answer. I personally find that the spiral ones are the most efficient. That is the newest type, and for the first three years that I'd been felting, my favorite was the star (more corners = more notches/barbs), though I also enjoyed a double-pointed triangular one to quickly knock out a base shape. In fact, I used both interchangeably for a long time. These days I mainly use a spiral felting needle.
Needle Gauges and What They Mean
You can find felting needles in the following gauges: 32, 36, 38, 40 and 42, with the needles on either end of the spectrum being the least common. As the number gets higher, the needle is thinner (contrary to what one might think). If you have piercings, you can think of it that way - the typical earring is around 20 gauge, body piercings between 14 and 16 gauge, and those big plugs some people wear go down to 0 or 00, after which they're measured in either inches or centimeters/millimeters.
Since most of us lack the tools to measure the gauge between needles, some felting supply companies provide them color coded, or you can easily do this yourself using different color nail polish as soon as you open the package before they get mixed in (don't forget to write down which color is what). I like to make handles for mine using polymer clay, then mark the gauge and type of needle in the clay before baking - but make sure you test the clay you use. I made the mistake of using Sculpey III and that resulted in brittle handles that didn’t hold up. I'm not good about remembering color codes and would rather be able to see it when I need it. It's not a huge deal if you don't color code them, because you can figure out which one works best for you by testing it out - however, if you have a lot of needles, or one breaks on you, it's nice to remember which one was your favorite when it comes time to order some more. Eventually, you’ll probably have one or two styles and sizes that you go to, and you won’t really need to keep track of what’s what - you’ll be able to tell by comparing them which one’s a bit skinnier for the finishing work.
Why all the different gauges? The thicker ones work better for coarse wool, while the thinner ones work better for fine wool. Why do they work this way? Because coarse wool is actually microscopically thicker than fine wool, so a thicker gauge needle would allow for a deeper notch to catch the fiber. That's not to say that a thick gauge would not work on a fine wool, but because it's thick, the holes from poking it in are far more visible. A finer gauge however will not work as well on a coarse wool, because the notches aren't deep enough to really grab it. You can still get the job done, but it'll take a lot more poking to get there.
If you were to choose just one needle, which one would I recommend? The 38 gauge. It's a good in-between, not too thick for fine wool, but not too thin for coarse. You can even do finishing work if you poke very gently with only the tip and first one-to-two notches of the needle and alternating that with rubbing any holes out to smooth it. Ultimately, if you have a variety of them, even if it's just two or three different ones, you'll quickly get a feel for which one is the most efficient with whichever fiber you're trying to felt.
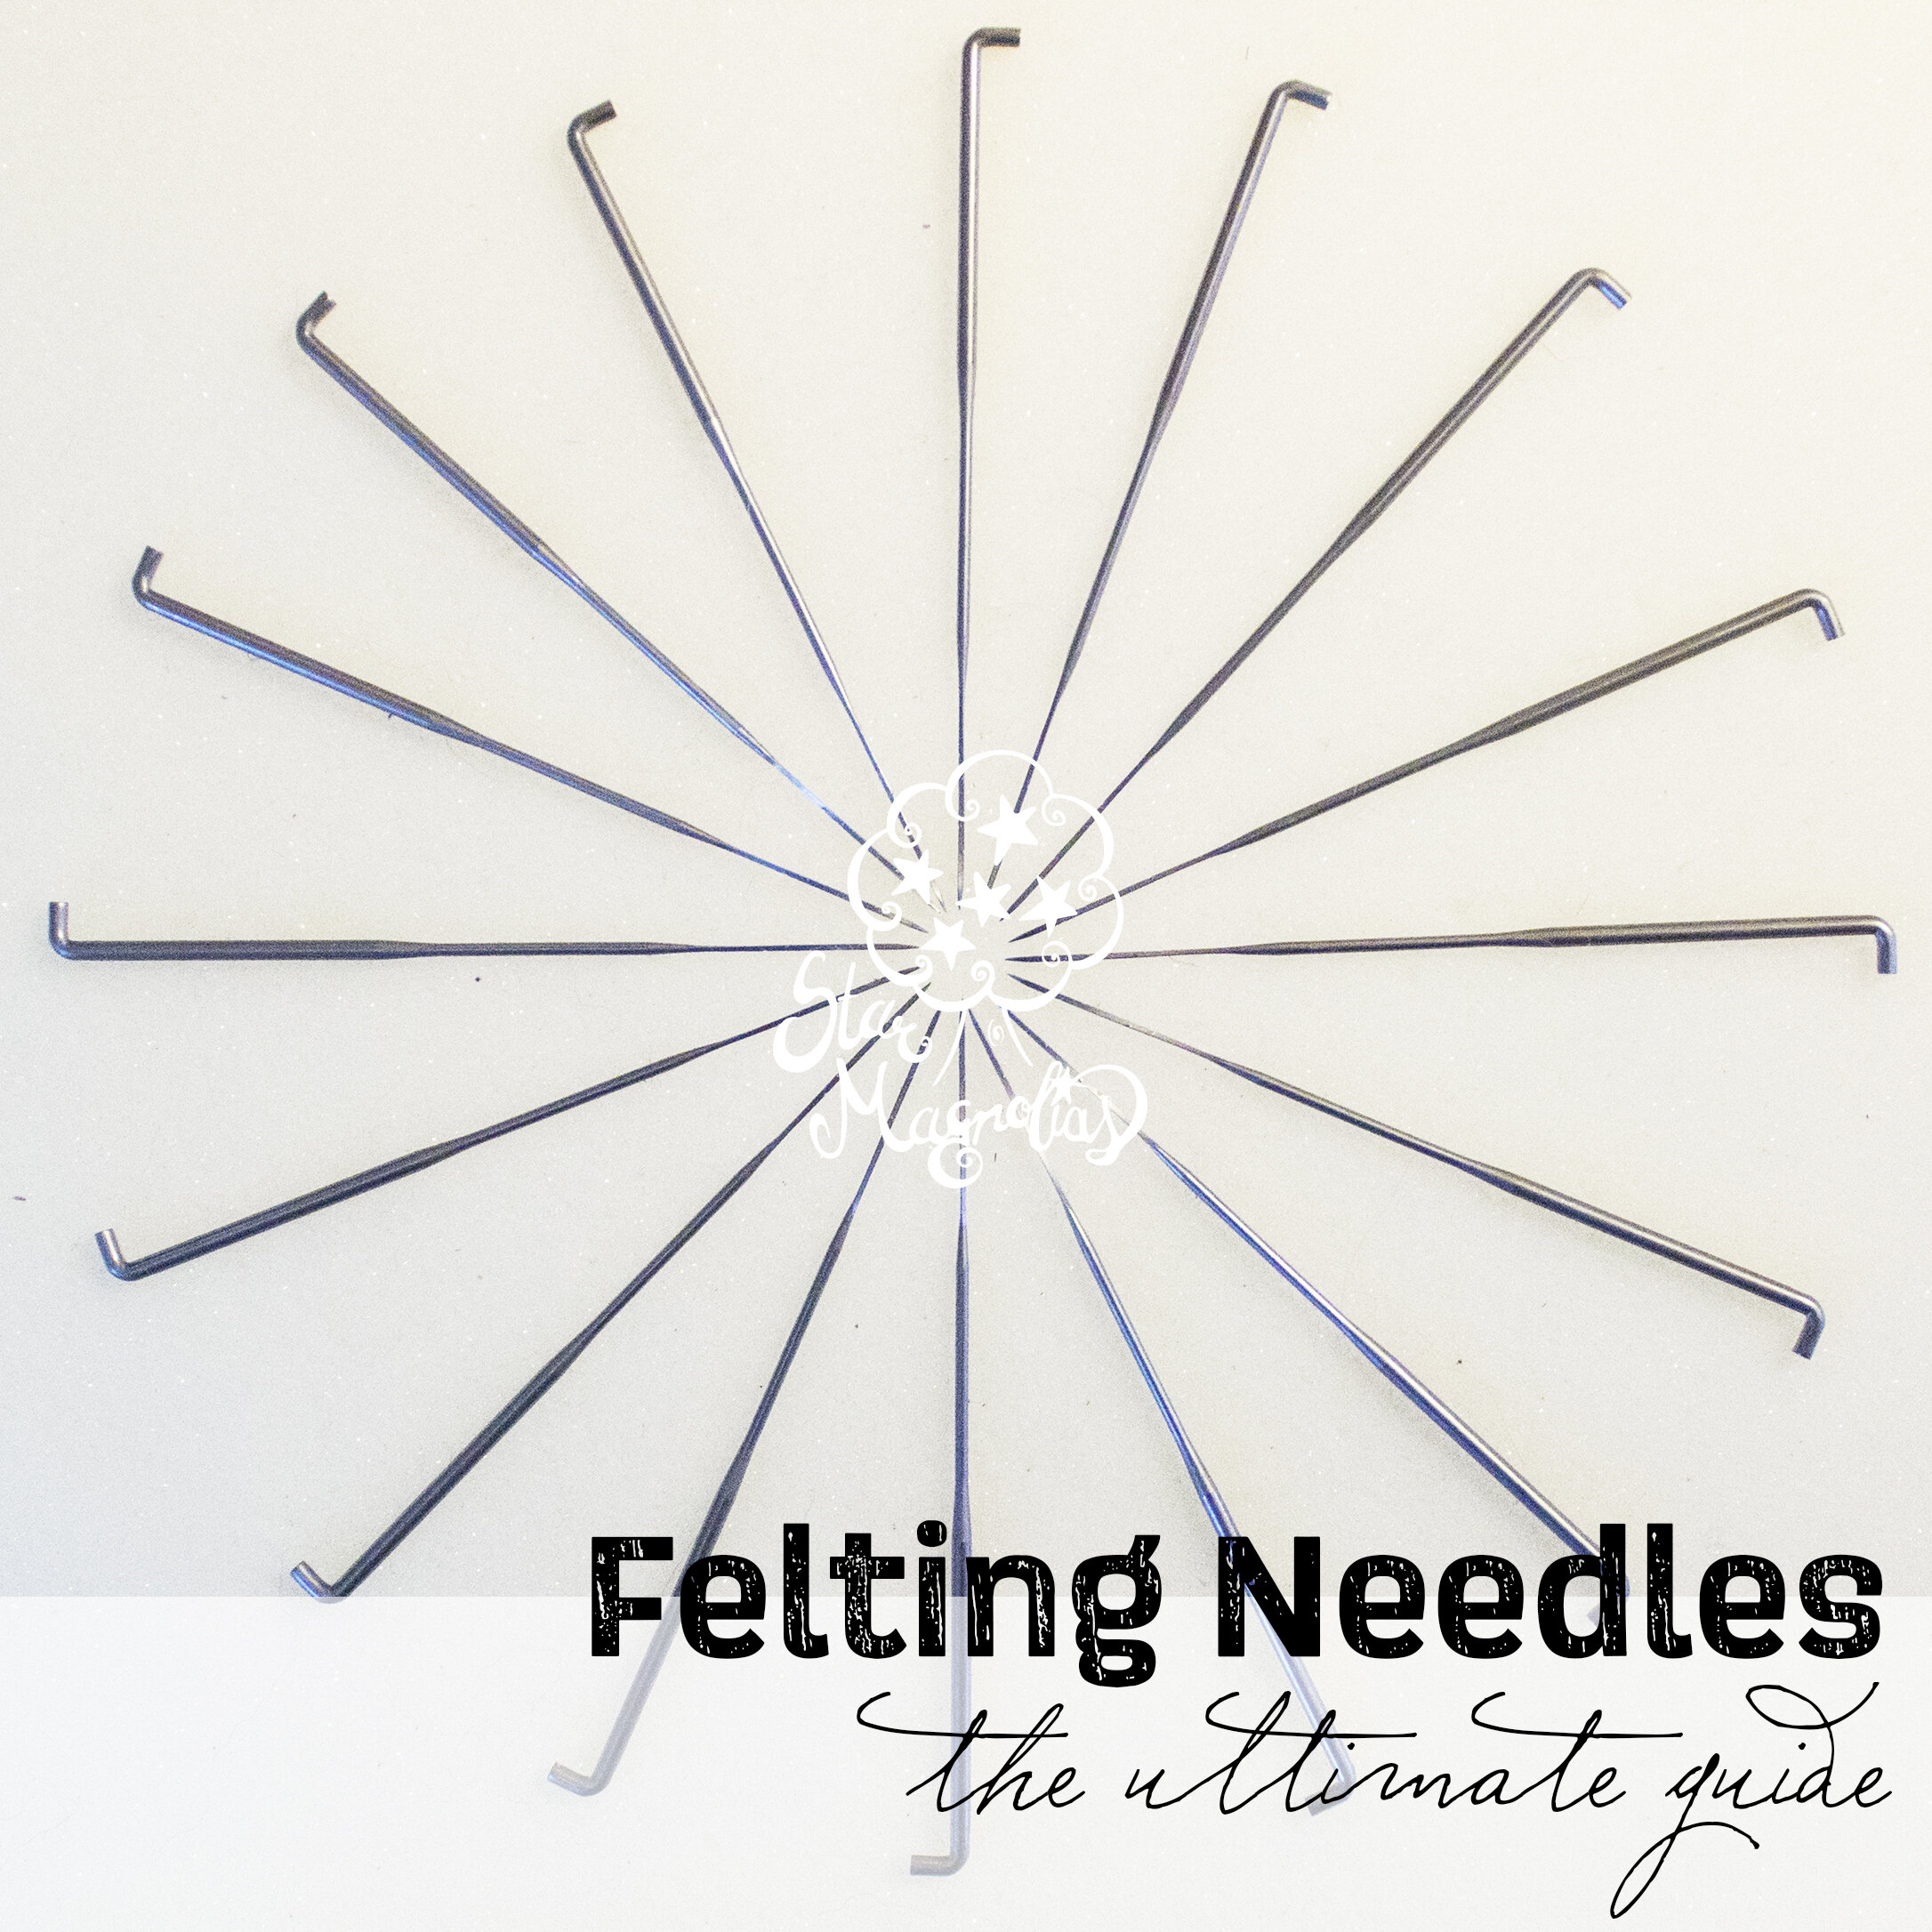
If you take a look again at the picture of the needles at the top of the post, you'll see that the way they come are with a tiny bend at the end. Many needle felters are perfectly fine using the single needles as is, but when you're working on a big project over a long period of time, it can become a bit tiresome. With time, you will find you what it is you enjoy using. Below, I’ve decided to give you instructions on how to make your own polymer handles (I used to sell these. I don’t expect I’ll ever sell them again because of the work that went into it, so here’s how I made them. I’d personally rather spend time making art than supplies. Many people ask me where I got them. I definitely recommend using quality needles - nothing worse than putting all this work into making a handle for a needle that will break on you with little effort.) There are also links to other handle types you can find on the fiber market.

Polymer clay handles with marked sizes.
Handle options and recommended needles
- DIY Handles: For the longest time, I made polymer clay handles for my needles - in fact, I still have quite a few needles with polymer clay handles, so I think I'm set for awhile. If you really want to try making your own, you will want a strong clay for the job. Do not get Sculpey III - that one is very brittle. I recommend watching a video or two that compares types of clay and their durability. I want to say I started out using Premo Sculpey or Fimo, but I'm not confident enough to recommend one or another. You can paint them if you wish, or play with colors. I recommend using a clay machine to help you soften the clay, and you can play around with making cool swirls with it or even completely blend colors into new ones. This is the one I have and use. Also, when building your own handles, you will want a desktop vice like this one that I have, especially if you want to make multi-point needles. Nothing's worse than working on a handle only to find your needles aren't parallel. The nice thing about that vice is it uses a vacuum suction to mount to a smooth surface, if you don't have a good spot to clamp it down. You carefully line up your needles in the vice, making sure they are parallel, tighten the vice, and then start working on the handles. Use a sharp tool to mark gauge and whatever you want to use to indicate the shape. Bake as instructions indicate, let it cool and give it a test run. Then you'll have handles like mine. You can also color code them this way.
- Pink Clover Pen : This one's been around for a very long time, and I have one. It's a decent pen, and has held up. I personally don't use it because I prefer using my polymer ones, but some people like this. That's not an issue with the pen itself, just a matter of preference.
- FeltAlive's Needles : This is what inspired me to make my polymer handles. I LOVE these needles. They are top notch. I still have some of my old FeltAlive needles. You won't be disappointed. I can't rave enough about them. Not an affiliate, they're just amazing. This is for those of you who feel awkward holding felting tools, but want something with a bit more "grip" than a naked needle and don't feel like making polymer ones. Note: I'd been recently informed that there's a possibility they may not be the same quality they were when I bought them years ago, so it's possible they've changed the manufacturer for the needles themselves. I'll have to get some to test out and compare against my old ones at some point, but until then, just be aware that my opinion of the needles is based off their quality when I purchased them back in... 2014?
- Wood Ball Felting Tool : This is a good option to try for those who have arthritis or hand pain and need something big to hold onto while felting. The larger grip area is less stressful than pincer-grasping a needle. Comes with 7 38-gauge star needles.
- Rosies Felting Needle Tool : Similar in style to many common wood handles found in kits, except this unscrews to hold your needles rather than needing to shove a peg in the tool that doesn't necessarily hold well. This is a much better quality tool. Cherry wood, holds up to 8 needles and comes with 8 38-gauge needles.
- FeltCrafts Multi-Needle Tool : There are a few aluminum needle tool options available on the market - this one holds just 1-2 needles max, and comes with two 38-gauge needles.
- 6-Needle Aluminum Felting Tool : Slightly larger aluminum tool than the previous one that holds up to 6 needles.
- 20-Needle Aluminum Tool : I don't know who has the force to use a 20-needle punch, but I had to share it for the sheer ridiculousness of it. More needles requires more stabbing force. Actually, this is probably good for really large felt works or wool painting. I wouldn't use this to knock out a shape. I may have to try this one just to report back... my arm hurts thinking about it.
- Groz Beckert Needles: If you're sad that I stopped supplying needles in my shop - these are the brand of needles I was selling (though mine were spiral, and these only come in triangle and star). Groz-Beckert makes really good needles. Yeah, they're costly, and they're charging a bit more than I did, but they're absolutely worth it. I don't know, maybe I'll offer them again someday. These needles will bend on you well before they snap. You know you did something wrong if they break. I do have plans at some point of buying a few other brands and testing them out, at which point I'll write a separate post. In the meantime, here are a few places you can find Groz-Beckert felting needles:
- Woolery
- Feltingartandfun on Etsy (located in the US)
- Sweet Pea Dolls on Etsy (located in UK) note: typically you want to get uncoated needles for any felting tools, but since only the very tip is coated and not the shaft, these should work!
- Desert Breeze Distributing Co on Amazon sells color-coded as well, but these will not likely work in most felting tools as the coating goes down the shaft of the needle, so get these if you don't use felting tools or if you make your own (like with a make-up sponge).
- Do not recommend: Personal opinion, of course, but I really can't stand those "safety punch" needles with the retractable plastic shield. First of all, you can still stab yourself. Second, the sound of the plastic being retracted is very distracting. I tried using one and ended up tossing it.
There are other tools one might use, such as the AddiQuick Pro, but it is very poorly rated, which is why I’ve personally avoided getting one. It's like the machine gun of felting. There are two sellers on Etsy who make hand-held felting machines: FunnyToysCraft and profithandmade . One of these may be worth investing in instead, as they are constantly working to improve upon the design. Since I started following FunnyToysCraft on instagram, the design has already gone through several changes. I haven’t tried either yet myself, but I am definitely far more inclined to invest in the indie-designed one. Hopefully there will be some newcomers on the scene in other countries as well, like the US, to help with shipping costs. I will definitely add them here as well if I hear of any!
For 2D felting, there are also a number of options - basically things that look like sewing machines but are actually felting machines. There are two popular brands, the Janome FM725 and the Simplicity Deluxe (Update 2020 - it would appear as though these might be discontinued, but you might want to call a dealer to be sure. I am not aware of any others at this time, but leaving this up in case someone gets one second-hand.). I'm still trying to figure out what the price difference is between the two, though there are more complaints about the needles breaking on the Simplicity, the replacement needles are hard to find and there is a question of quality or longevity. I have not used either machine (Update: I didn’t have one when I wrote this, but I do own one now. Here’s my post on that.), though I'd imagine it would do quick work of needle felting a decent background or layout to which you can add details. If I had the Simplicity, I would consider removing some of those needles. You don't need to use all of them (I hope), and that way there would be a few spares while looking for replacements. The quality of the needles does come into question. Felting needles are definitely a case of paying for quality, as I have used some cheaper quality needles that are far more brittle than the ones I use now. If you have an extra sewing machine collecting dust, you can also get an adapter to convert that into a sewing machine . The only issue with that is once you convert, you can't change it back into a sewing machine - so definitely don't do this on one you're using on a regular basis.
Some Commonly Asked Questions
Do felting needles need to be replaced? Do they dull? Short answer is yes, but they last quite a bit longer than sewing machine needles (which should probably be replaced between every few projects or after one major one). There is no easy way to tell, however if you find it's taking a bit longer to felt than it did when you first got it, try a brand new needle and see if it works better. If it does, it's probably time to toss the dull one (or set it aside just in case you break your last good needle and can't wait a few days to have some new ones shipped). I find that, for me, they last at least half a year if not longer.
What are felting needles made from? From what I can tell (and after a bit of searching), they are high-carbon steel. And magnetic (so you could use those ornamental magnetic needle holders often used by cross stitching and embroidery enthusiasts). They are not, however, rust proof. If you enjoy needle felting "en plein air" - do not leave them out to the elements (which I have accidentally done). In fact, even if it's humid where you live, they are likely to rust sooner than they will dull. To prevent that, you could make a felting needle "pin cushion" filled with rice, or even just a nice jar or container filled with rice.
There are so many different kinds, and I'm just starting out. I really don't want to invest all this money in just felting needles. Do I really need one of each type? Not really. If you're just starting out and not sure if it's something you'll enjoy doing on a regular basis, my personal recommendation would be to get some 38 and 40 gauge spiral needles. Or get a 38 gauge needle in each type. That’s pretty much all I use these days. However, if you DO enjoy needle felting (which I think you will) and want to continue improving your skills and your craft, I do recommend buying a sampler so you know what you like. I mean, you’ll probably want to just get anything felt & fiber related anyway at that point. Reverse needles are less necessary - I have been needle felting for 3 years going on 4 (when I’m writing this post), and I haven't found myself wishing I had a reverse felting needle as of yet. (Update 2020: I still use just the 38 and sometimes the 40. Haven’t needed anything else, and you’ve seen what I’ve made with that. Update 2021: nope, still haven’t needed one, but made a note to get one just to write a separate post on it, because why not?)
I keep breaking my needles! What am I doing wrong? (And if it breaks off inside a sculpture, do I need to dig it out?)
When needle felting, make sure you're poking in and out at the same angle. It takes some practice to make sure you're not bending the needle while stabbing.
You do not need to stab the needle in deep. Take a look at your needle to see where the notches/barbs are. Stabbing any deeper than that is a waste of energy. Most of the time, you don't even need to stab the needle even that far, as long as a few notches/barbs go in you're good.
Don’t stab so hard! “taking your anger out on your work” was meant to be more of a joke. If you’re going closed-fisted Psycho-stabby on your art, you’re just tempting fate as far as shrapnel and serious-ER-level-injuries go. (Update 2021: I am now realizing I need to add a needle felting safety post.)
Stop buying cheap needles. I’m not kidding. Yes, you get a bunch of them cheap, because they’re cheaper to make. You get what you pay for.
As far as digging it out - if the object is going to be handled at all, absolutely dig it out. The last thing you want is anyone, especially a child, finding it and digging it out for you (with it embedded in their skin no less). However, if it broke off quite deep inside the sculpture, and that's all it is - a sculpture to be looked at and not handled - you can probably get away with not ripping it apart. In my opinion, it's better to be safe than sorry.
Update 2021: I have made a note to update the graphic below to make it much cooler. Stay tuned! Also please stop cropping my site name off when saving and sharing, that’s stealing my art. I drew this by hand, but even if I didn’t, I still made it, the hand drawn thing just makes it feel more unnecessarily mean. I’m giving all this info away for free, so why steal? Don’t be that person. Thanks!
Are there any questions you may have that I've left unanswered? If so, please leave a comment and I'll answer it to the best of my ability!

