

Florida Cracker Fleece
FTC Disclosure: Please note that some of the links in this post are affiliate or referral links (full disclosure here), and if you make a purchase or sign up for a service within a certain timeframe after clicking on one of those links, I may earn a small commission paid by the retailer at no extra cost to you. I wouldn't recommend anything that I don’t or wouldn't use myself. Thank you for your support!
This post was last edited/updated in March 2021.
This breed profile is part of the Shave ‘em to Save ‘em program. I am in no way directly affiliated with the Livestock Conservancy other than a volunteer participant as a fiber artist in the SE2SE program - these are simply my personal experiences in working with this fleece.
Breed: Florida Cracker
Conservation Status: Critical ( Fewer than 200 annual registrations in the United States and estimated global population less than 2,000. Unregistered animals are not counted.)
Primary location: Florida/Country of origin: Spain
As far as I am aware, there are no native-to-the-American-continent breeds that existed prior to explorers/colonists bringing them over. However, there are breeds that, once brought over, evolved and adapted to the environment, and as such became naturalized - what is known as a landrace breed. After several hundred years, they no longer resemble the sheep that were brought over, and are now considered American breeds.
The Florida Cracker is one of the oldest American breeds, and is believed to have descended from a mix of breeds that included Spanish churra, though the exact genetic predecessors are not known. There isn’t a ton of information on them out there, however, and they’ve nearly been wiped out a handful of times (a story that seems to repeat with most of the old American breeds from what I’ve found), but here’s a good source if you’re curious. The official designation as a distinct breed is fairly new - in fact, at the time that The Fleece & Fiber Sourcebook was written, they were still largely grouped with the Gulf Coast Native. The author Deb Robson recently did a post on her experiences with this fleece as well, which can be found on her blog here. For anyone who is interested in working with various breeds, I do highly recommend getting the fiber guide books. That being said, they mainly touch on the fleece itself, and how it is when spun, not needle/wet felted - that’s where I come in.
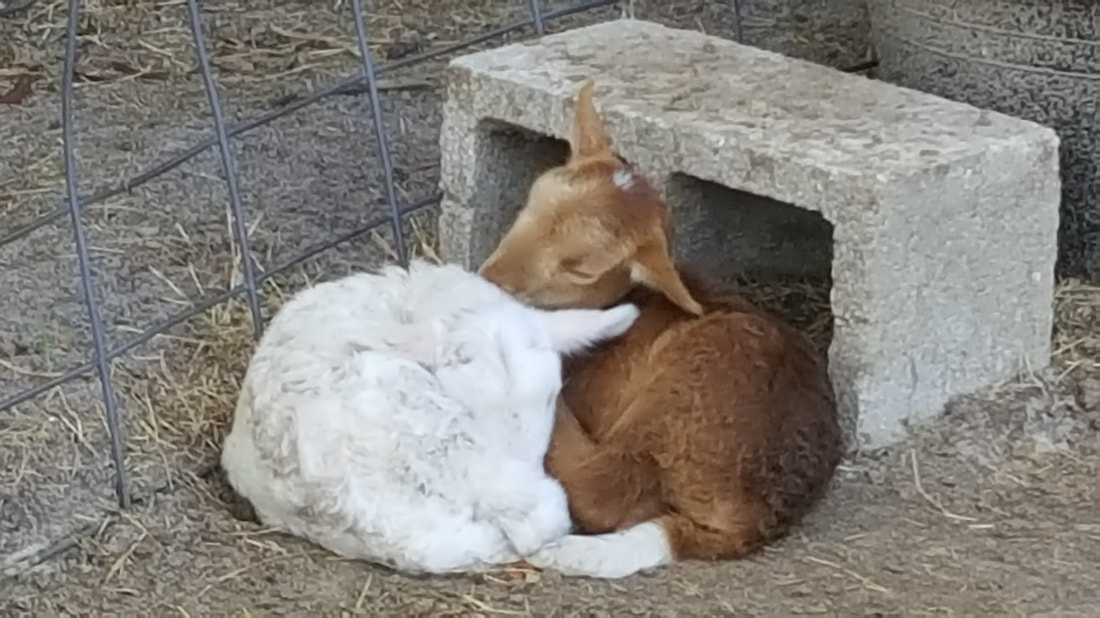
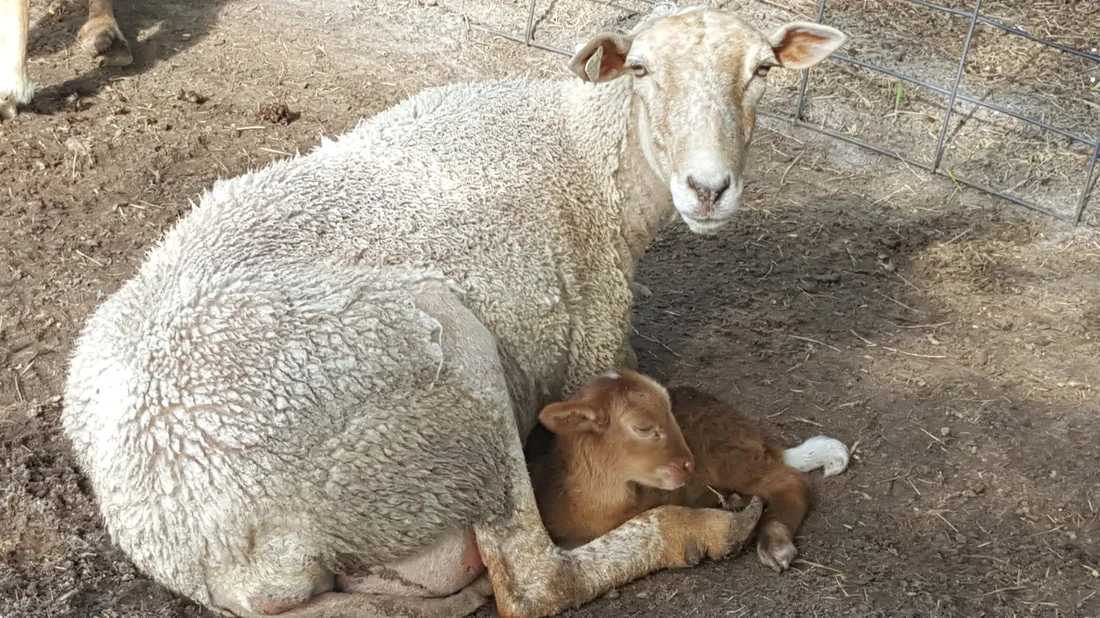
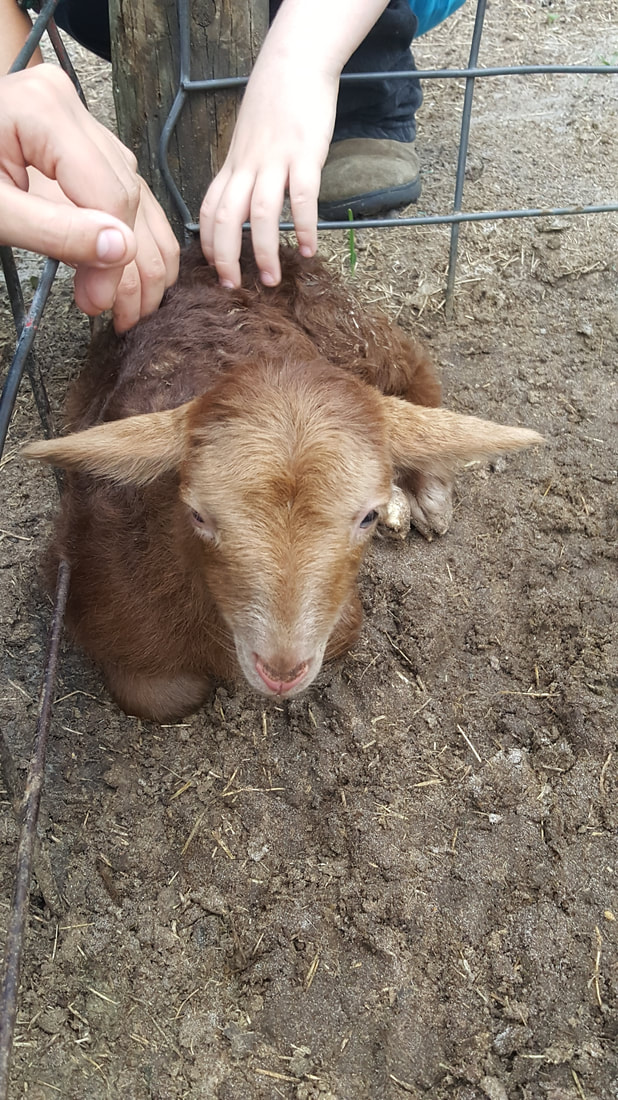
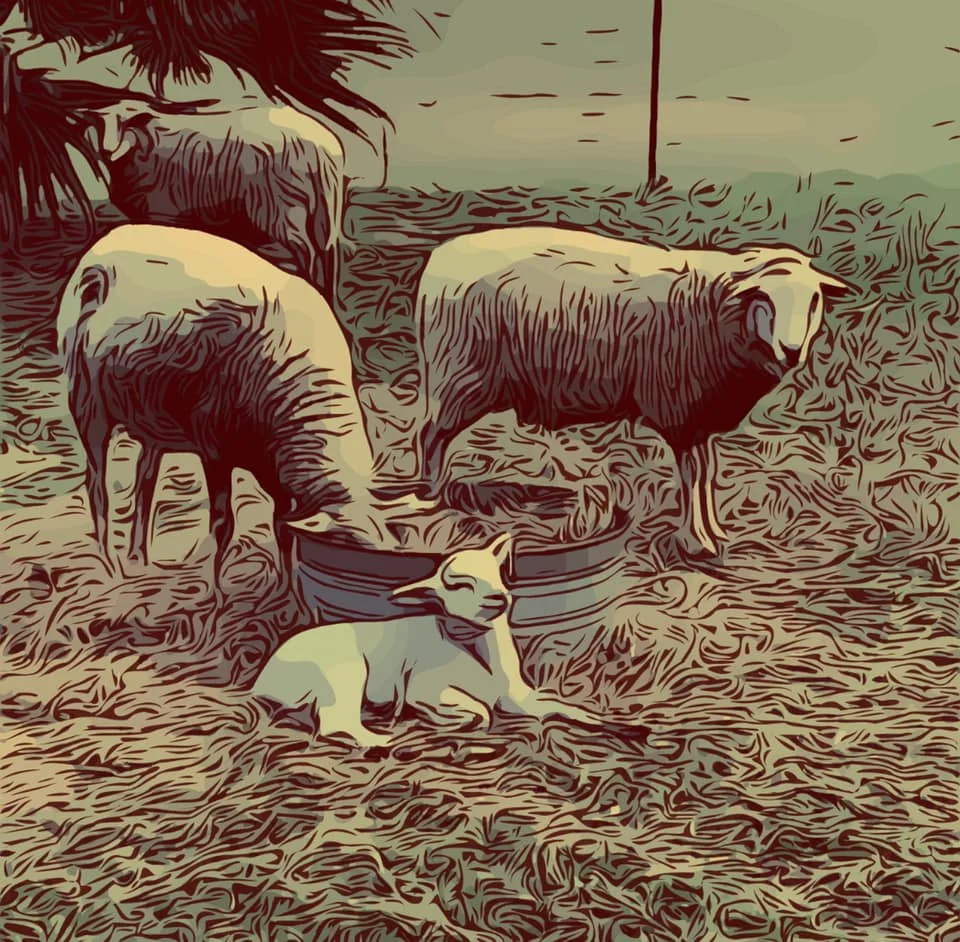
But first, here are a few galleries of sheepies graciously provided by some of the shepherds taking part in the Shave ‘Em to Save ‘Em program (you may find them and other providers on the Conservancy’s heritage breeders directory).
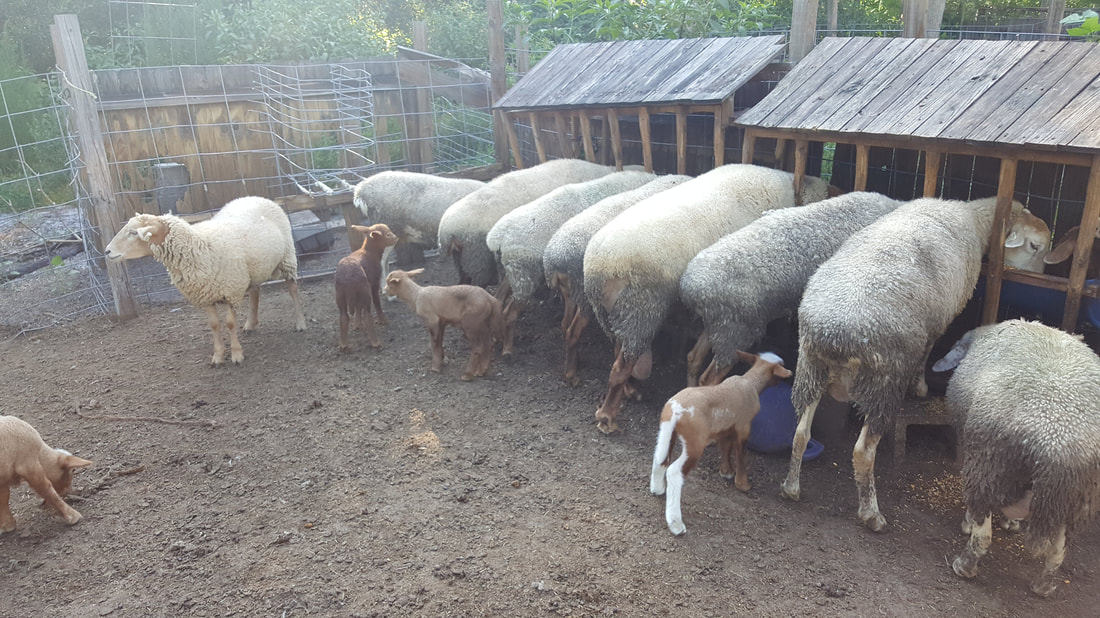
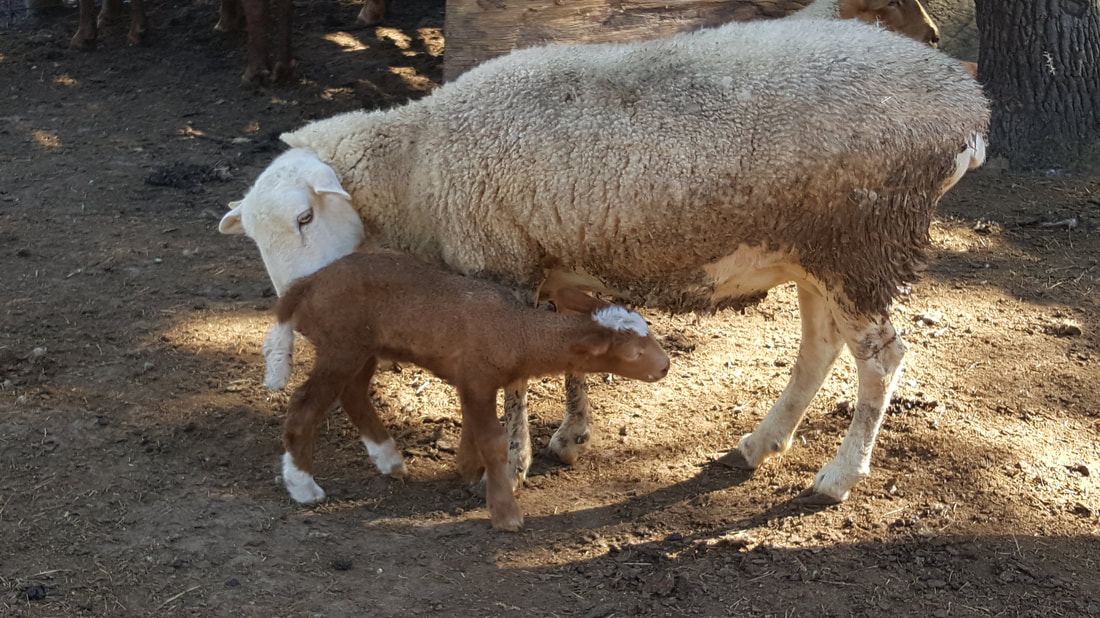
Laura Williams’ sheep:
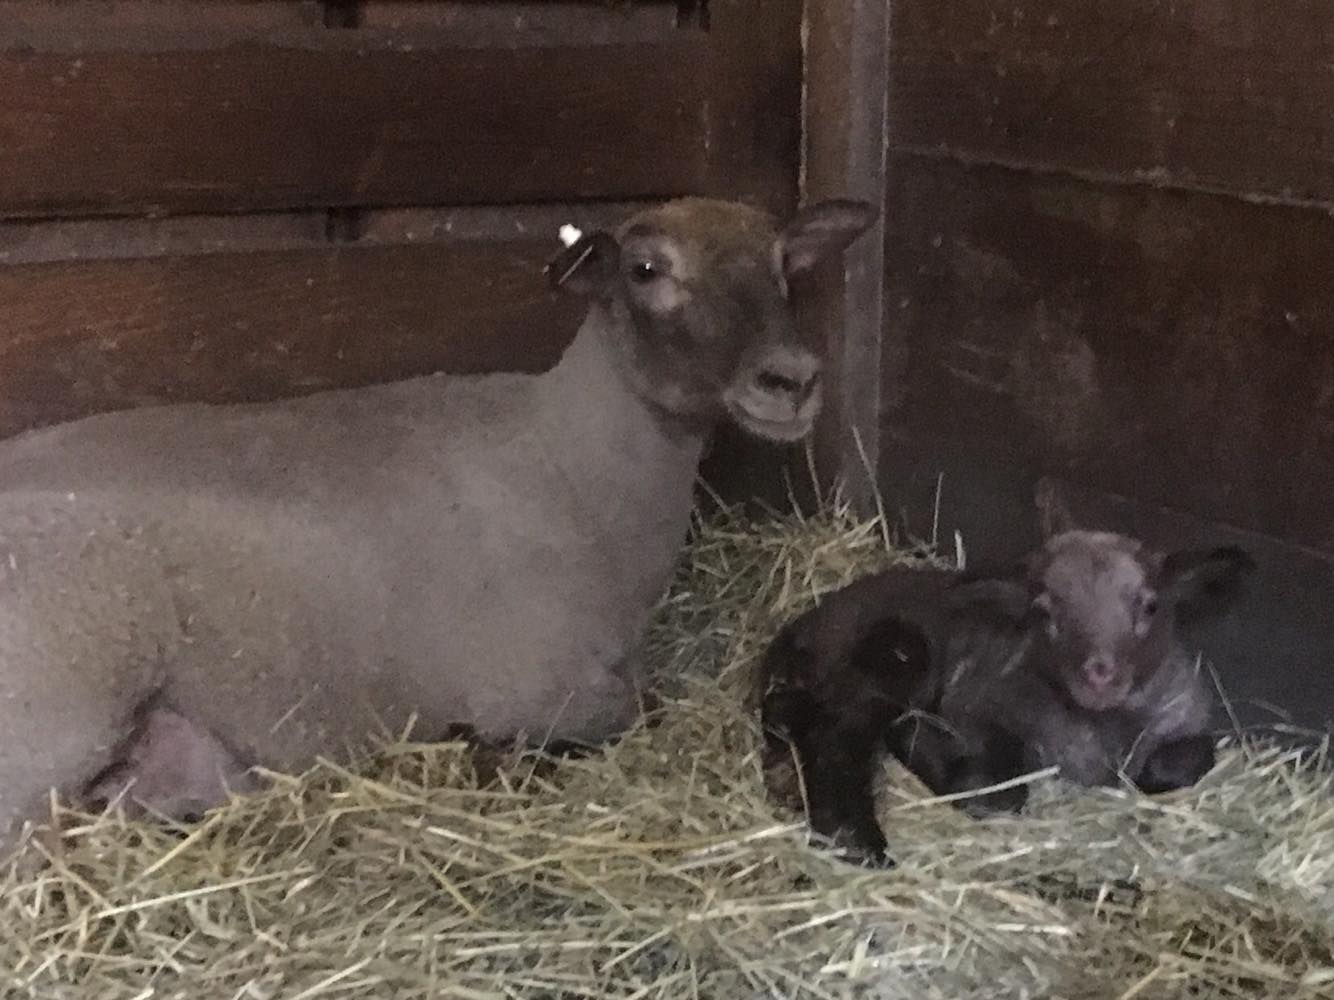
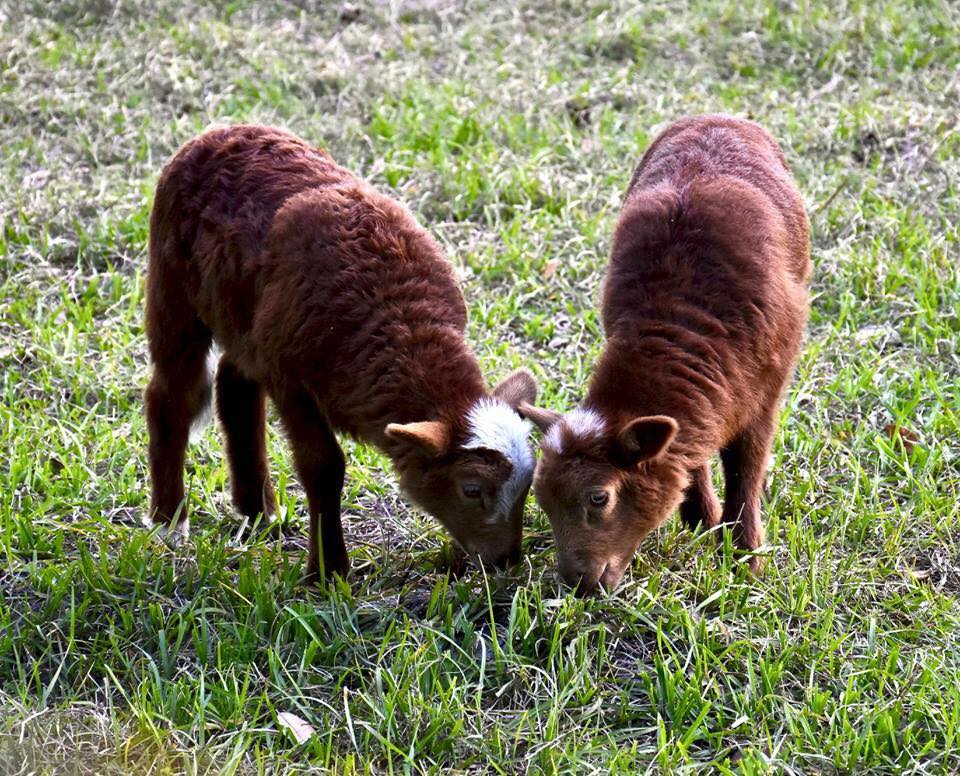
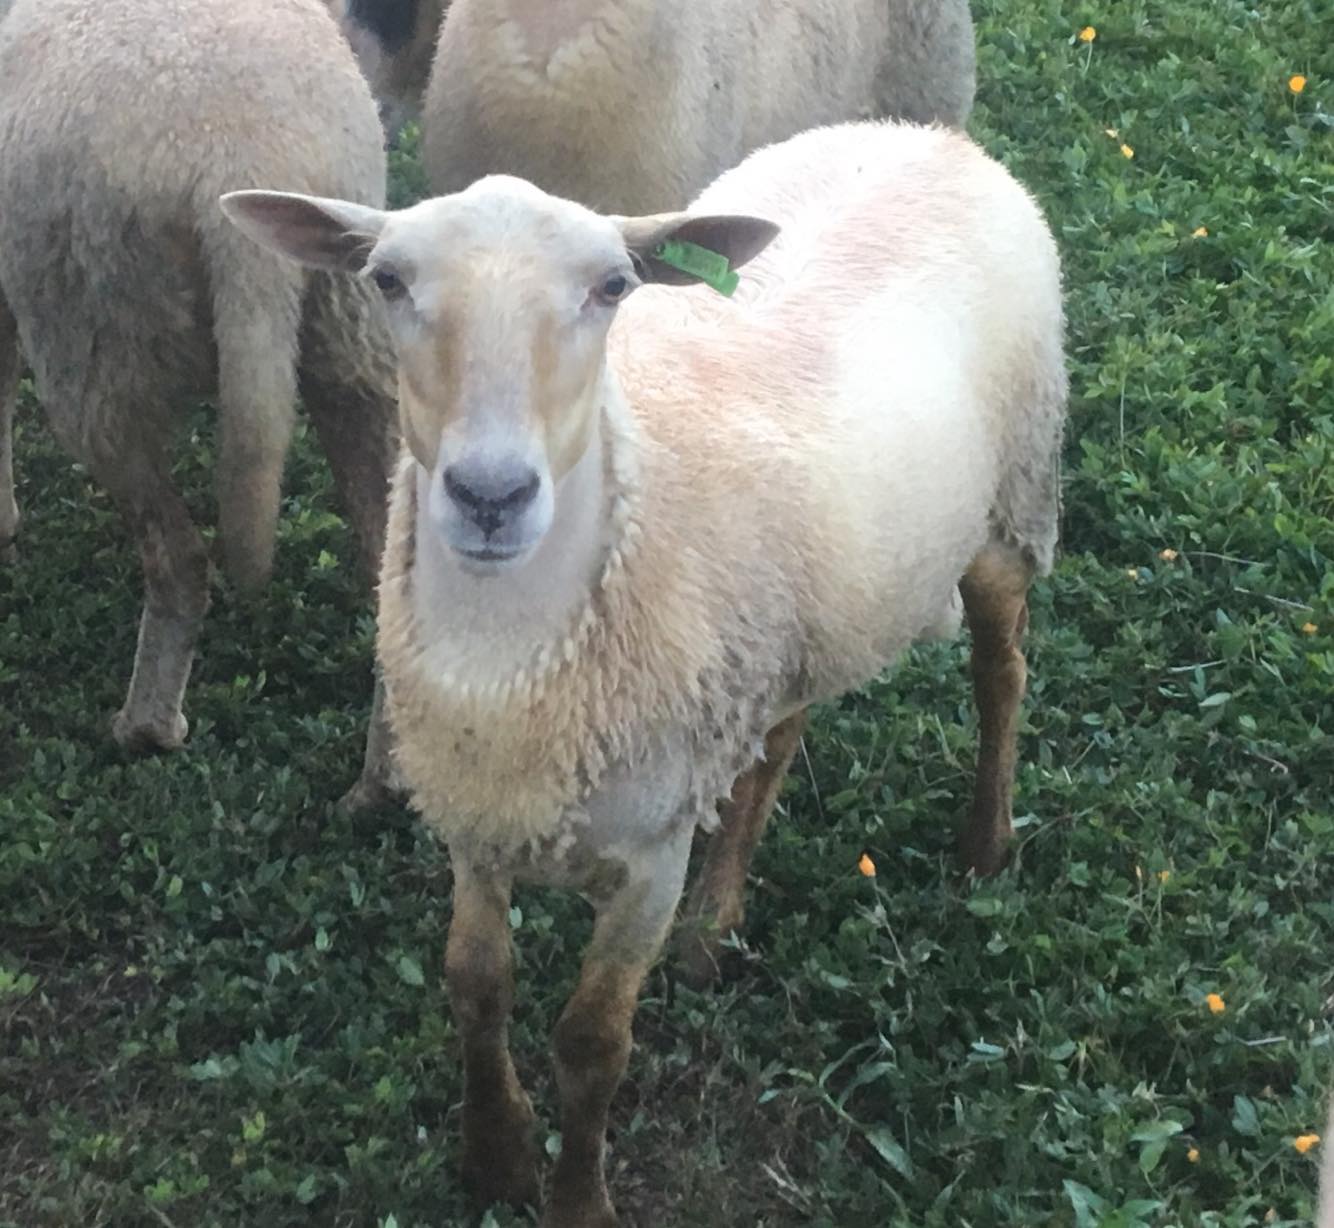
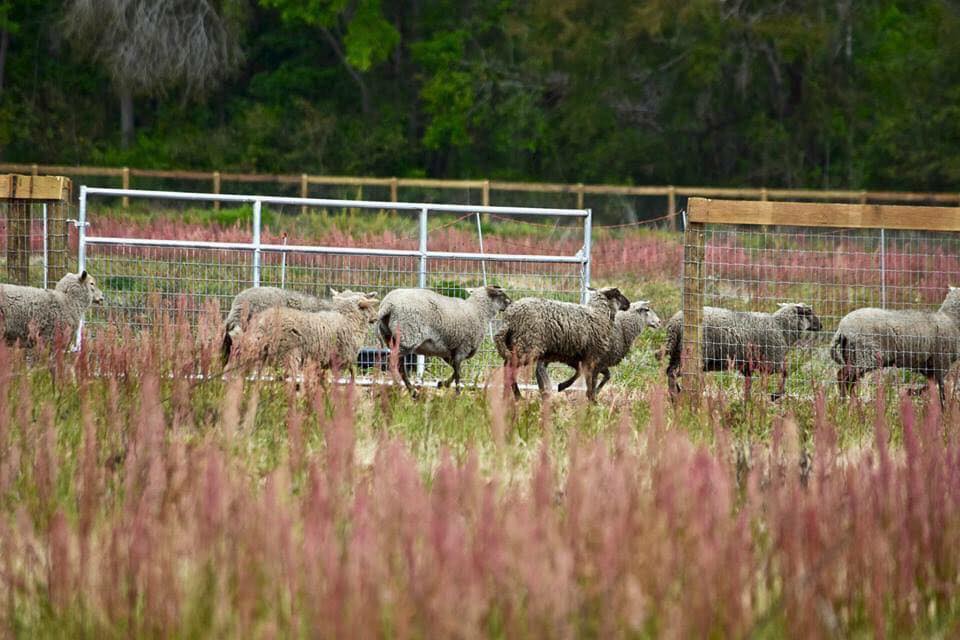
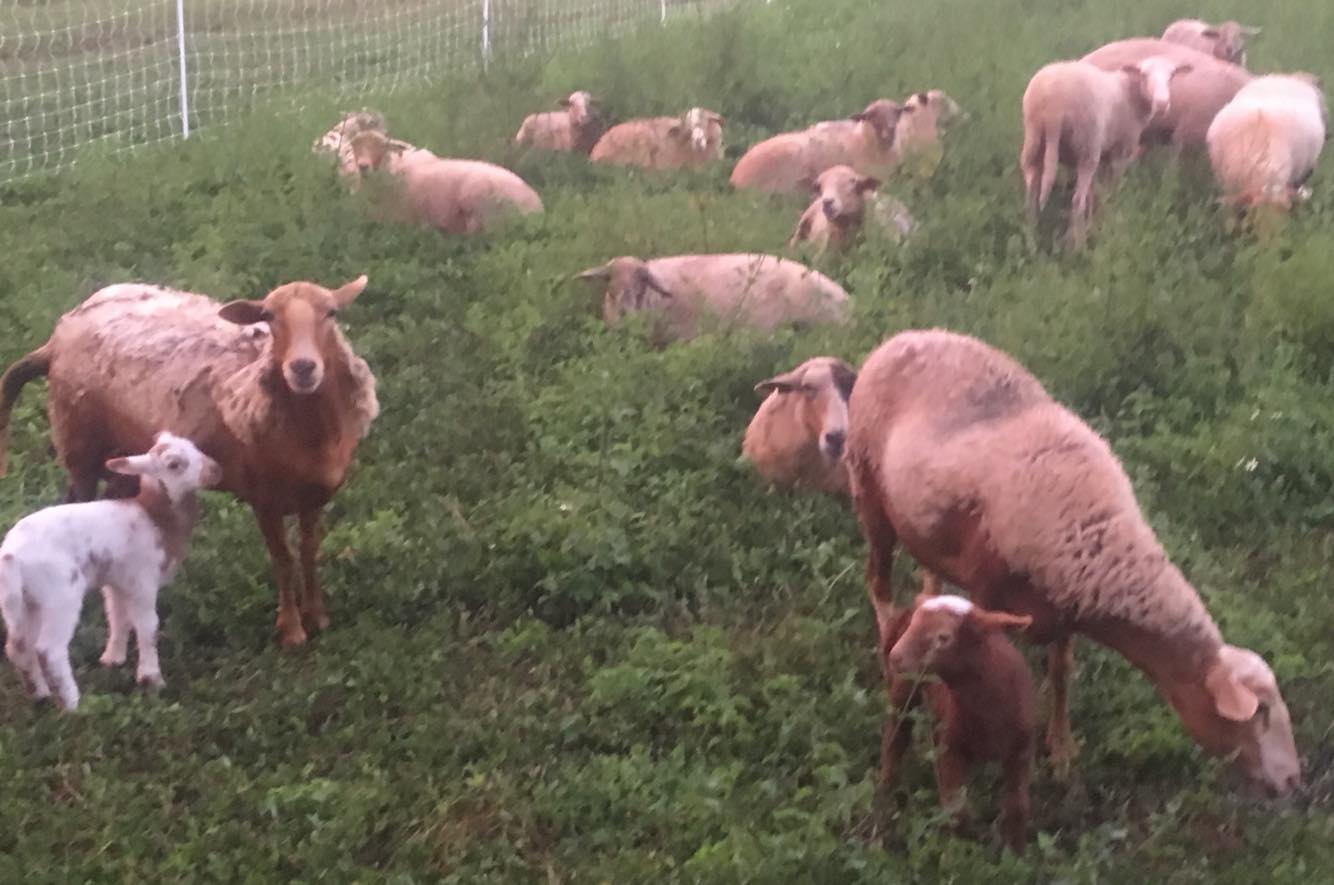
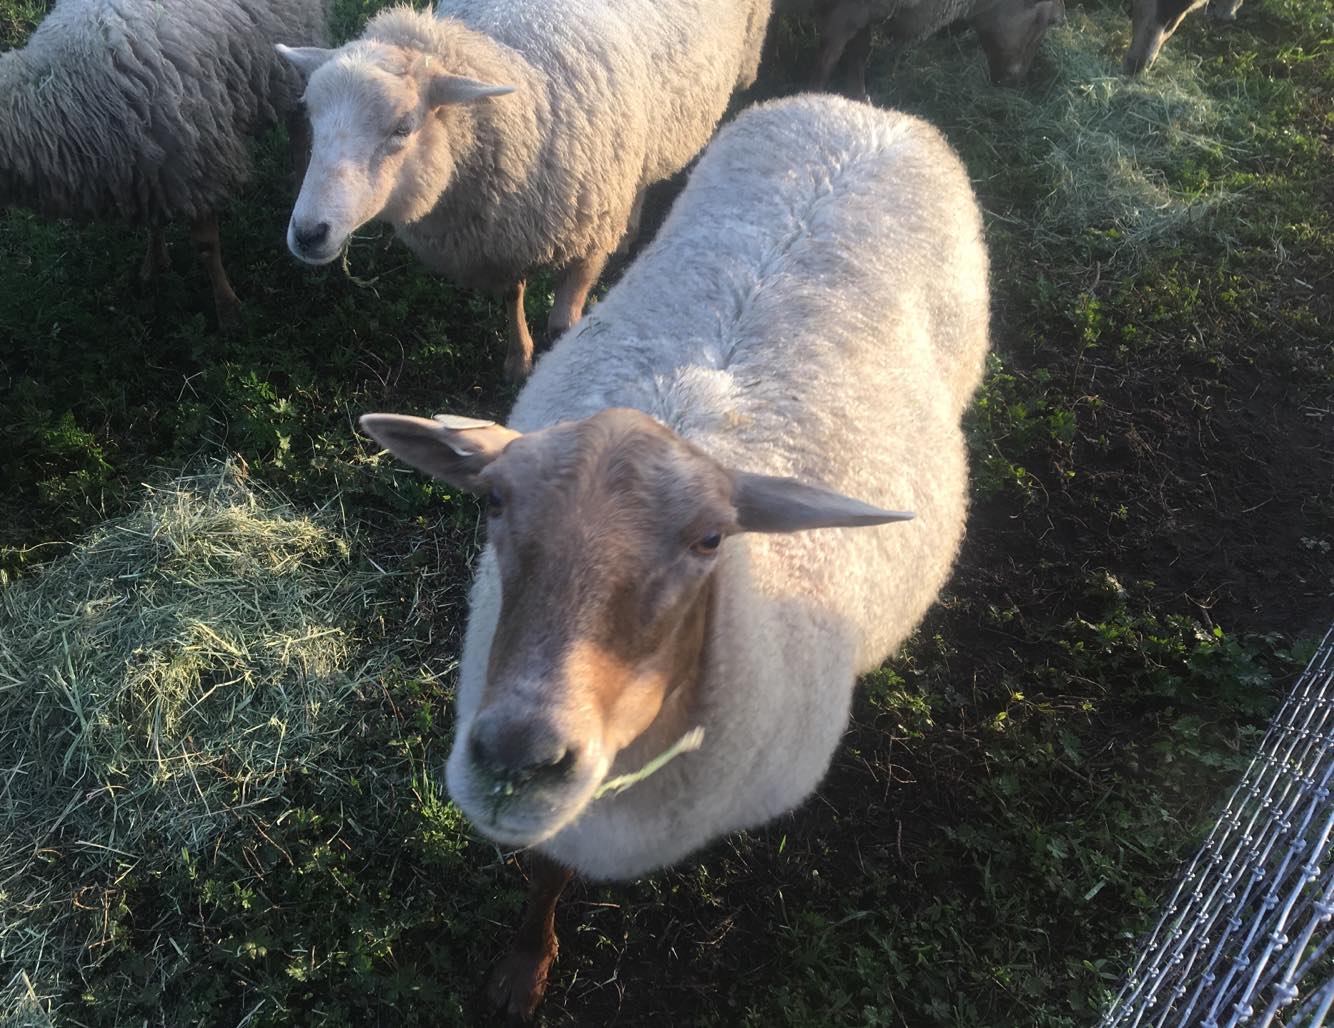
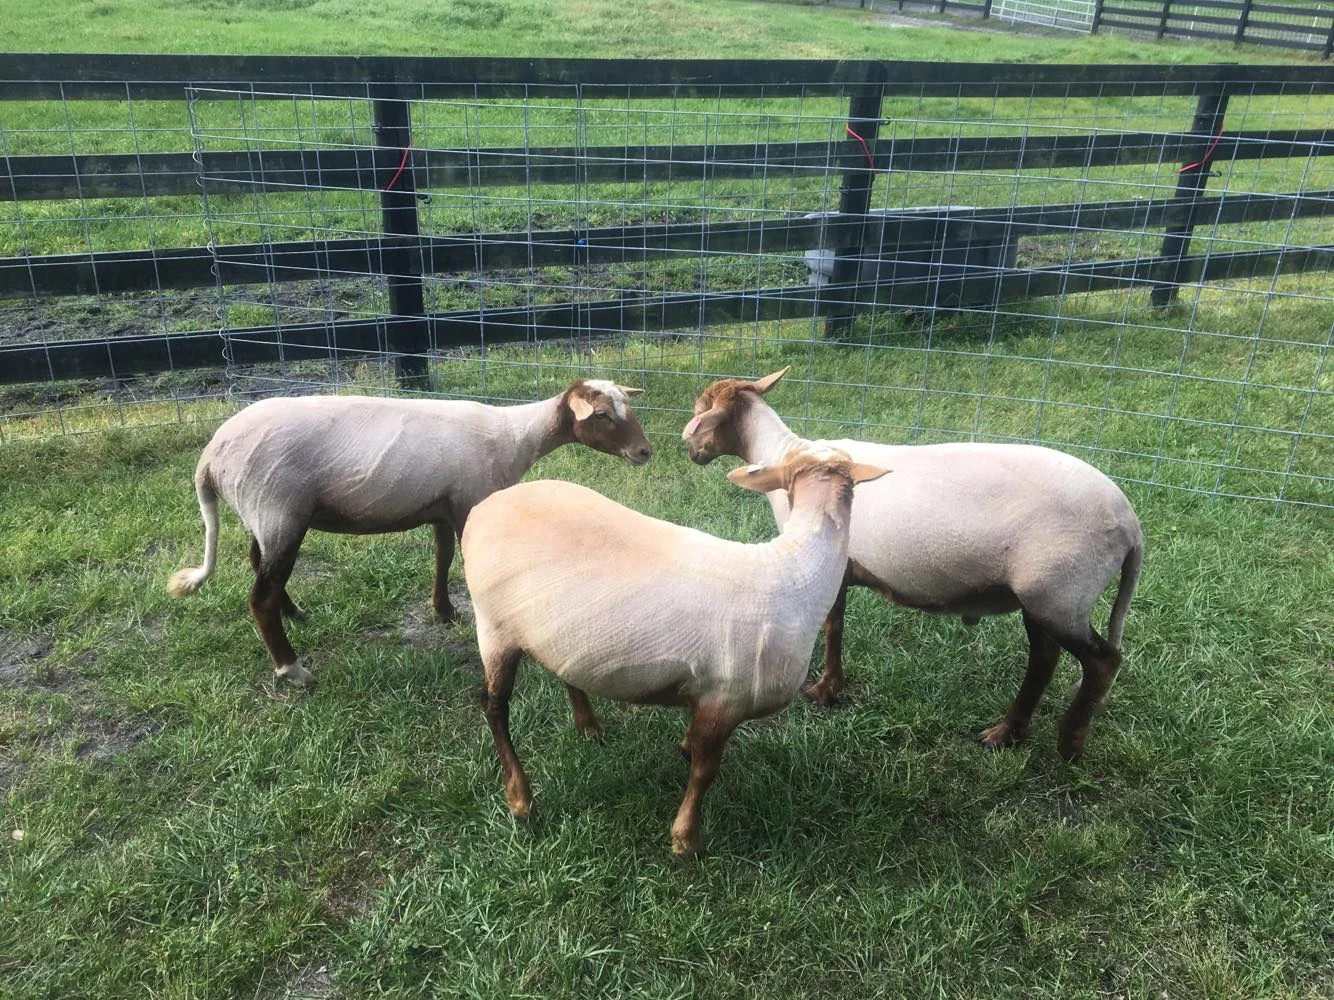
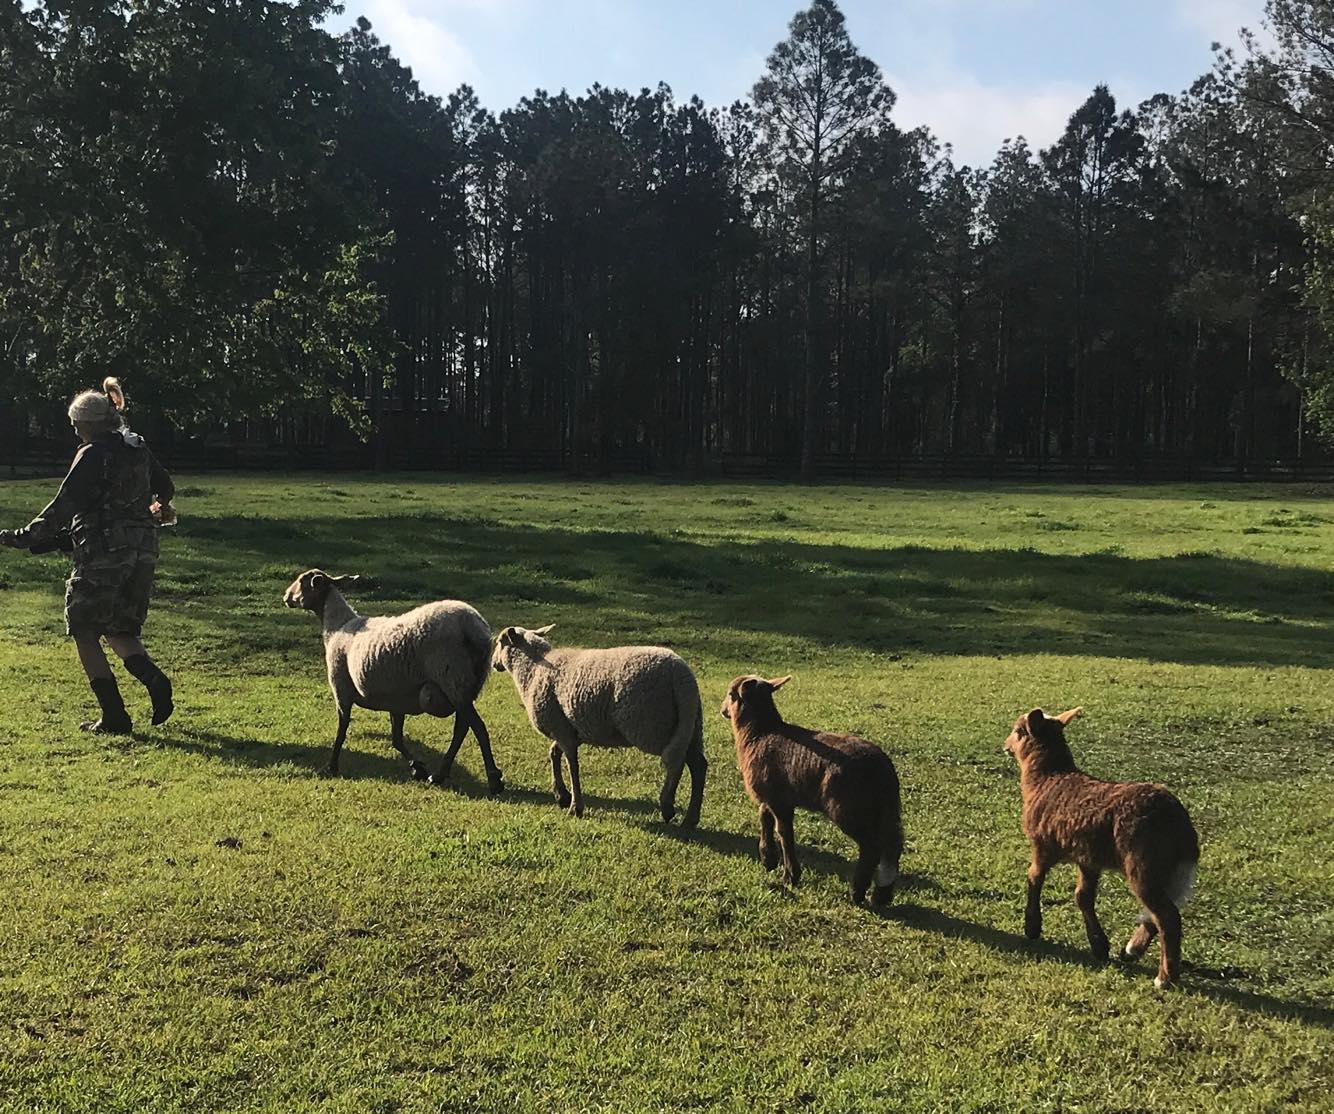
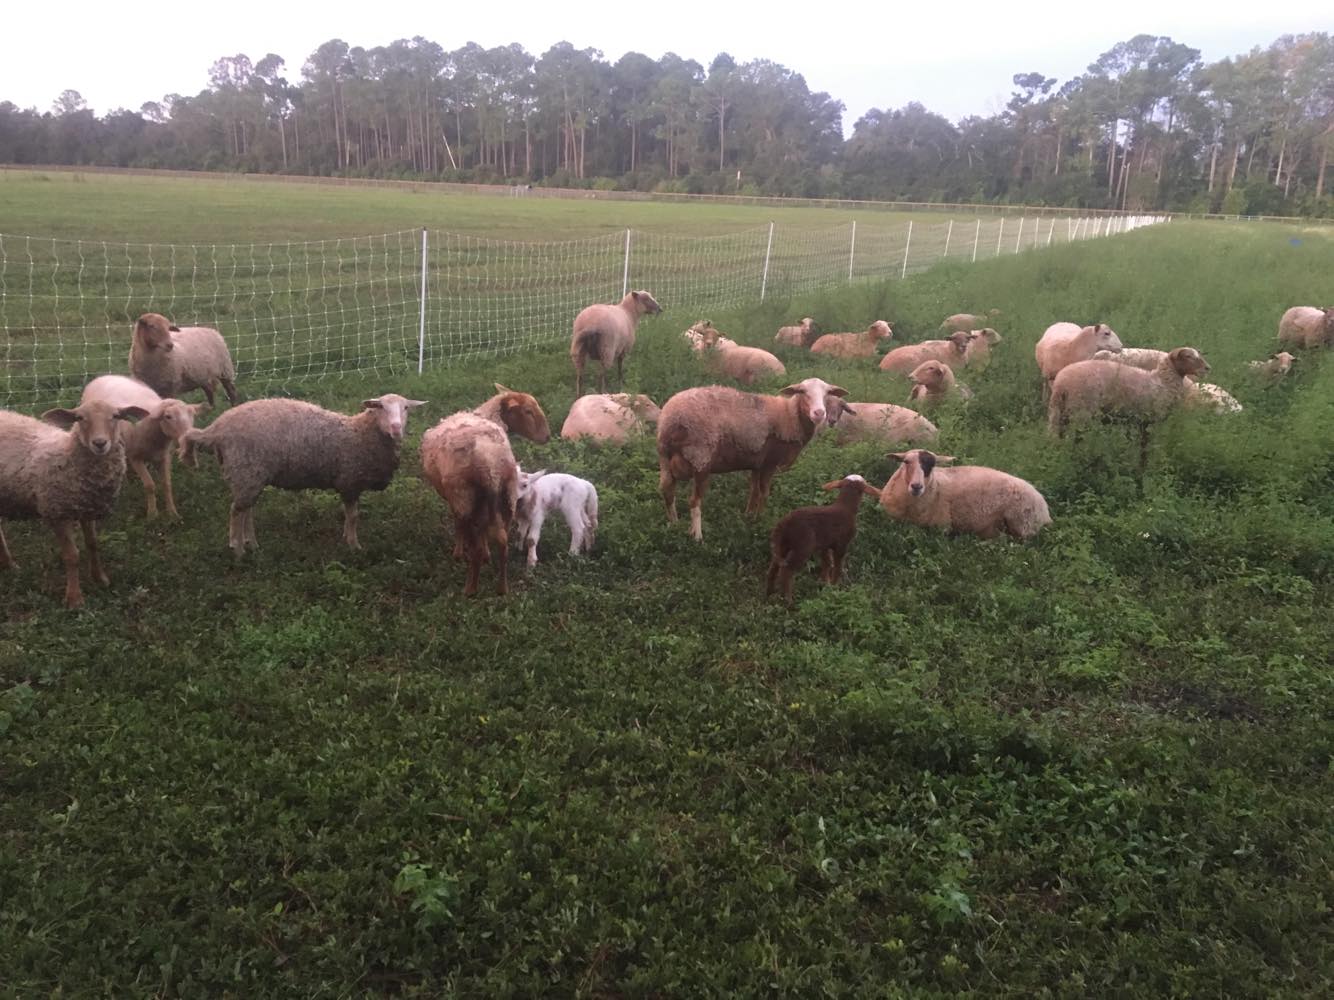
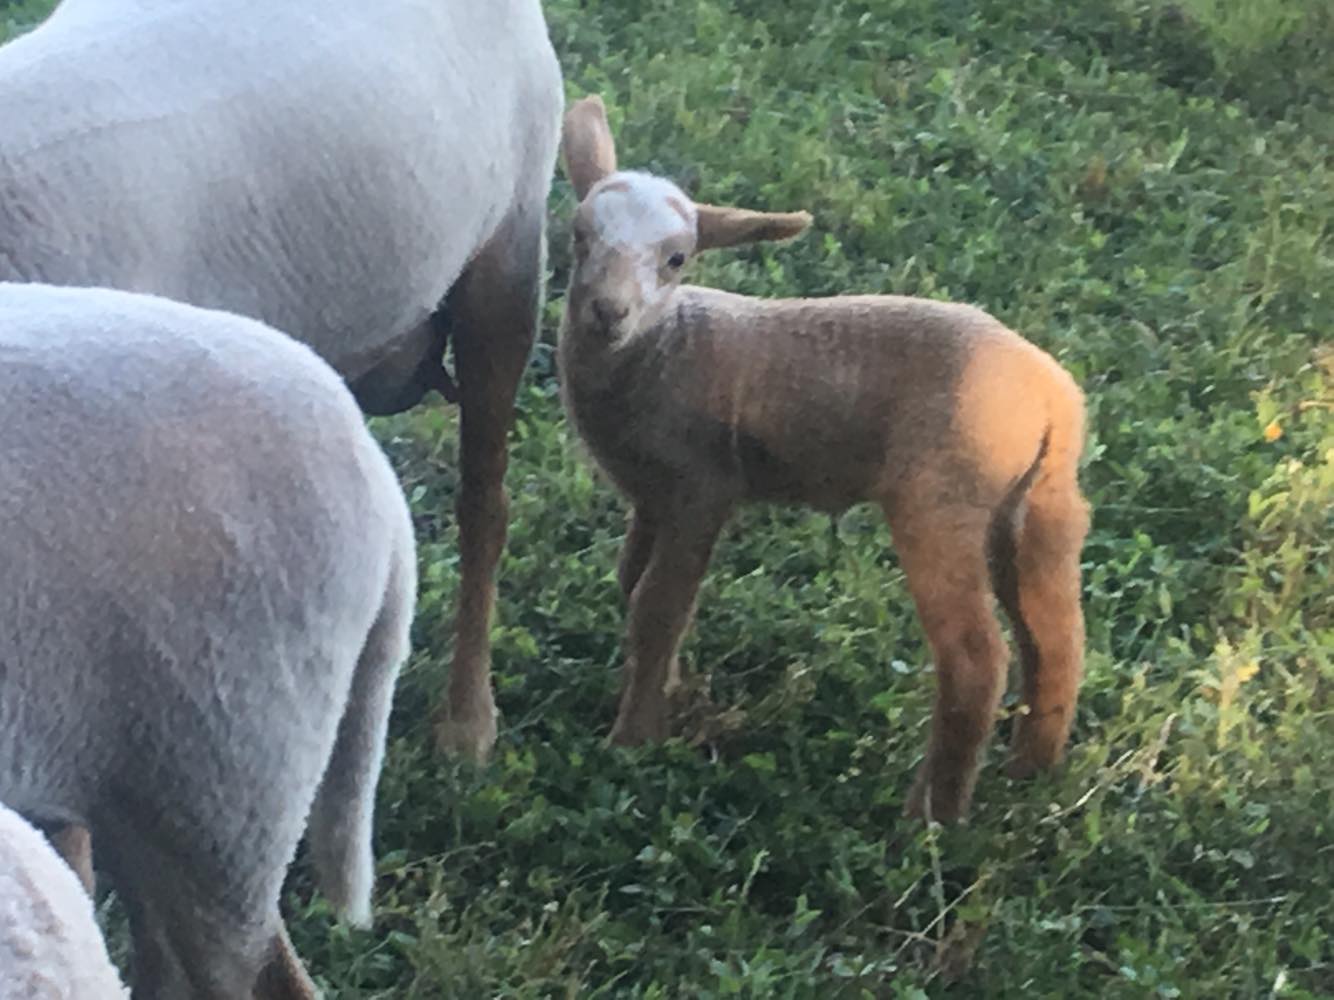
I purchased a pound of wool from Laura Williams after finding her on the Shave ‘Em to Save ‘Em Facebook group (the photos of the Florida Cracker sheep above are also credited/copyrighted to her and used with her permission) - she does not have a website, but you may contact her to purchase fleece directly through Facebook.
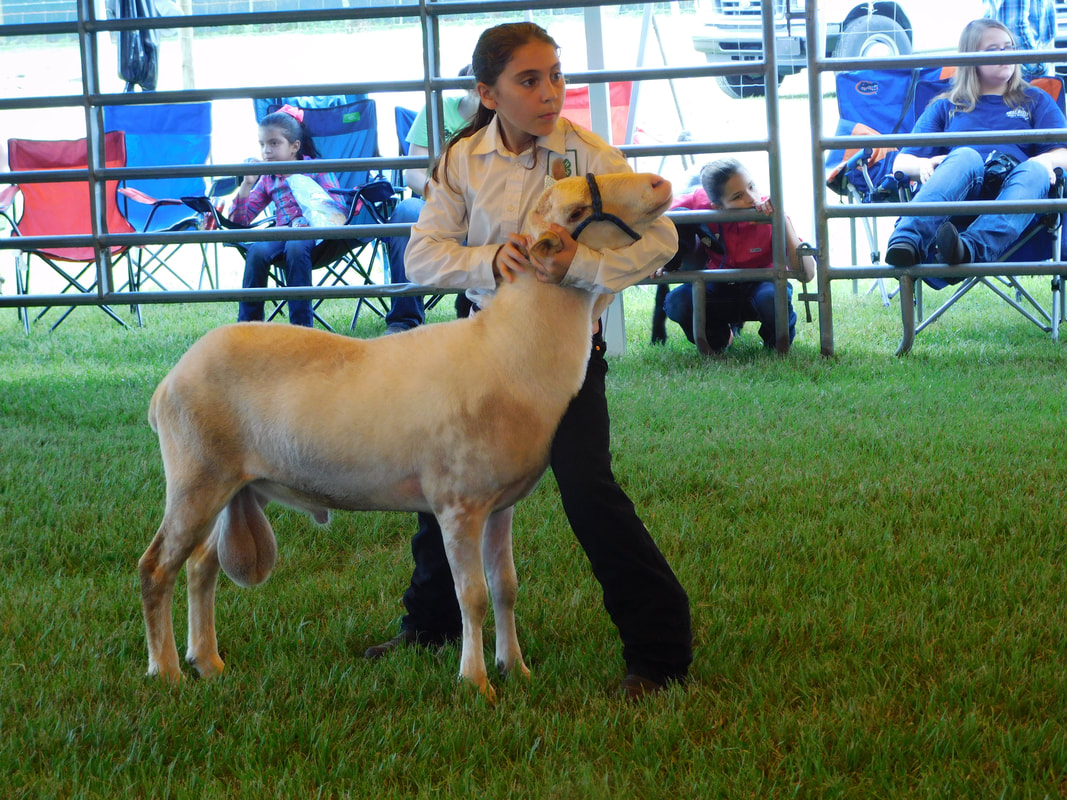
Florida Cracker sheep from Austin & Trysten Carey Ranch

This beautiful art was provided by Celeste Auvil of Silver Bullet Farm
So on to the sample that I worked with…
raw wool/washing
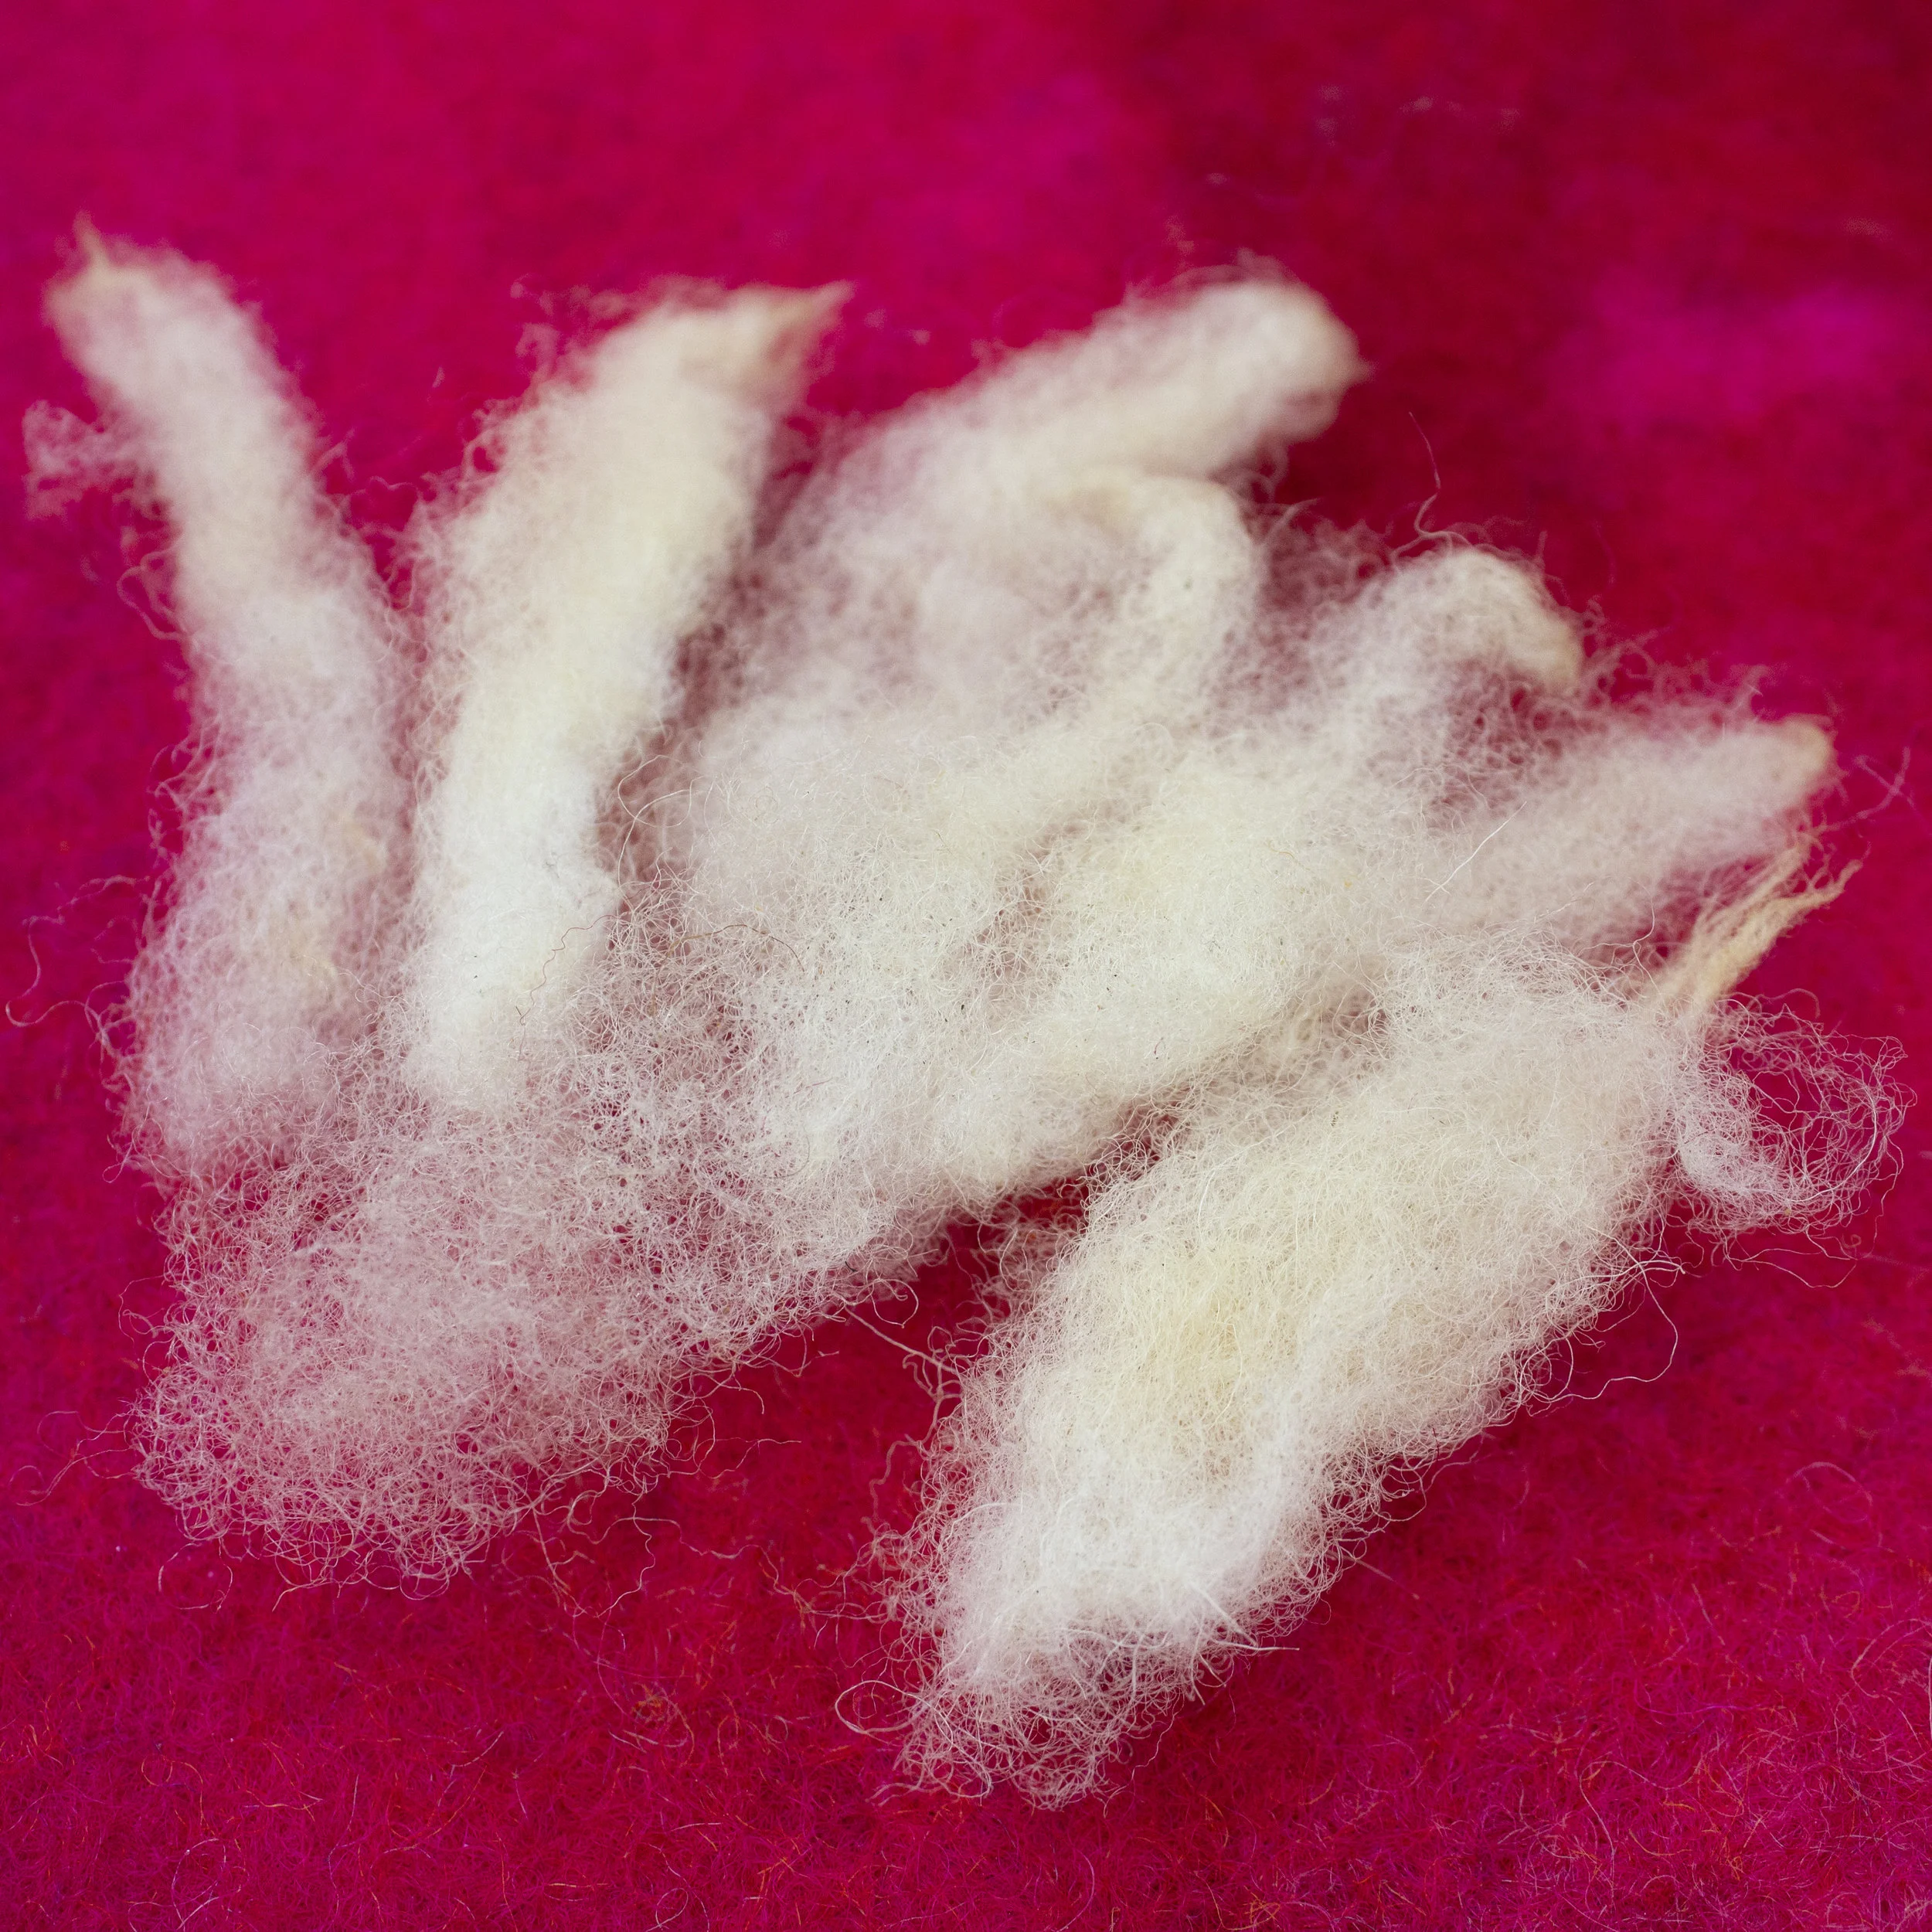
My first impressions of the raw wool were that it was not greasy compared to some of the wool I’ve worked with (though I’m also used to working with wool that has been sitting around a while and not freshly shorn). It wasn’t covered, so there were some dirty tips to work through. I used my usual method of 2 soaks to rinse the dirt off and soften any dirt on the fiber, followed by a hot wash with Unicorn Clean, and rinsing until clear. The final color is an ivory/cream color, with no other colors present, and any VM present was minimal.
The final staple length of the sample I received averages around 3 inches. After washing, although there are a few locks that show some semblance of a crimp and structure, it mostly came out fluffy and looks like a cloud (what Deb refers to as “lacking character”). The fiber is matte, not lustrous. In comparison to her blog post, the fleece I ended up with was a combination between the first and third that she used - I had no fiber prep challenges (though I use hand carders rather than combs), and most of it is on the softer/fluffier side as Fleece #3 but the yarn definitely has elasticity post setting-twist after spinning it up - more on that in a minute. There was no hair (the breed’s fleece is supposed to be free from hair), but there was a tiny bit of other short fibers at the base of some locks which appeared to be kemp, and which you may spot looking through these photos (a bit more noticeable in the wet felt).
dyeing
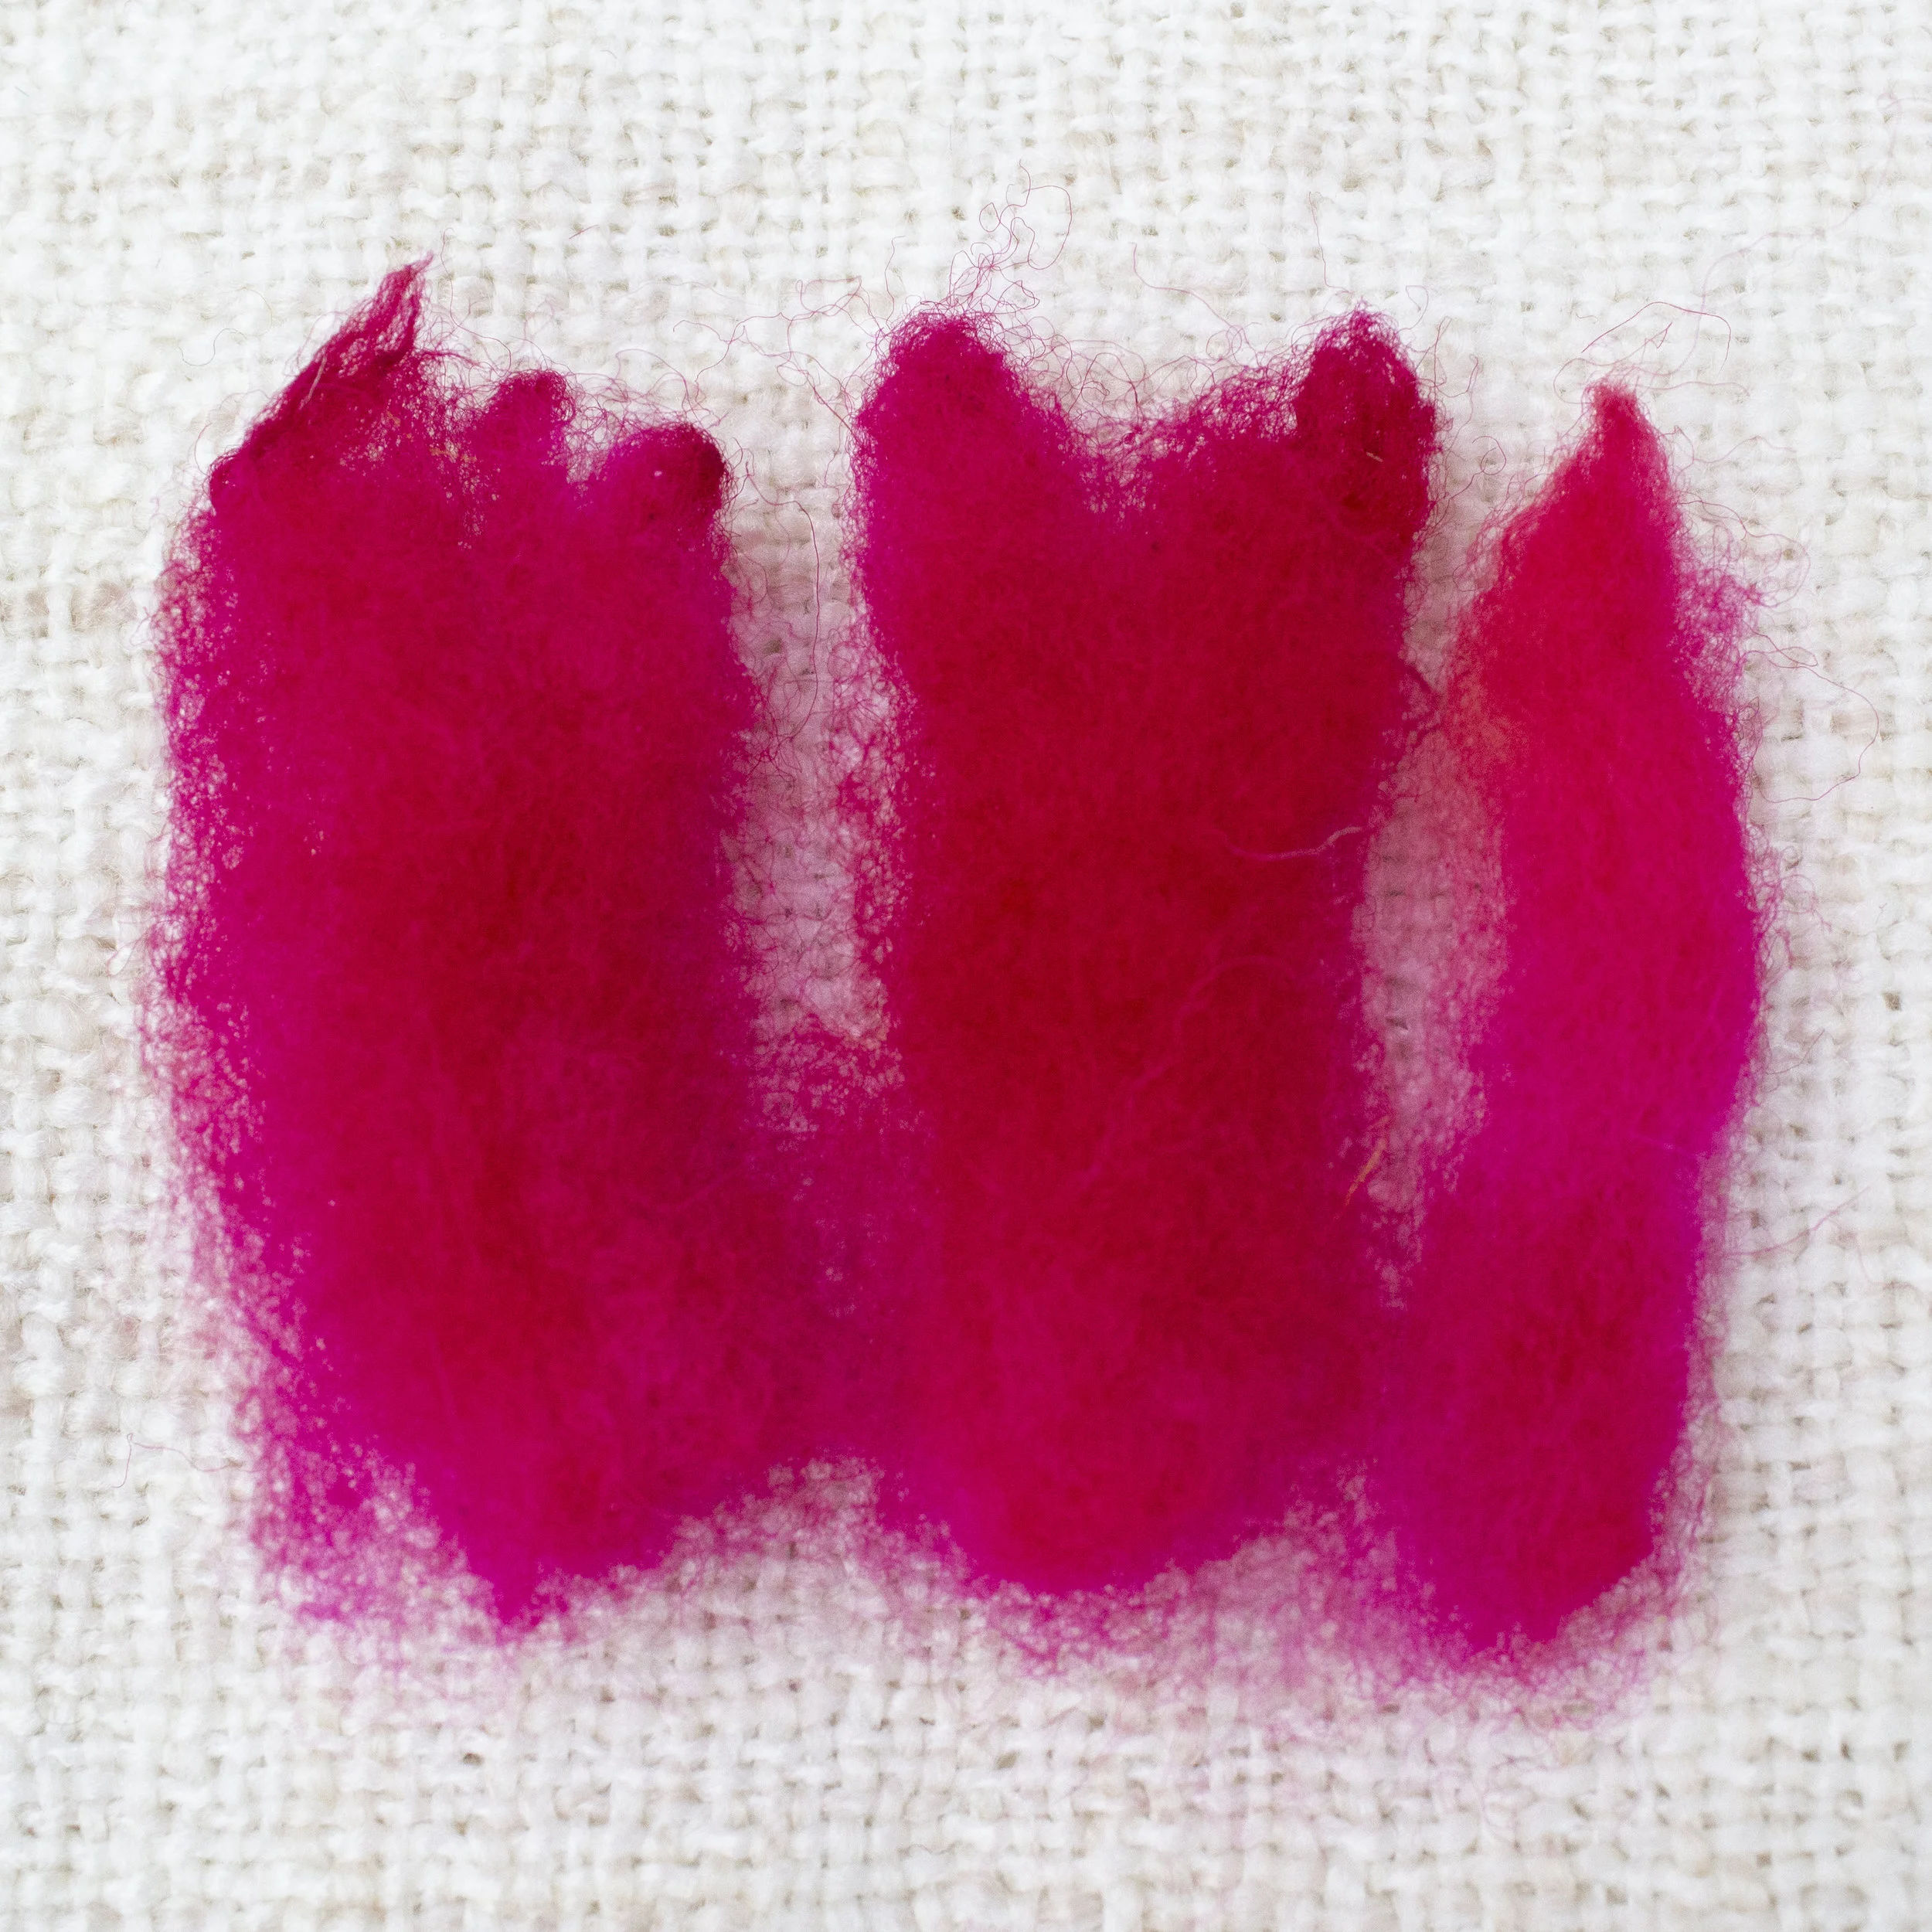
Despite the small amounts of kemp, this wool does not hold back with saturation and vivid colors. I dyed the wool for my project in two batches - the first being cooler shades of colors ranging from purple to aqua/mint, and the second from a golden yellow to cool reds/pinks.
Wet felting

wet felted swatch
Shrinkage Rate = 25%
I opted to do a wet felting test similar to the ones in The Complete Photo Guide to Felting. I wrote a review on this book a while back, and it’s still one of my favorite reference guides.
Starting with a 10”x 10” square of carded wool (with three layers of fibers crossing perpendicularly), using lukewarm, soapy water, felted and then to fulled (felting = pinch test shows fibers stuck together, fulling = shrinking/thickening/stiffening of felt) while timing the process.
The felting process took 10 minutes, plus an additional 25 minutes for fulling on a glass washboard to achieve a thick, dense felt measuring 7.5 inches square. Initially I had gotten it down to 8” square after working on it for 10 minutes, but after discussing with another wet felter, I thought I’d try to see if I could tighten it up any more. After another 10 minutes I got it down to 7.5 inch square that’s extremely dense and tough. The surface is slightly hairy, and the ultimate shrinkage rate was 25% (10”-7.5”=2.5”; 2.5/10=.25 or 25%)
needle felting

needle felting sample
6 minutes to achieve dense felt
1”x1.5” egg
6 additional minutes to finish/refine
Similarly to the wet felting test, I decided to time how long it would take to make an egg shape, and the resulting finish of the egg - I chose 38-40 gauge needles (singles) for the process, because those are the general workhorse/all purpose needles most people have on hand. It took only 6 minutes to needle felt a firm, dense 1”x1.5” egg using only the 38 gauge needle, and an additional 6 minutes with a 40 gauge needle to smooth and finish the surface.
Verdict: This fleece is excellent for needle felting with quick results. If you were to dedicate a little extra time to poking it with a 40 gauge, you would be able to achieve a very smooth finish with minimal-to-no hairiness. After the test, I spent a little extra time poking in one area with a 42 gauge and found that it’s effective at refining the finish.
spinning
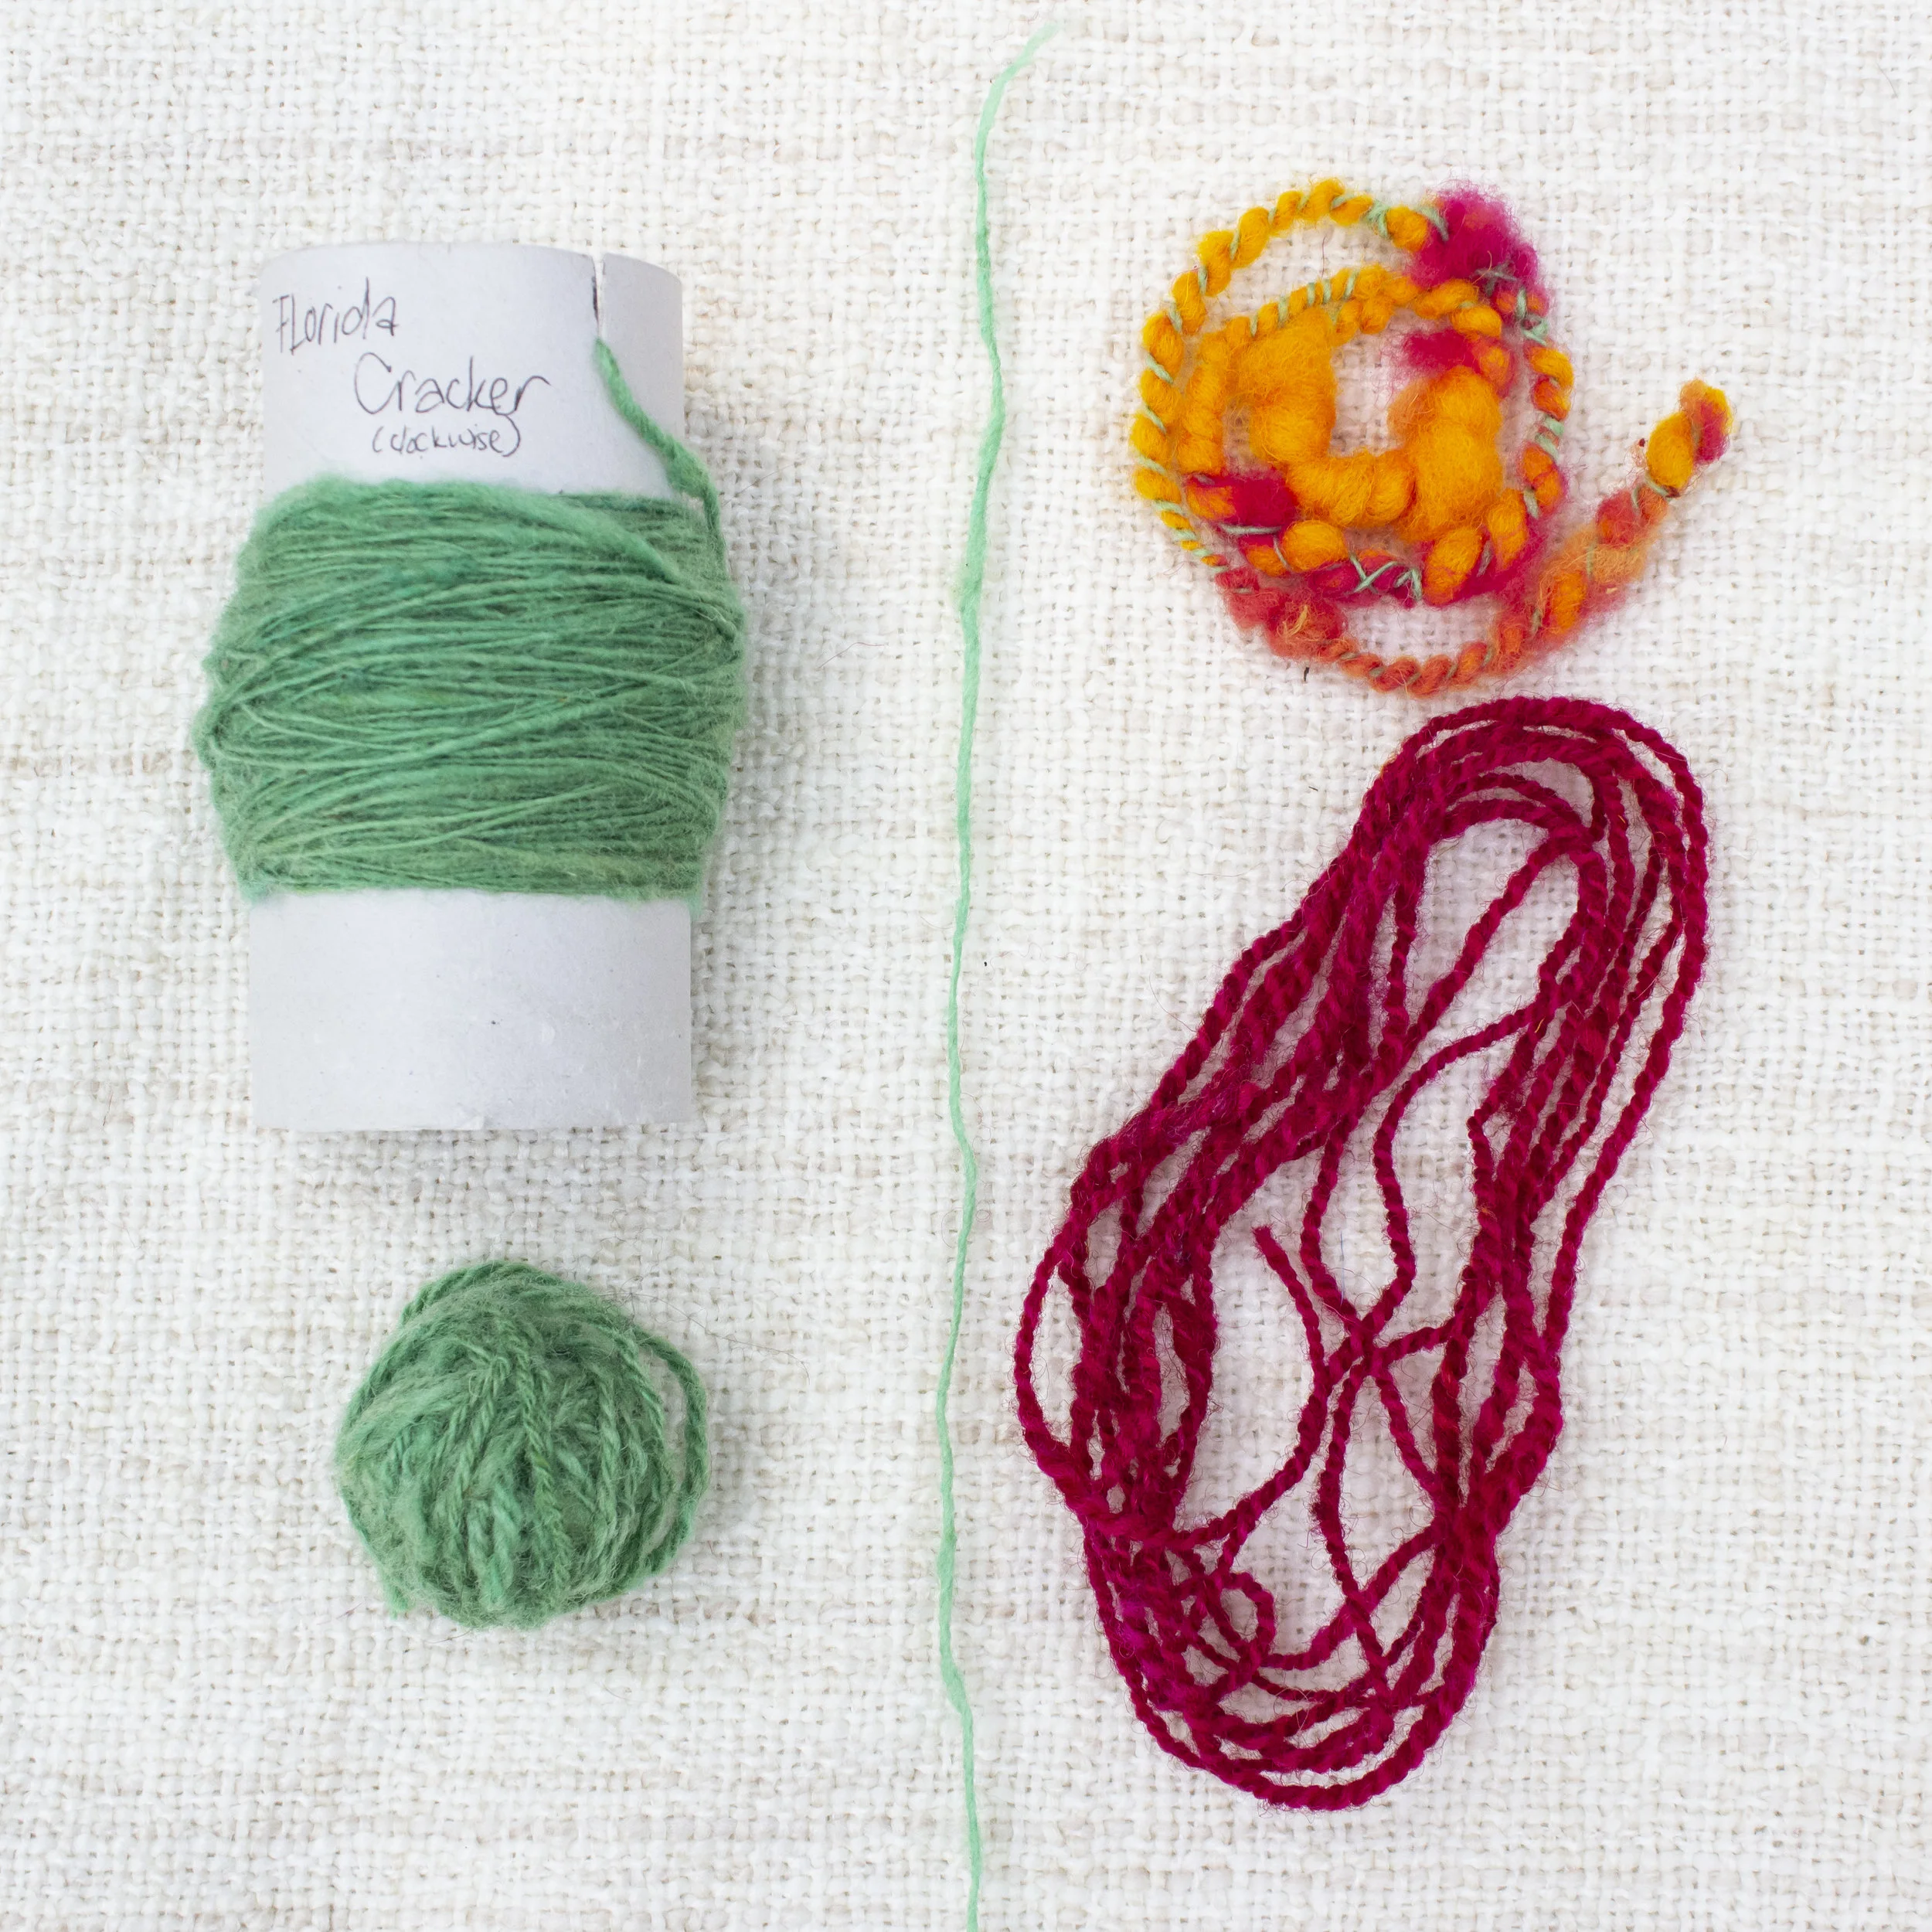
Various spun yarns - single, poofy thick & thin art yarn, 2-ply red, navajo (chain) plied green
I still consider myself very much a novice when it comes to spinning, and have been teaching myself from watching youtube videos. My ability to make fairly consistent yarns is definitely improving, but I would also suggest referring to The Independent Stitch’s blog or The Fleece & Fiber Sourcebook for a better examination of the fibers for spinning. That being said, I was easily able to spin a fairly fine single averaging 1mm in thickness, as well as play around with spinning a much chunkier art yarn just playing around with the fiber on the wheel. I found the same result after spinning/plying the red yarn that Deb found with hers - initially after spinning it felt rough to the touch, but after setting the twist (which I do by using a handheld steamer), the yarn suddenly became a bit softer and quite elastic, with the ability to stretch upwards of 120% from a relaxed yarn. Considering the raw fiber is quite springy/bouncy, I’m not surprised. Being elastic, I would not choose this yarn for weaving as a warp, but it could be used as a weft if relaxed, and would possibly make a stretchy fabric. It definitely needs to be plied for strength - the singles are easy to tear with minimal force.

Disclaimer
As a landrace, the fleeces between sheep of the same breed can vary quite a bit, and my experiences are with a fairly small sample of one particular sheep. I highly recommend that should you try to work with Florida Cracker, you perform your own swatch tests to see if it will perform the way you expect it to before using it for a major project. Or just go with the flow, and wait to figure out what it is you want to make after you’ve thoroughly examined the fleece you’ve purchased. If any of your swatch test results differ from mine, feel free to leave a comment with your results so anyone who reads this blog can get a better idea of the average performance across the breed.

se2se project - “florida jelly”
Update: this piece is sold.
The fleece was dyed in two separate batches - the first being a mix of purples, blues and greens, and the second a mix of yellows, oranges, pinks and red.
For the background, I did not card the wool, and instead chose to gently open up the locks (from the first dyed batch for a watery background) while still trying to maintain lock structure wherever possible. I wanted the texture of the locks to come through in the background. Using this method I think contributed to the fact that it was reluctant to stick and tended to pull apart more than come together. The final result was a light, airy felt with a few holes and the tips of some locks showing through - perfect for the intended project in which I wanted to evoke the ethereal nature of jellyfish.
I then carded some of the golden oranges and needle felted it to create the cap, adding it to the wet felted background to create a three-dimensional piece. I reserved some of the nicer, structured locks that weren’t dyed for the jellyfish innards under the cap. For the pattern on the bell, I pulled individual locks, opening them up a bit to create a triangular shape, and needle felted them onto the cap.

I spun up several yarns for the tentacles and oral arms. Initially I spun a 1mm thin mint-green single, as well as played around with some of the other locks, testing out various methods in order to attempt to achieve the art yarn I was aiming for. The first one I tried to create a core yarn from an undyed single, then added locks - but I wasn’t fond of this result. For the art yarn that I ultimately used, I instead drafted from a rolag for the core while adding uncarded locks in poofy bits. This was then plied with the mint single to accentuate the texture and help provide some structure - this art yarn was then used for the oral arms. After setting the twist, it was cut to various lengths and needle felted into the cap, with the white undyed locks surrounding where it’s attached.
For the tentacles, I carded rolags from the red and pink dyed locks, then the final yarn was a simple 2-ply from the single. These were then cut to equal lengths and attached to the edge of the bell of the jellyfish.
To hang the piece, I Navajo-plied (or chain-plied as some call it) the mint single, folded the top of the wet felted piece over a sanded down branch and used the yarn to stitch the pocket closed, then created a loop for hanging.
My goal with this piece was to come up with various ways to showcase the fleece, both in lock form as well as carded, dyed and undyed, wet felted, needle felted and spun in several different styles. My hopes are that this piece will inspire other fiber artists to experiment with both this particular fleece as well as other fleeces in general (as I will be doing with the “shave ‘em to save ‘em” breeds on the conservation list), and to look beyond only the fibers which are commercially available. By learning how to process one’s own fleece, a fiber artist has far more freedom and fewer limitations when it comes to creating something truly unique.

