

Needle Felted Planner Paperclip Tutorial
FTC Disclosure: Please note that some of the links in this post are affiliate or referral links (full disclosure here), and if you make a purchase or sign up for a service within a certain timeframe after clicking on one of those links, I may earn a small commission paid by the retailer at no extra cost to you. I wouldn't recommend anything that I don’t or wouldn't use myself. Thank you for your support!
This post was last edited/updated in March 2021.
One of my many *secret* passions is planning. It's not what you think. There's planning, and then there's planning. Imagine what happens when you take a type A creative and give them a planner. It's like scrapbooking for the future. It's a decorated chronicle of your life. It's layout design. It's trackers. It's stickers and stamps and washi tape. It's doodles and hand lettering. It's pen obsessions and covers and inserts and paper and all sorts of colorful happy little goodies that bring joy when you open your bullet journal or travel notebook or vertical/horizontal/appointment planner or any multitude or combination of those. And much like an art journal, your planner(s) are a reflection of you.
Or so I told myself. I love the idea of planning, but I’m not very good at sticking to them. But making it cute and fun and engaging my inner child makes me excited about using the planner a bit more than I would otherwise. Also, I really love stickers and need a really good excuse to get them for myself… can’t stick them on my screen.
These paperclip bookmarks aren't just for planners, of course. You can use them to bookmark anything or use them in any way you'd use a normal paperclip, though to be perfectly honest, I never had much use for paperclips before now. In fact, these would make a great teacher appreciation gift, or stocking stuffers if you have a child who enjoys planners, or little gifts for friends, or as part of a planner or bookworm gift basket. A quick search on Etsy will show you all sorts of paperclips, from simple ribbons and yarn to more complex embroidered and hand stitched felt ones. For today's, I'm going to make a cute little owl, and just to reiterate, these are not the popular hand stitched commercial felt ones - these are entirely needle felted.
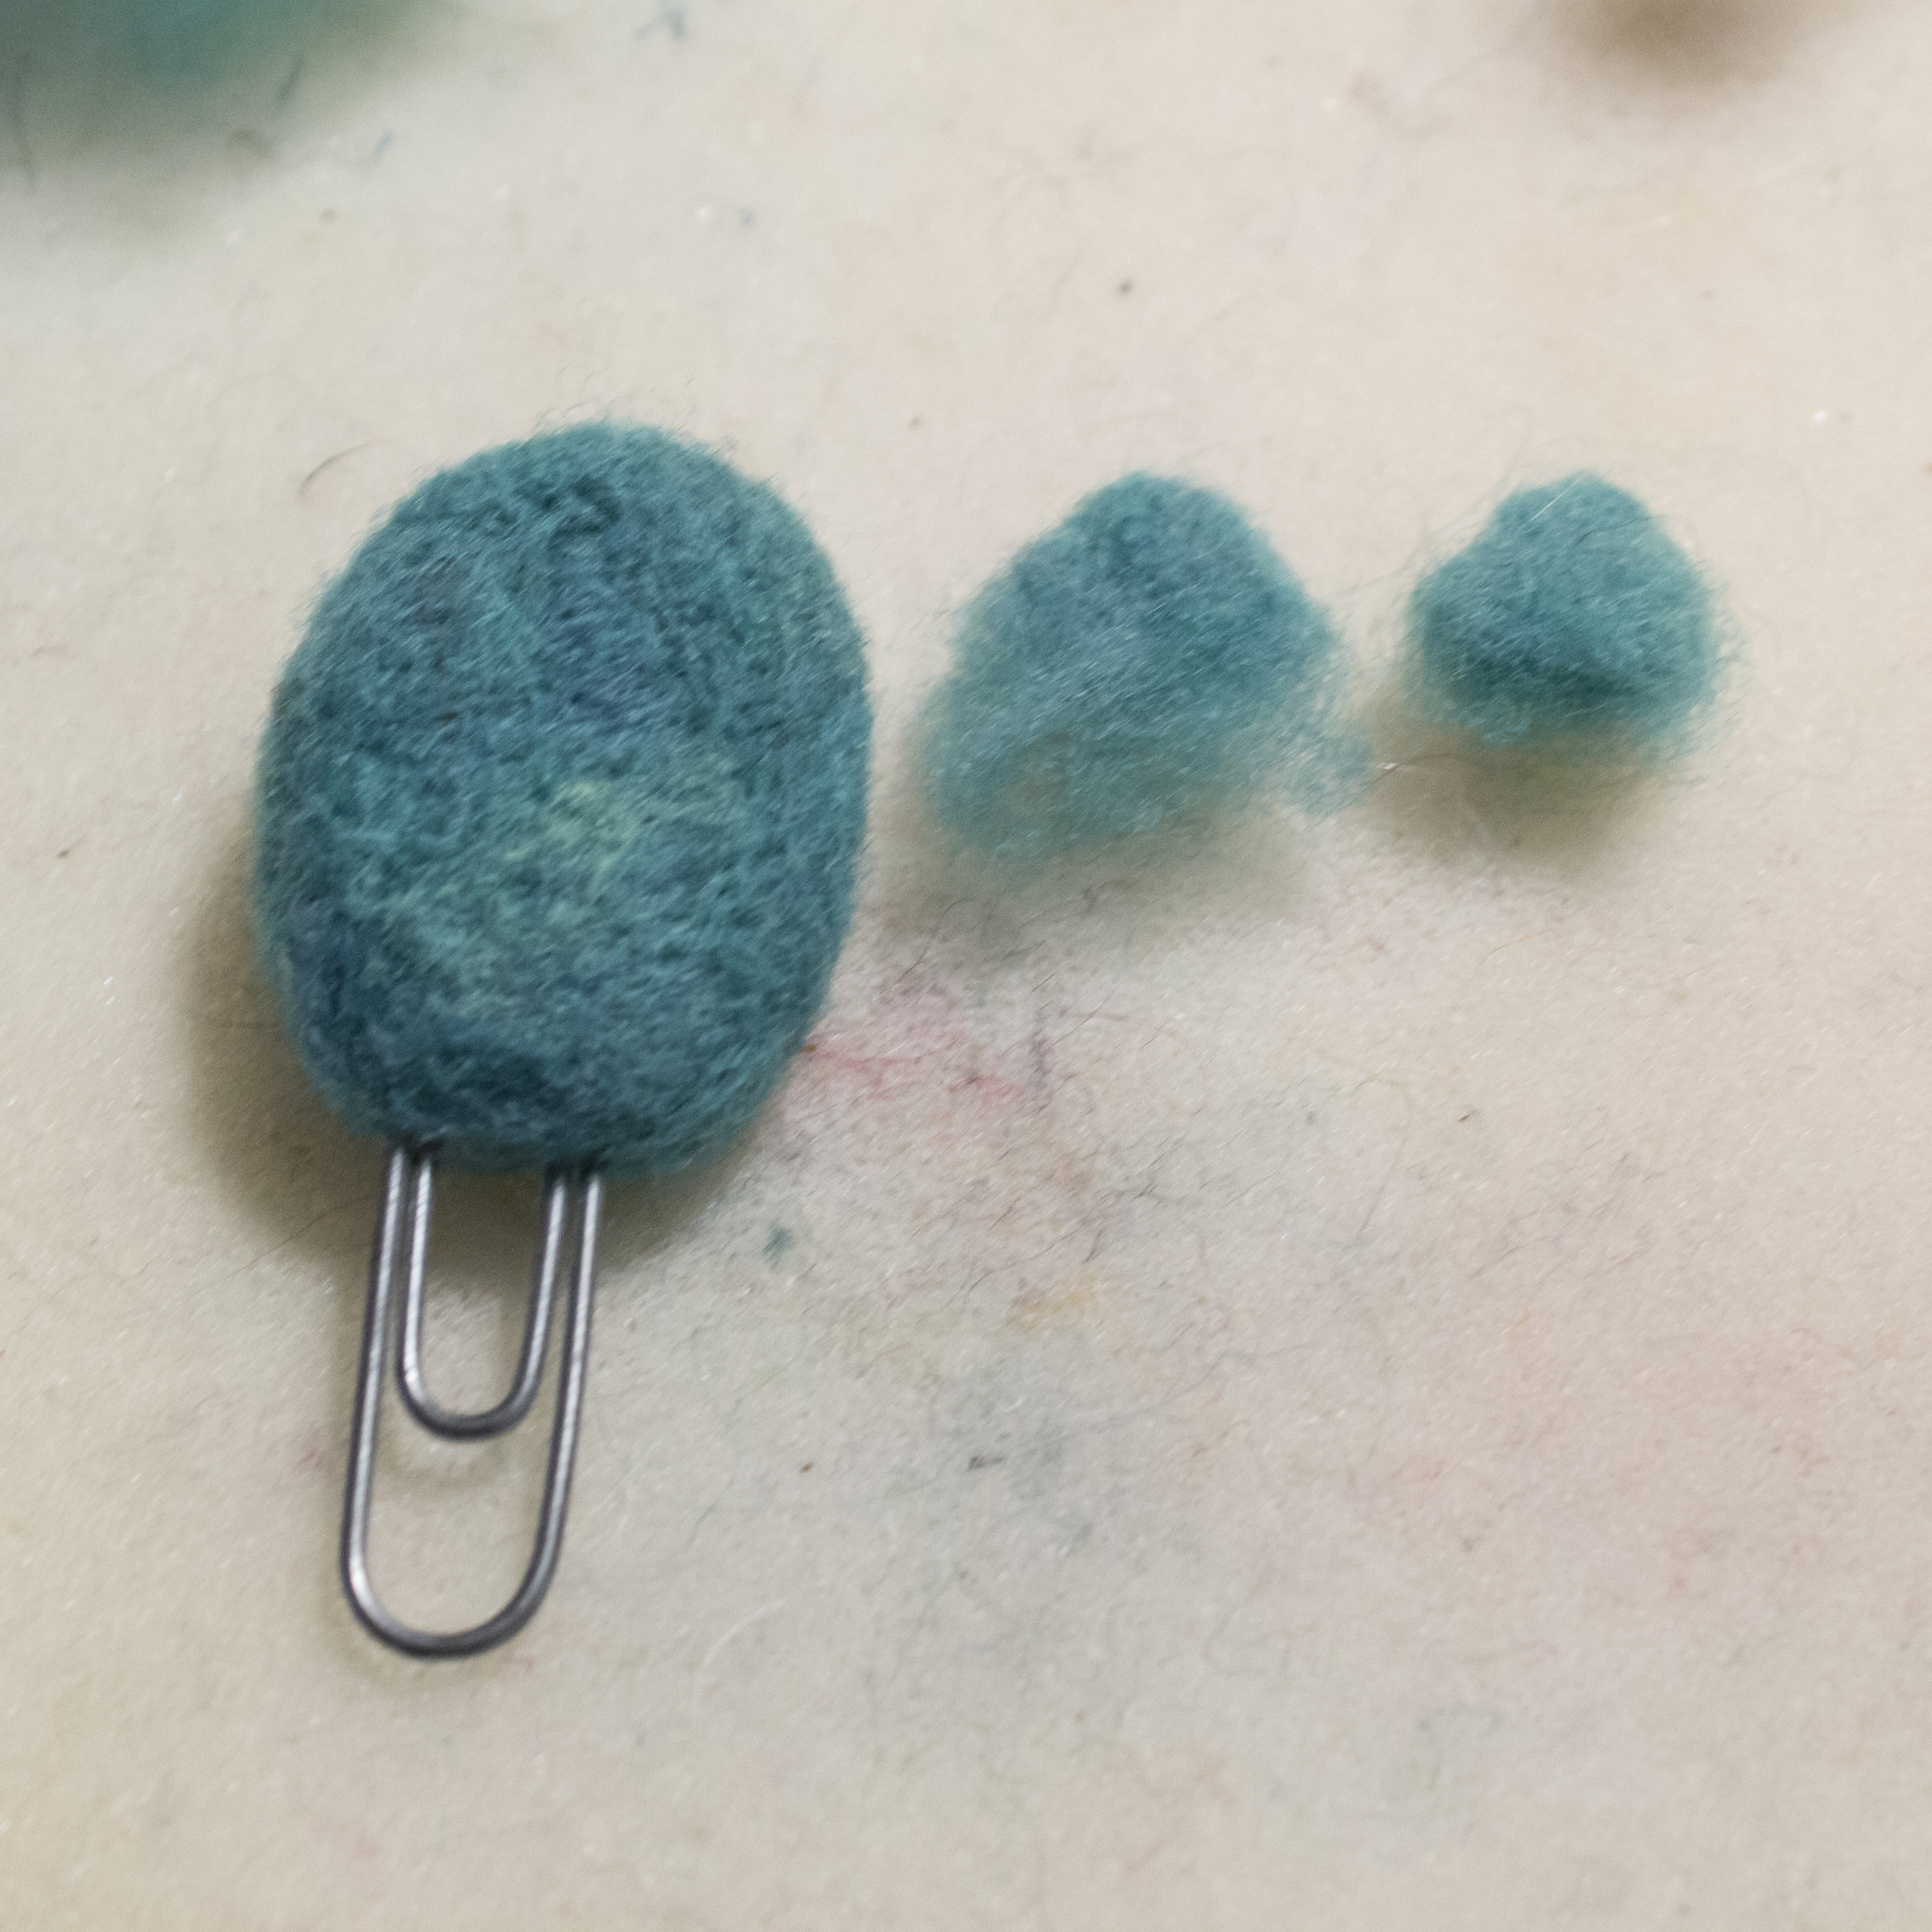
For this project, I recommend you start with a jumbo 2" paperclip. Of course you can use a smaller one, but a large one will allow you to secure it a bit deeper and gives a little extra room to play. While I love working small, it is actually far more difficult to needle felt details on a tiny surface than it is for a larger object. Feel free to try it with smaller ones once you get the hang of it. Instead of gluing the paperclip in, I'm going to be felting around the paperclip, much like you would with armature. To keep the wool from slipping, you can take a bit of rubber cement, dip the part that will be buried in the wool in it, and let it dry. It will give you a gummy surface that will keep the wool from sliding around on the wire. Note: this is also my trick for wrapping armature that isn't covered in cloth or a chenille pipe cleaner. The reason I don't want to use glue and sandwich between two pieces of felt is, first of all, it's really difficult to needle felt wool that is stiffened with glue, and second, wrapping the wool all around the part of the paperclip will attach it very securely. You won't have to worry about it slipping off the end at some point. One other thing I'd like to note, because this is an object that is likely to take quite a beating and be handled regularly, you will want to felt it as densely as possible. Objects that are handled cannot be loosely felted if you want them to be durable. Stab until you start feeling resistance, then switch to a thinner gauge and stab it some more when you're finishing it off.
So, to reiterate, tools needed (other than wool and needle):
- Jumbo paper clips - I really love the vinyl coated ones personally, even though for the purpose of the tutorial I just grabbed the first jumbo paperclip I could find.
- Rubber cement - this is how you get wool to stick to anything, like a paperclip.
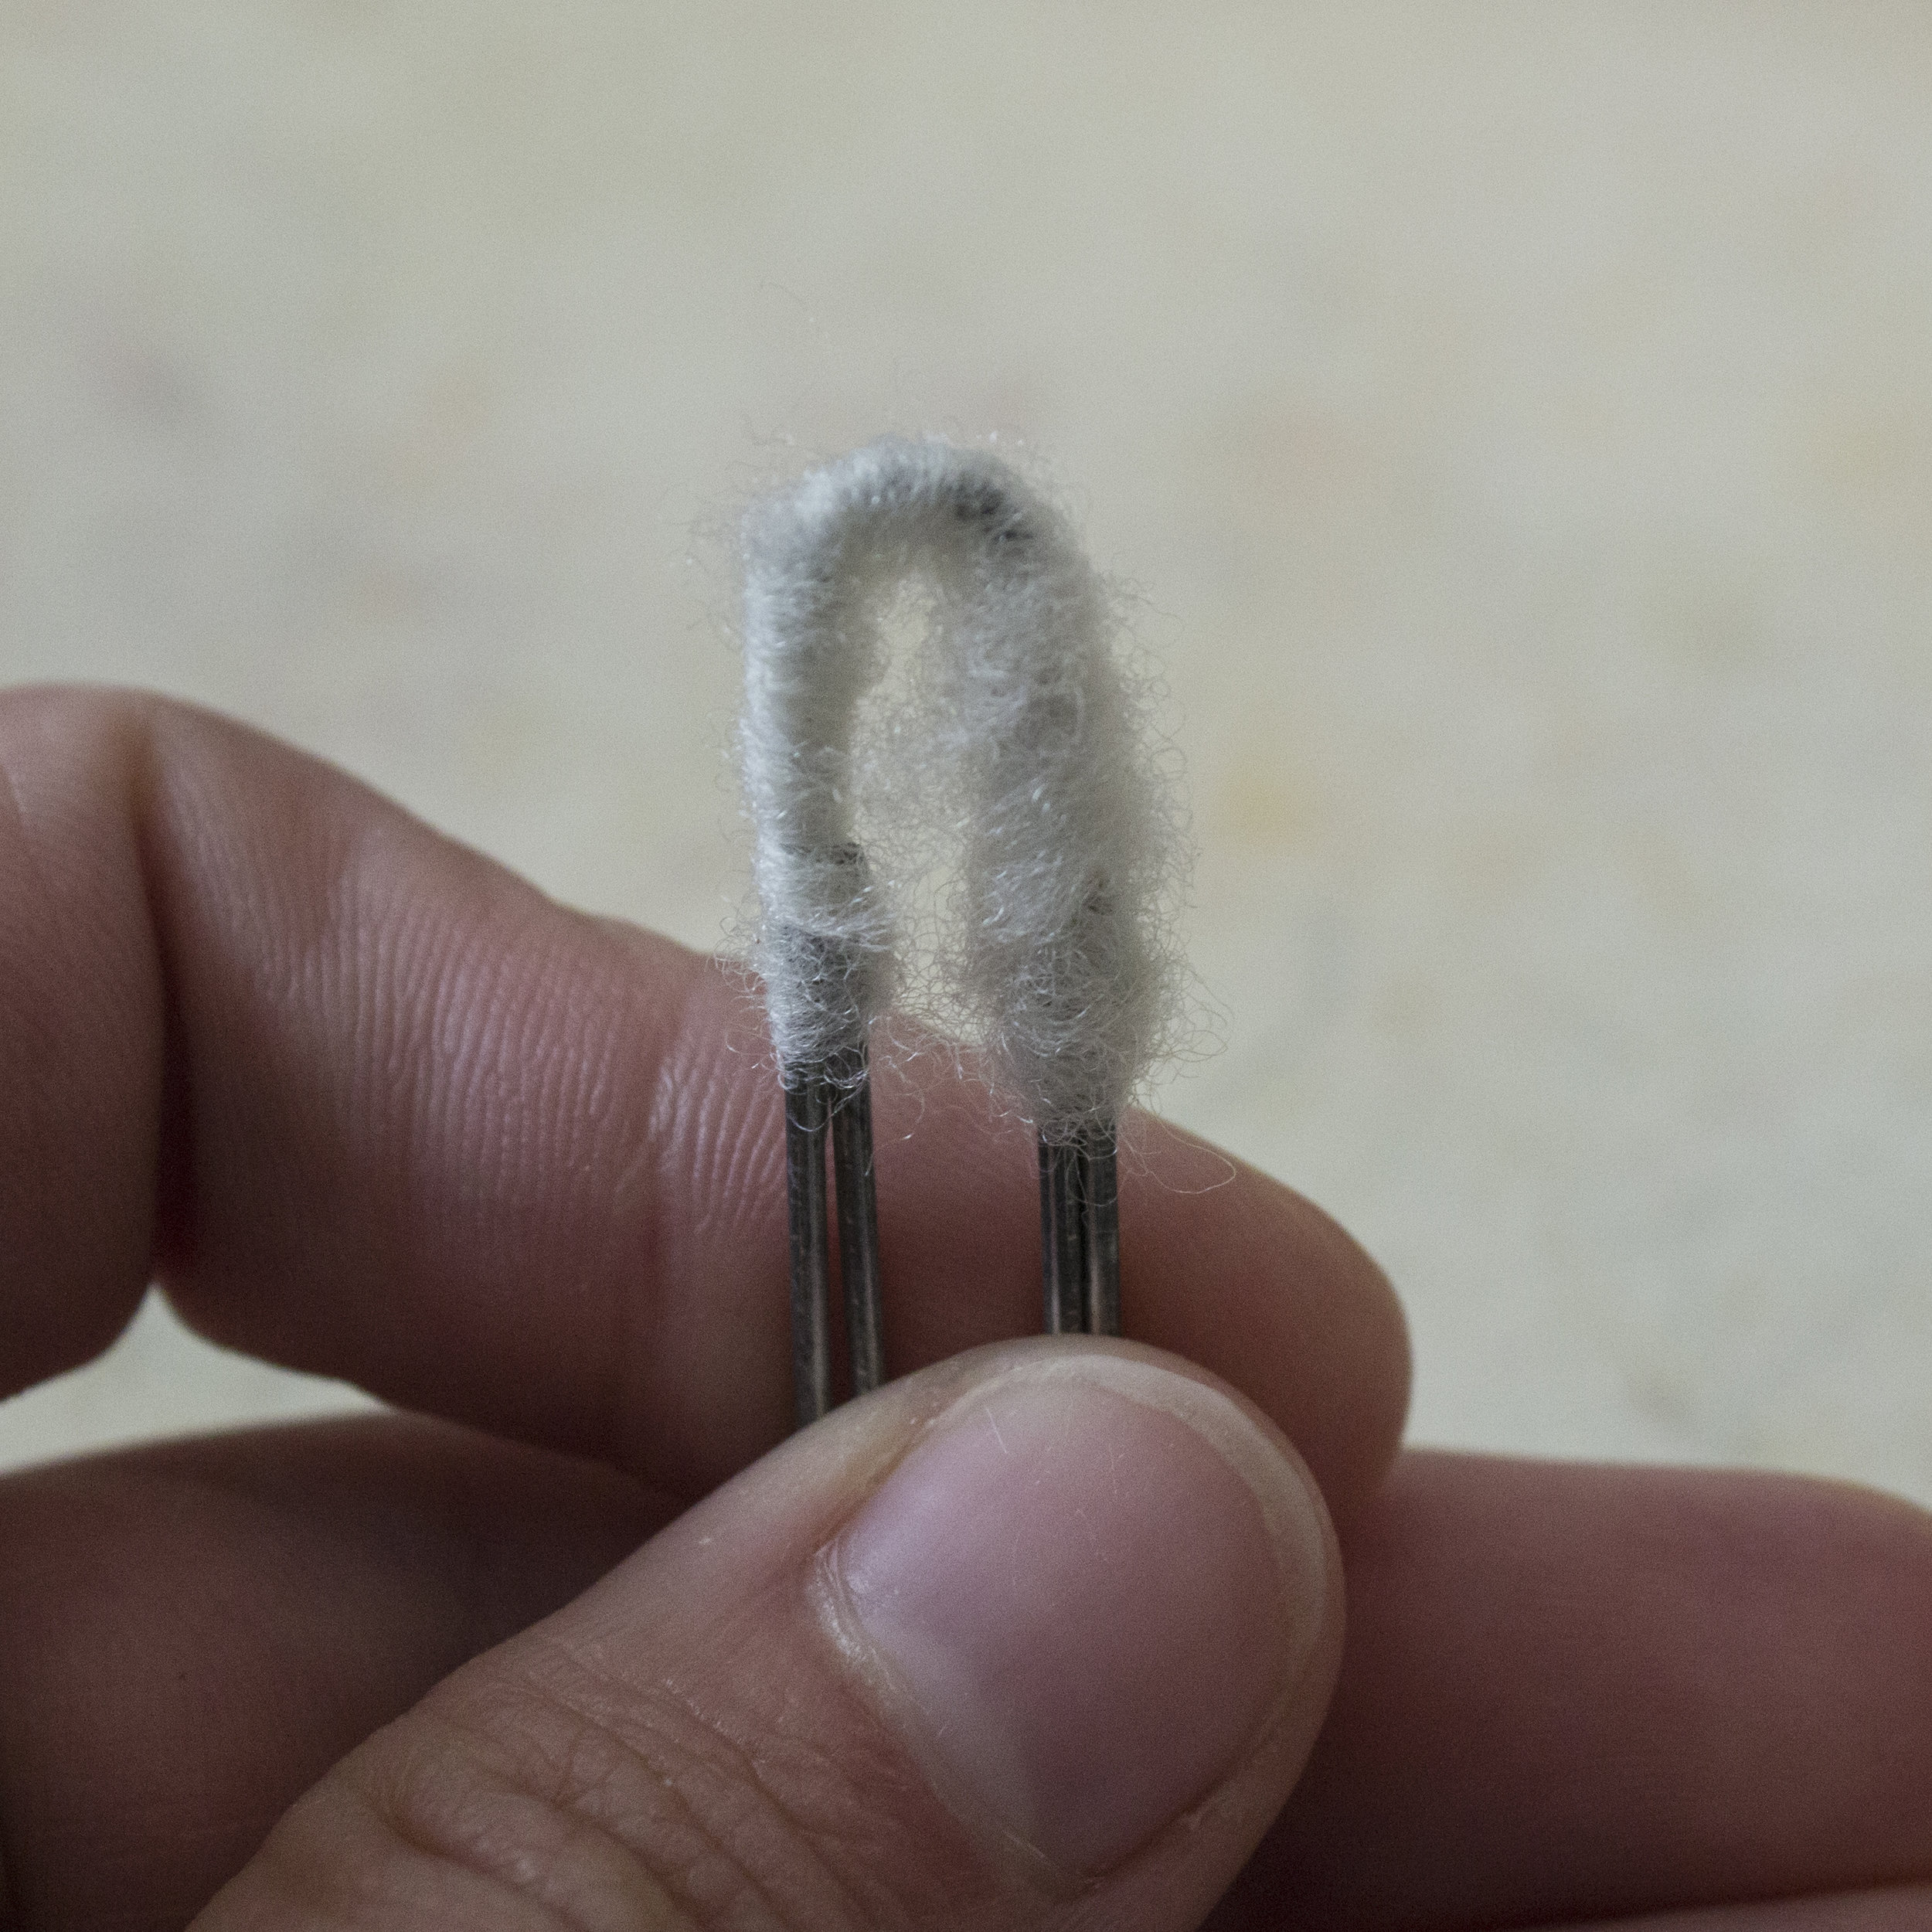
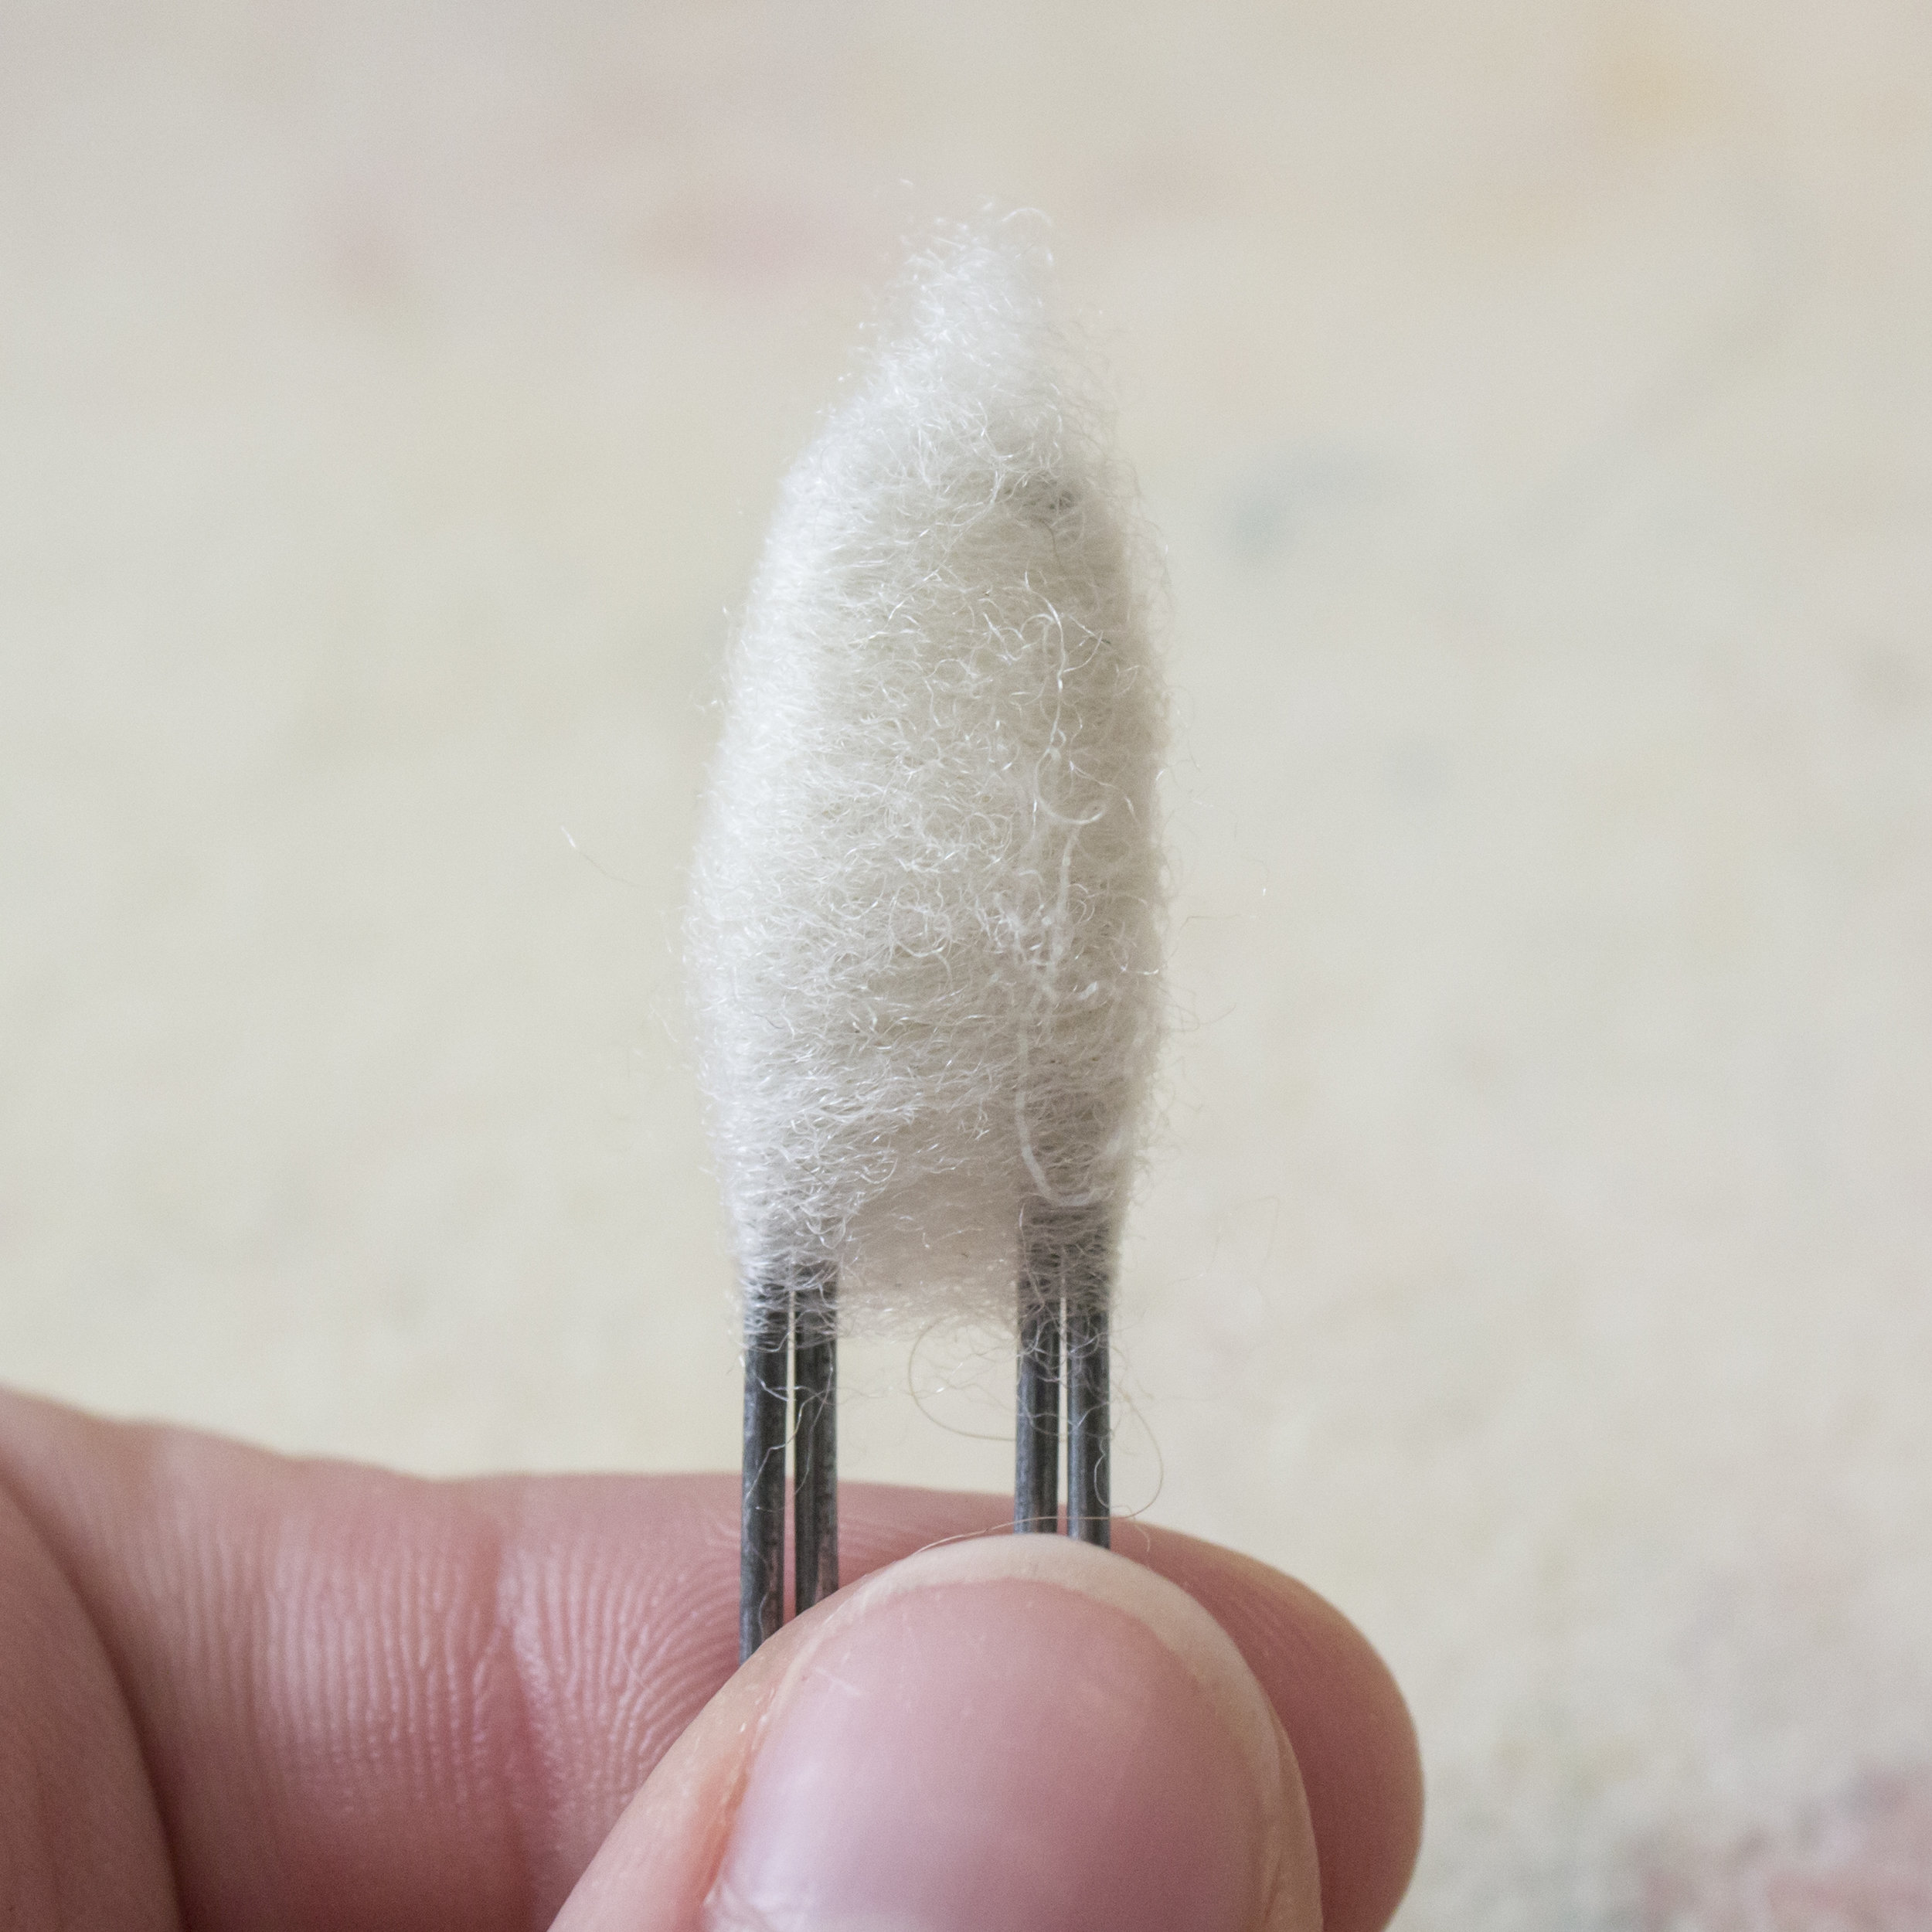
First we'll start wrapping the part of the paperclip that is coated in rubber cement. Just take a thin bit of wool and weave it in and around the wires, as in the first picture. It can be frustrating, but it will help with grabbing the wool in the second part, which is to then wrap around the whole paper clip with another thin wisp of wool. Once you're done with part two, needle felt in between the wires to secure the wool on the paperclip. As with felting around armature, you will want to work slowly in the areas next to the wires and be careful not to stab the wire, so you don't break your needle.
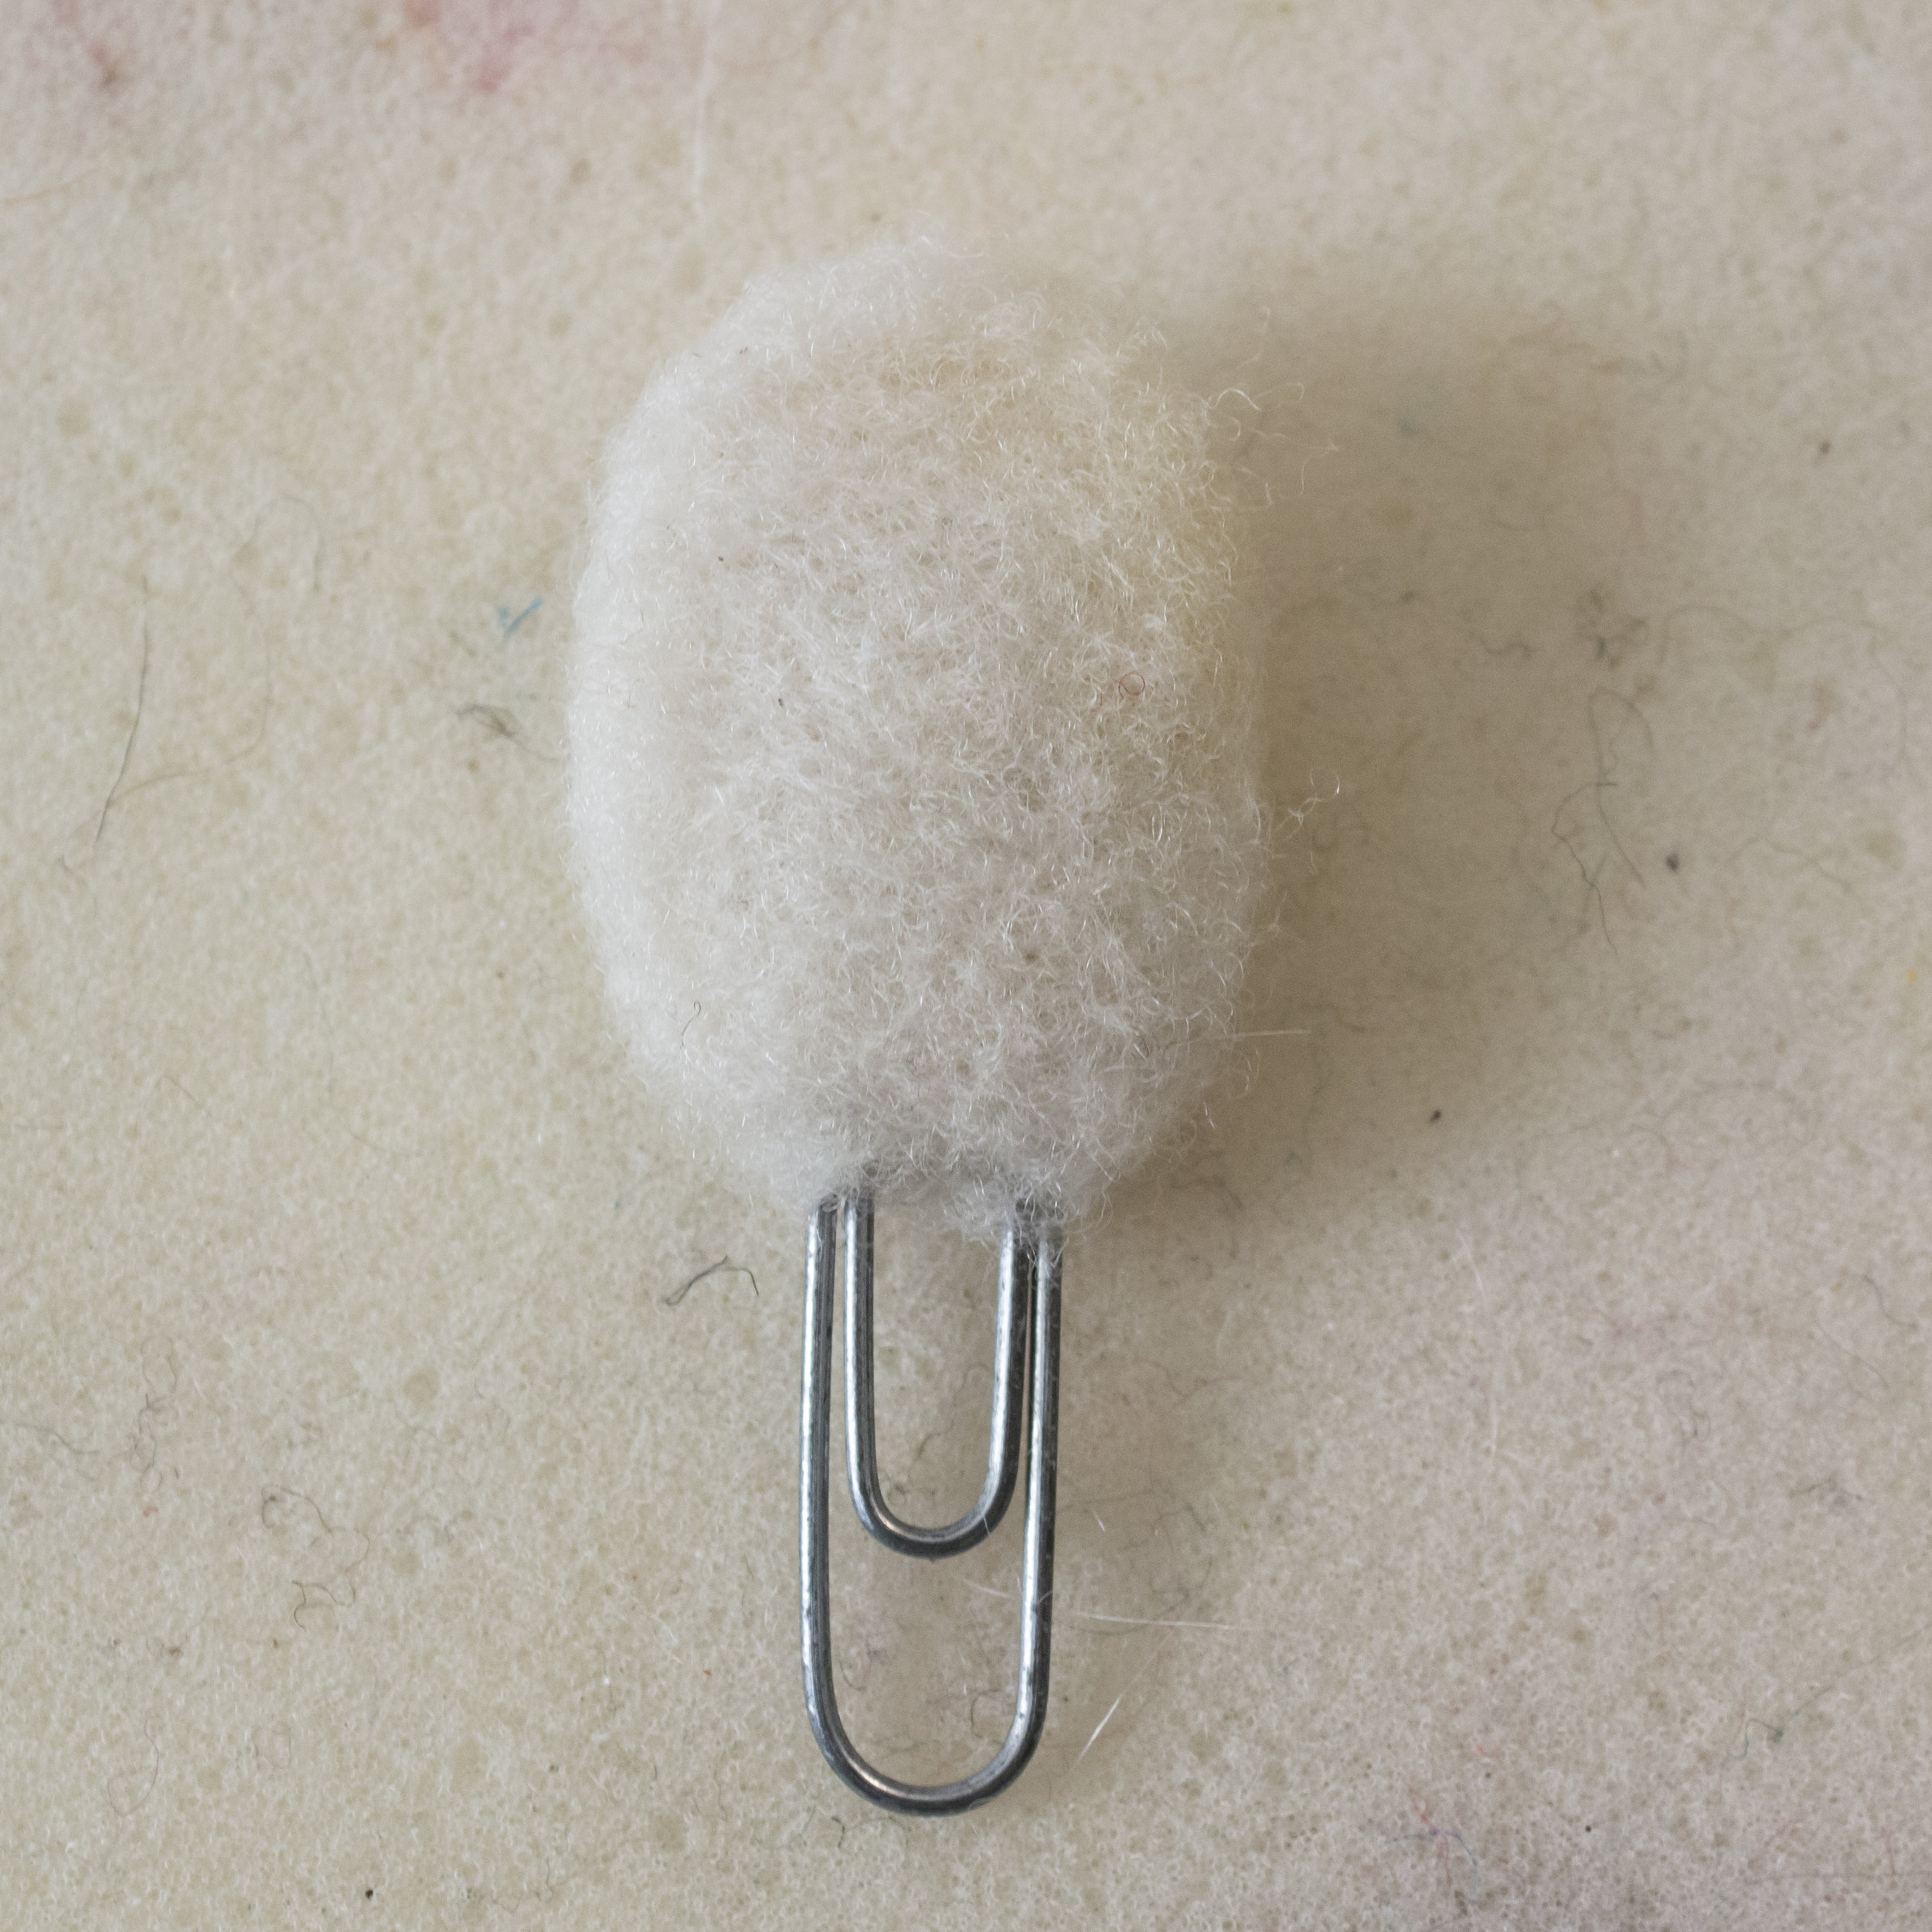
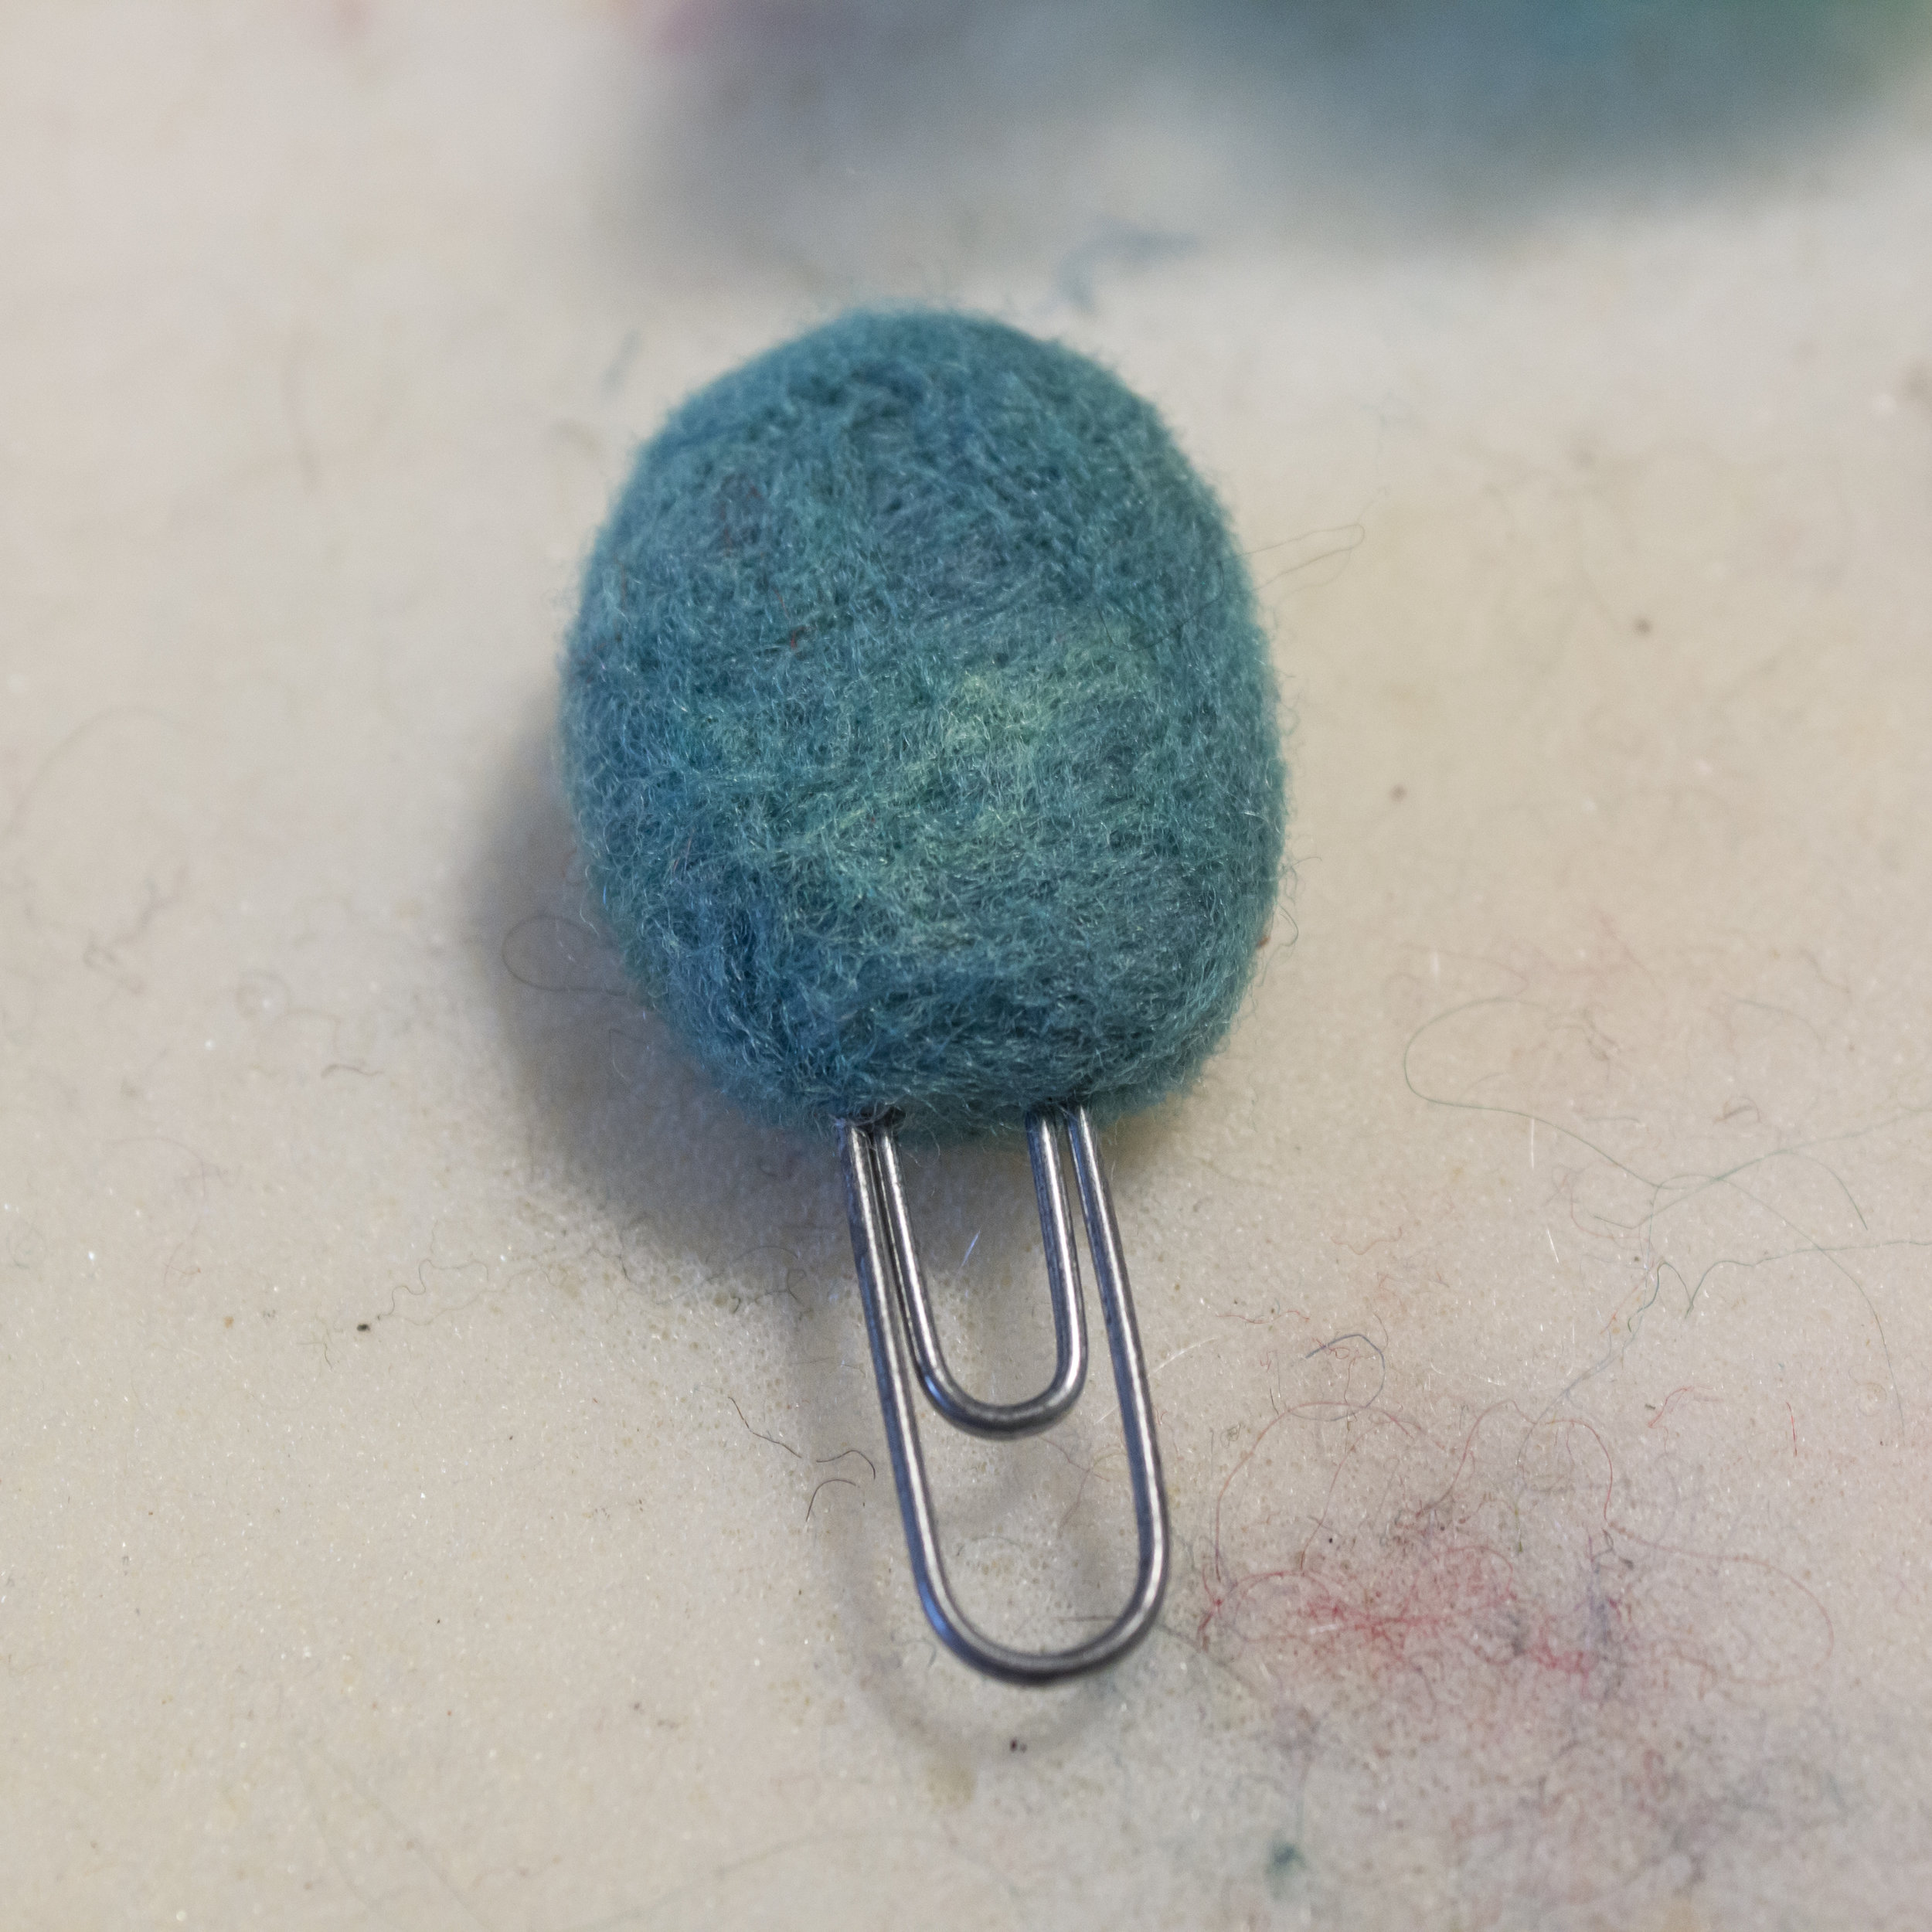
Continue wrapping and stabbing as you go, until you reach your desired shape. 3D objects of any kind are really just a combination of shapes. For the owl, I'm using an oval shape. I am trying to keep it fairly flat so that it isn't too thick front to back and won't allow a planner or book to lie flat. If you want a wider shape or a more complicated shape, you can create a bunch of smaller shapes separate from the paperclip, attach those at the sides, and then wrap the whole thing to make it cohesive and needle felt together. That's a bit more advanced, so if you're not comfortable with that yet, an oval will provide a lot of opportunity. When you're done, feel free to cover it with whatever color you like - my daughter had already laid claim to this prior to my even starting it, and she requested teal. So teal it is!
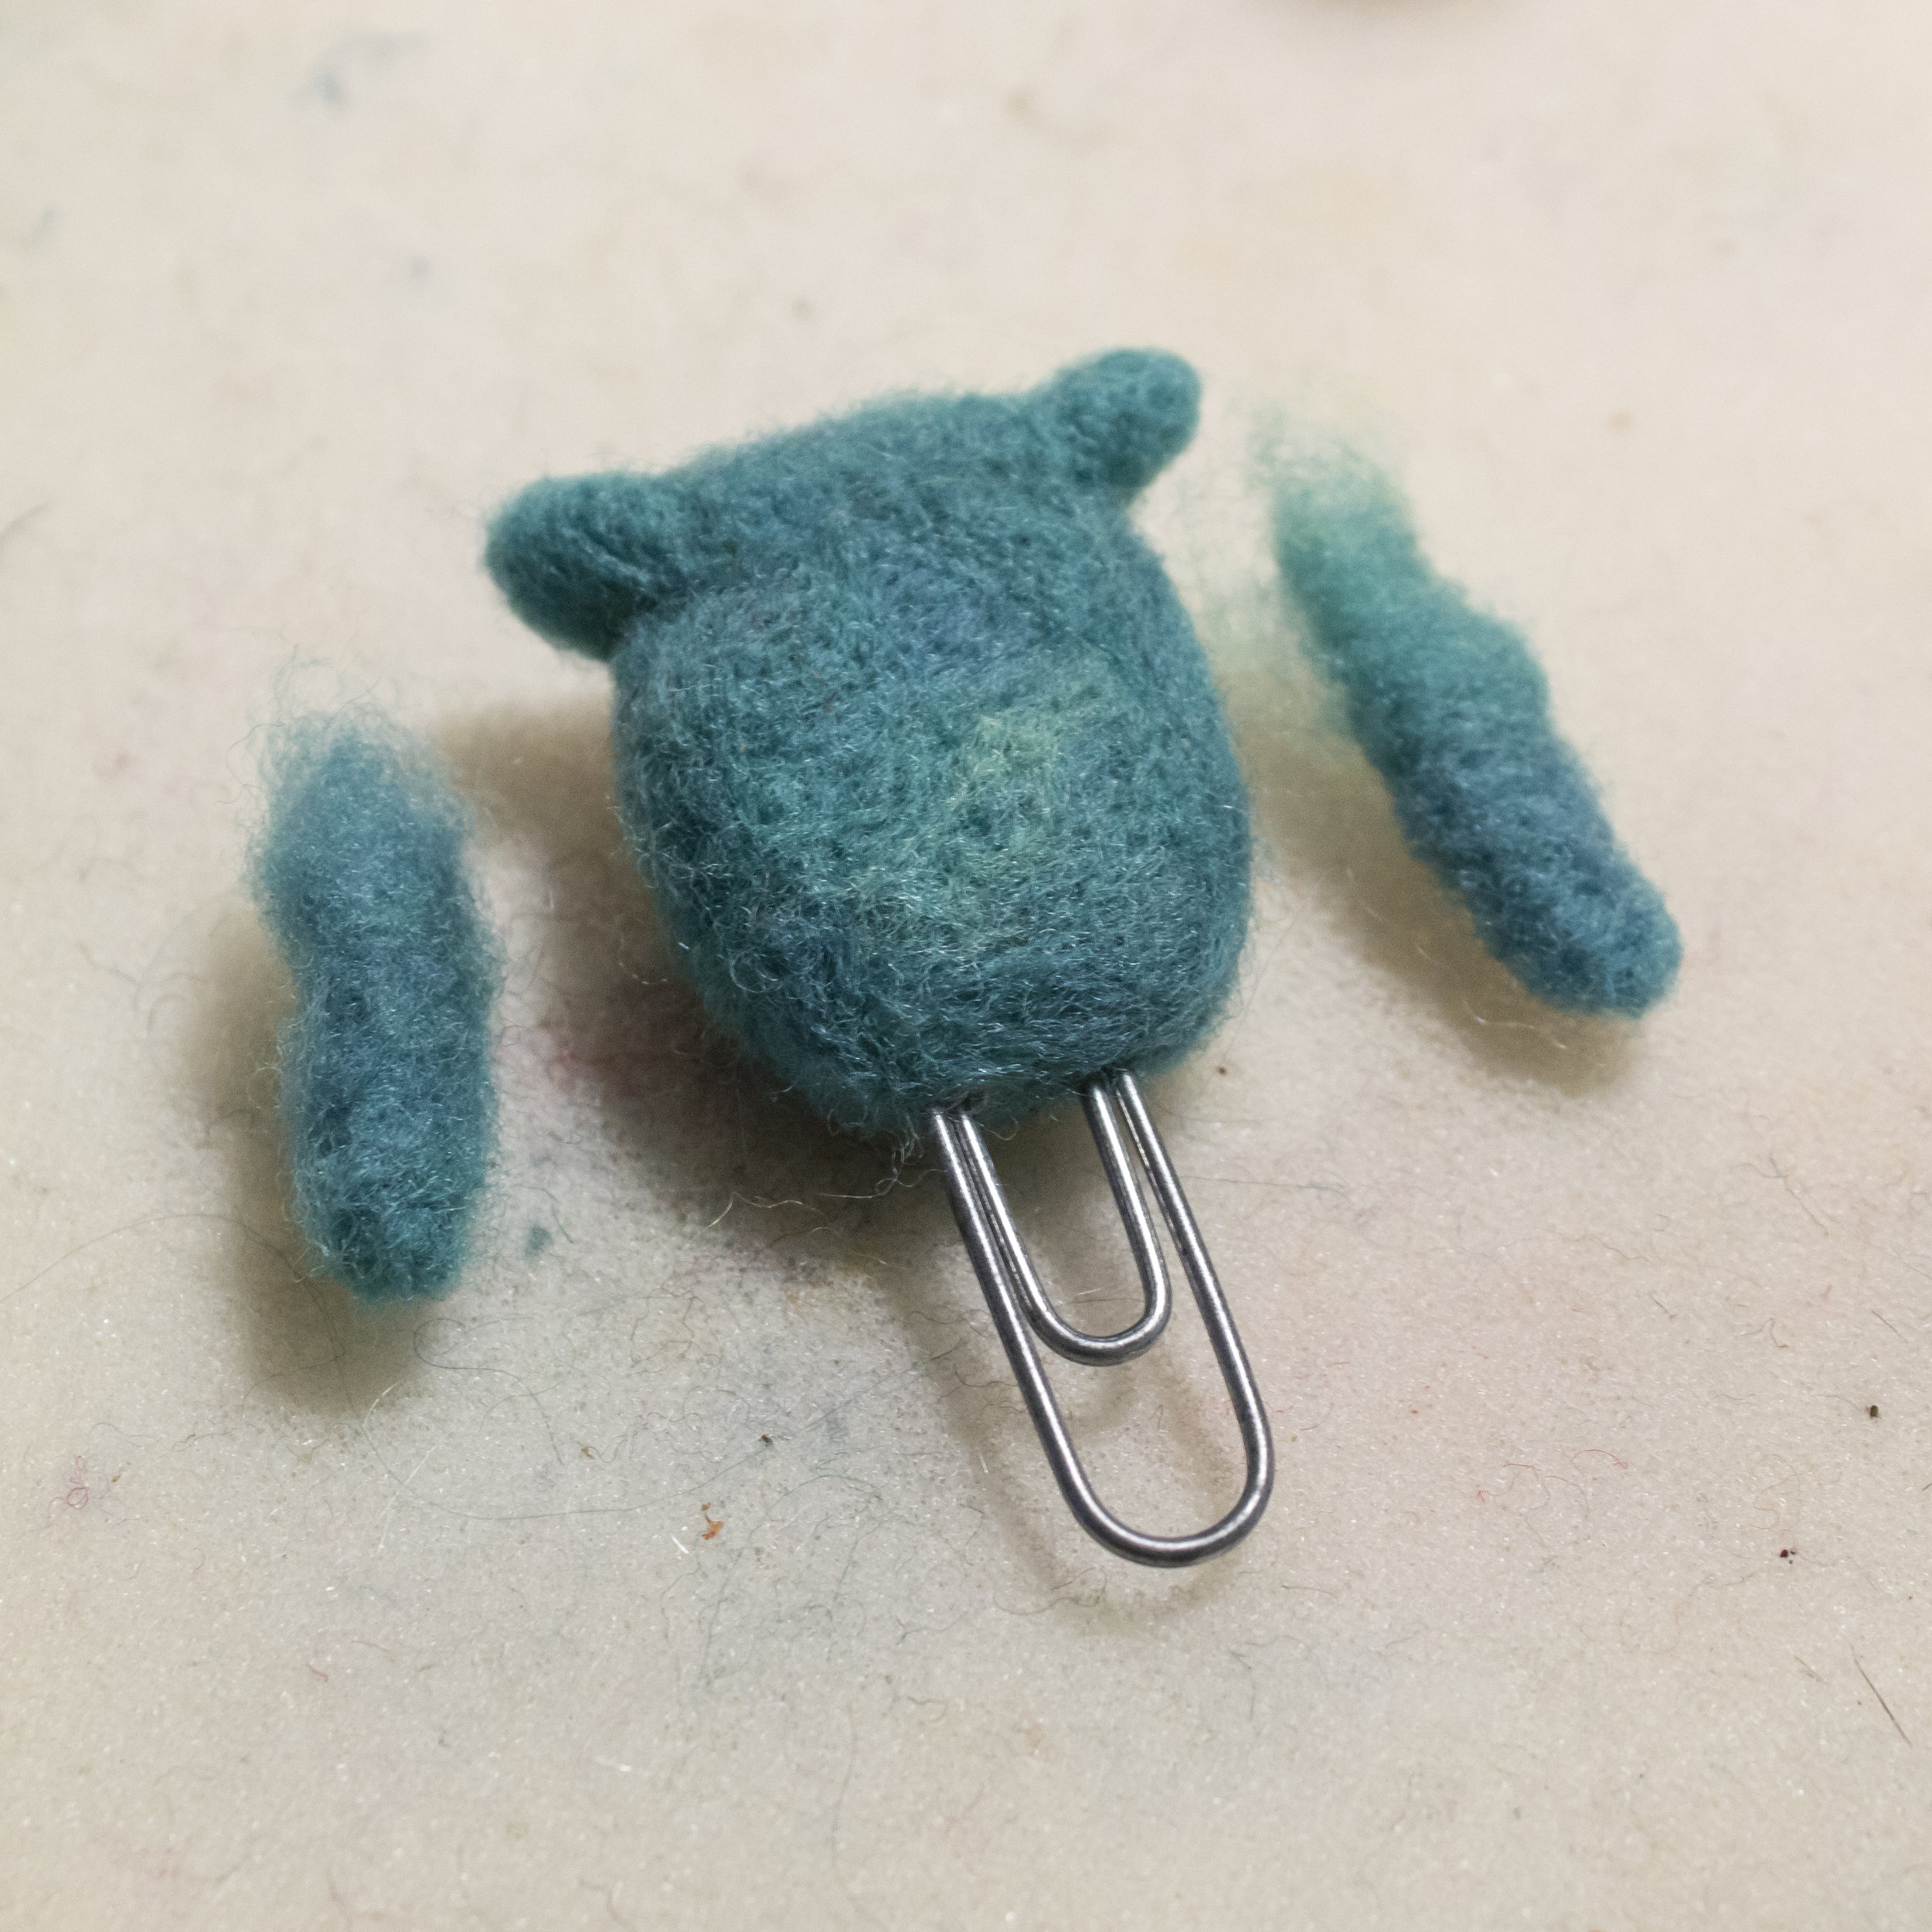
Now we start adding the shapes that will make it look less like an egg and more like the owl that came from it. For the head feather flaps (please excuse my lack of knowledge of owl parts - I just know they're not ears) we needle felt two tiny triangles out of the same color we used for the owl, with one side left fuzzy. This will allow it to blend seamlessly into the top. Attach them by putting them down flat on the top and the triangles pointing out to the sides, not sticking up like you would for cat's ears. For the "wings," wrap some wool around a skewer, pull it off and felt it flat, rounding off one end and leaving the other fuzzy. We'll attach those to the sides of the owl, leaving just the tip sticking out. Remember, when you're working this small, you can get away with using the smallest amount of wool possible. I don't think I used more than a tenth of an ounce on this entire project. All of this is made using tiny, thin wisps.
Now that you have the shape done, time to go to town adding the details! The eyes were created by needle felting concentric circles in white, then pink, then deep purple. The belly was added next, in a peachy pink color, then the beak in a yellow-orange. Finally, because my daughter loves hearts, I added hearts all over, on the belly, on the top of the head to give it a sort of "widow's peak" and on the back.
And here's the back! The nice thing about using this method as opposed to just two flat pieces of felt or needle felting on a flat piece of felt, is that you can decorate all around. There is no "ugly" side.
And here it is, at the top of my Leuchtturm 1917 (my daughter became quite nervous as I was photographing this, asking "wait, is it your owl?" "no hun, I just need to take a picture"). I'm not sure you can tell from the photo, but the planner can lay fairly flat. I think the only time you may run into an issue is if you use it close to the end. Not exactly a huge issue if you leave your planner standing upright. It's still fairly thin for a needle felted object, only about half an inch thick.
I hope you enjoyed the tutorial, and if you create any paperclips, don't forget to share them on my Facebook page! I'd love to see what you make!

