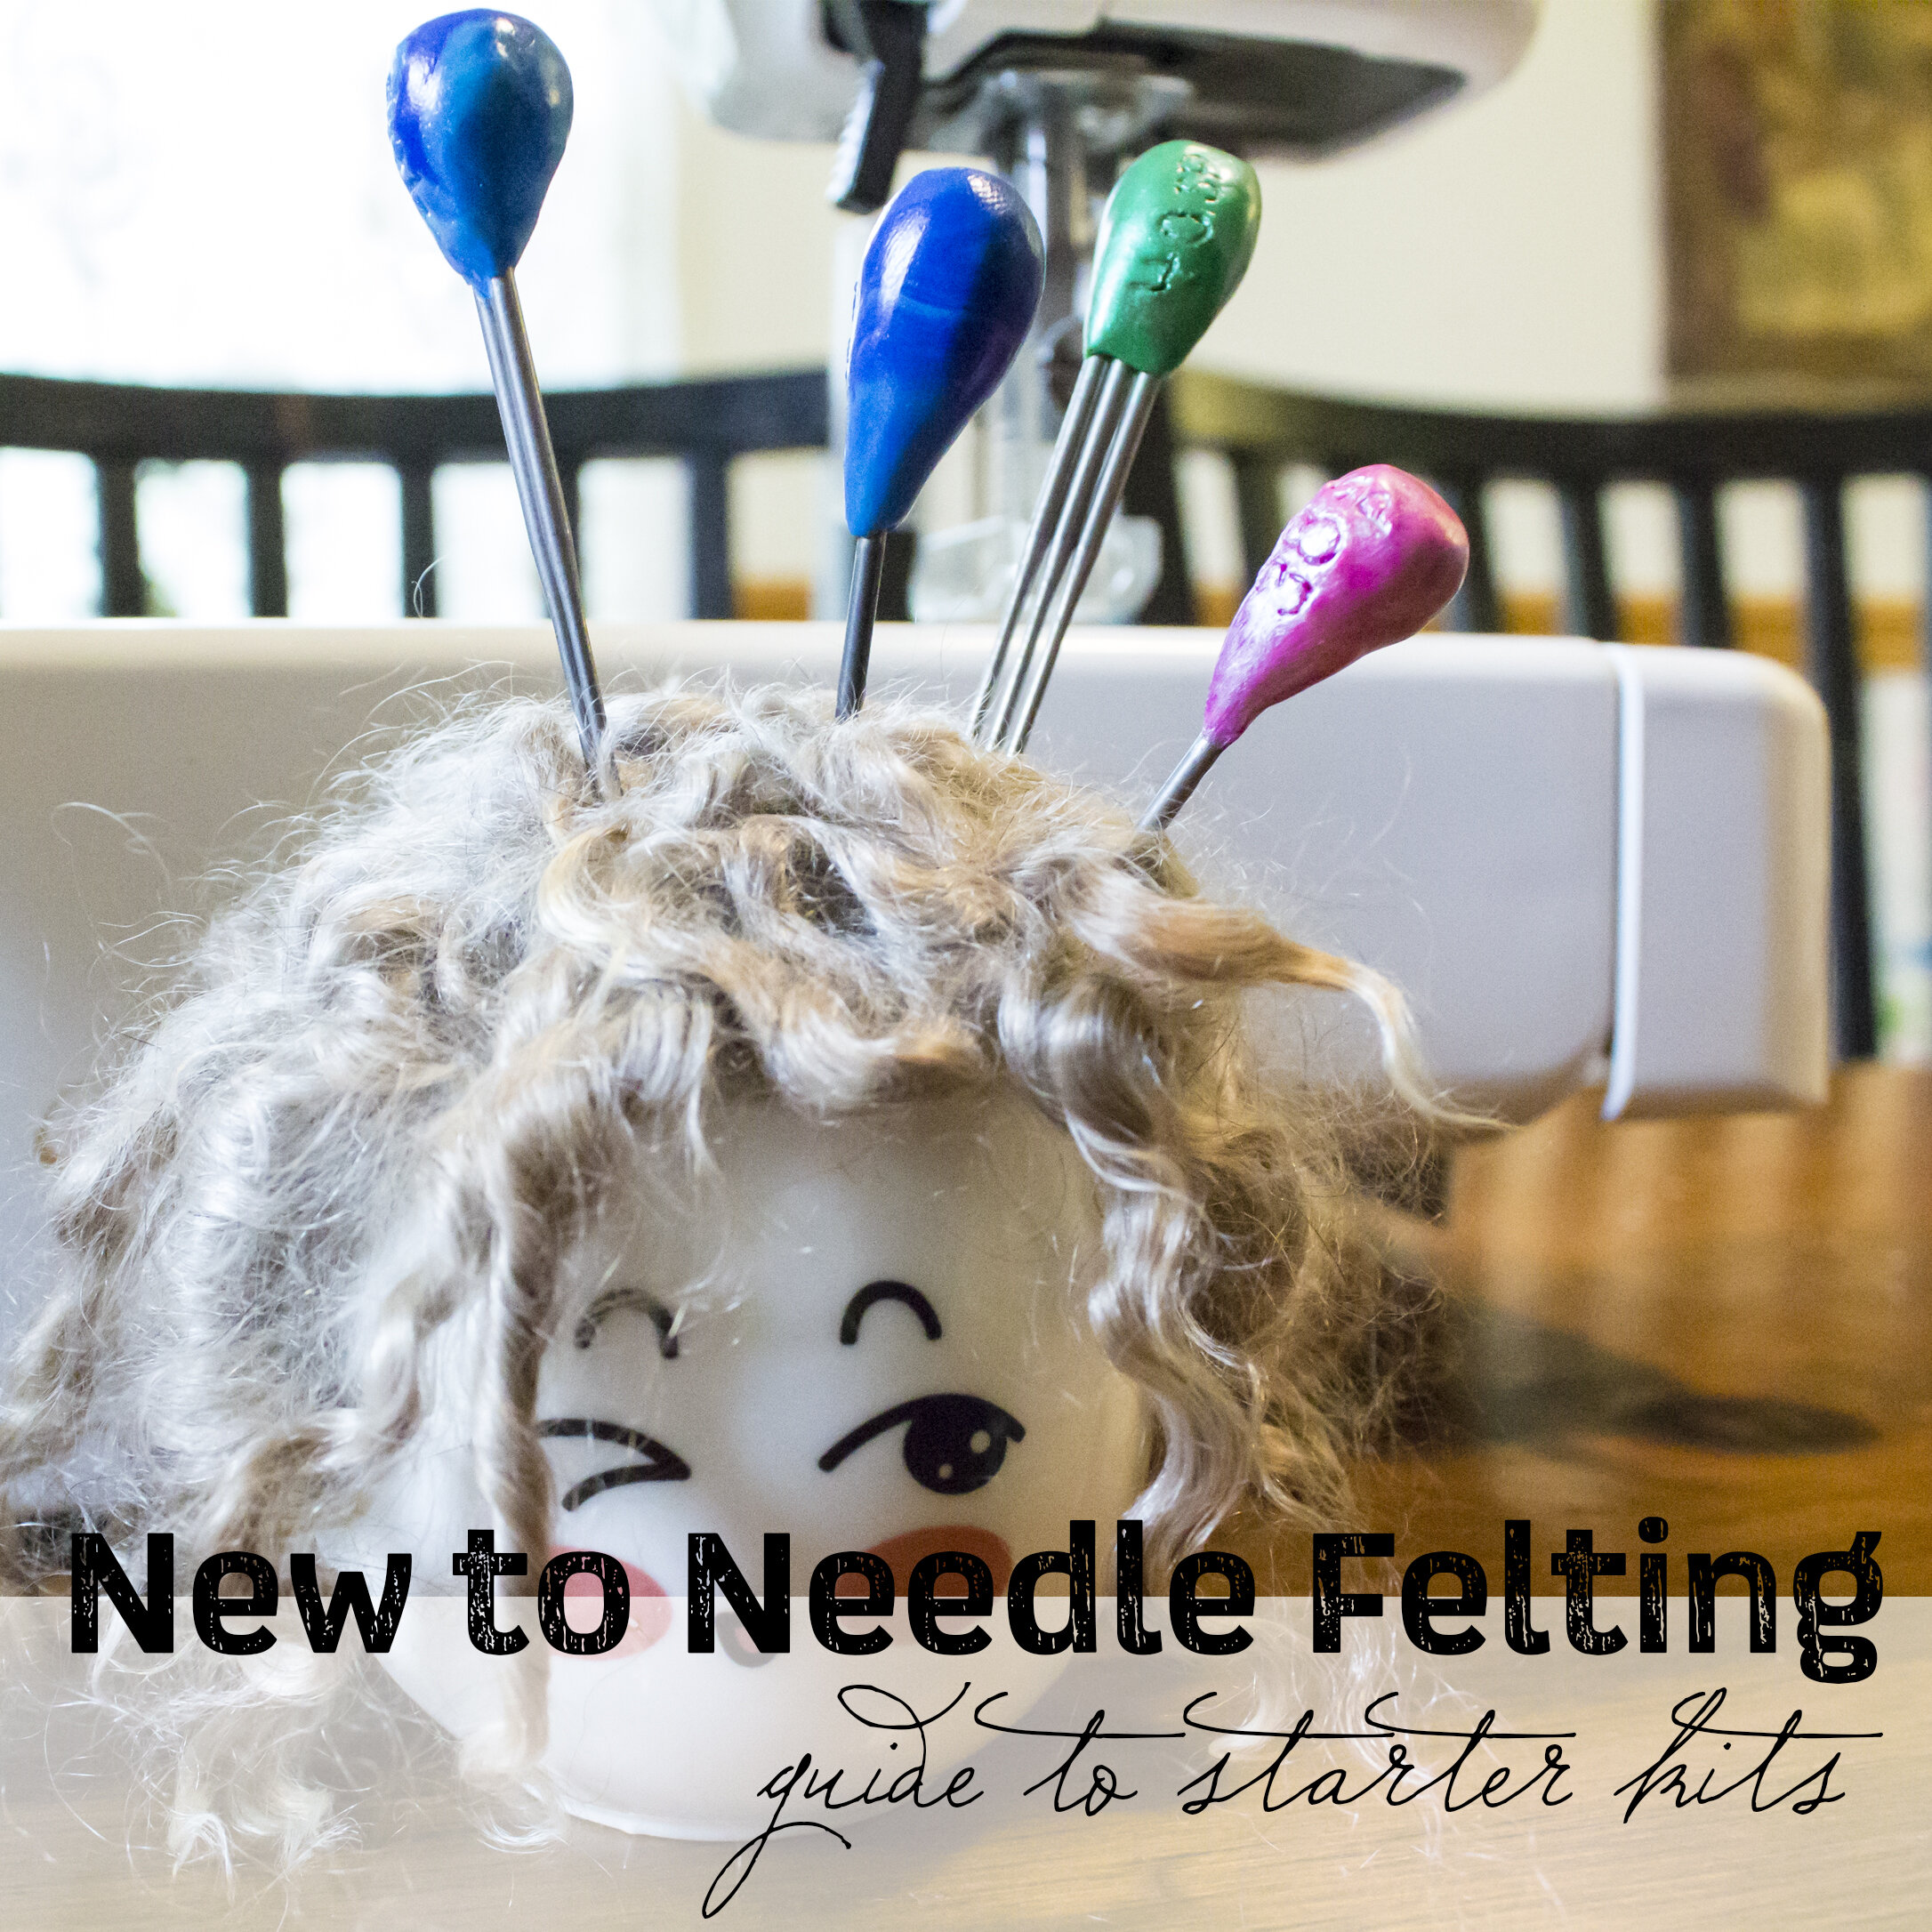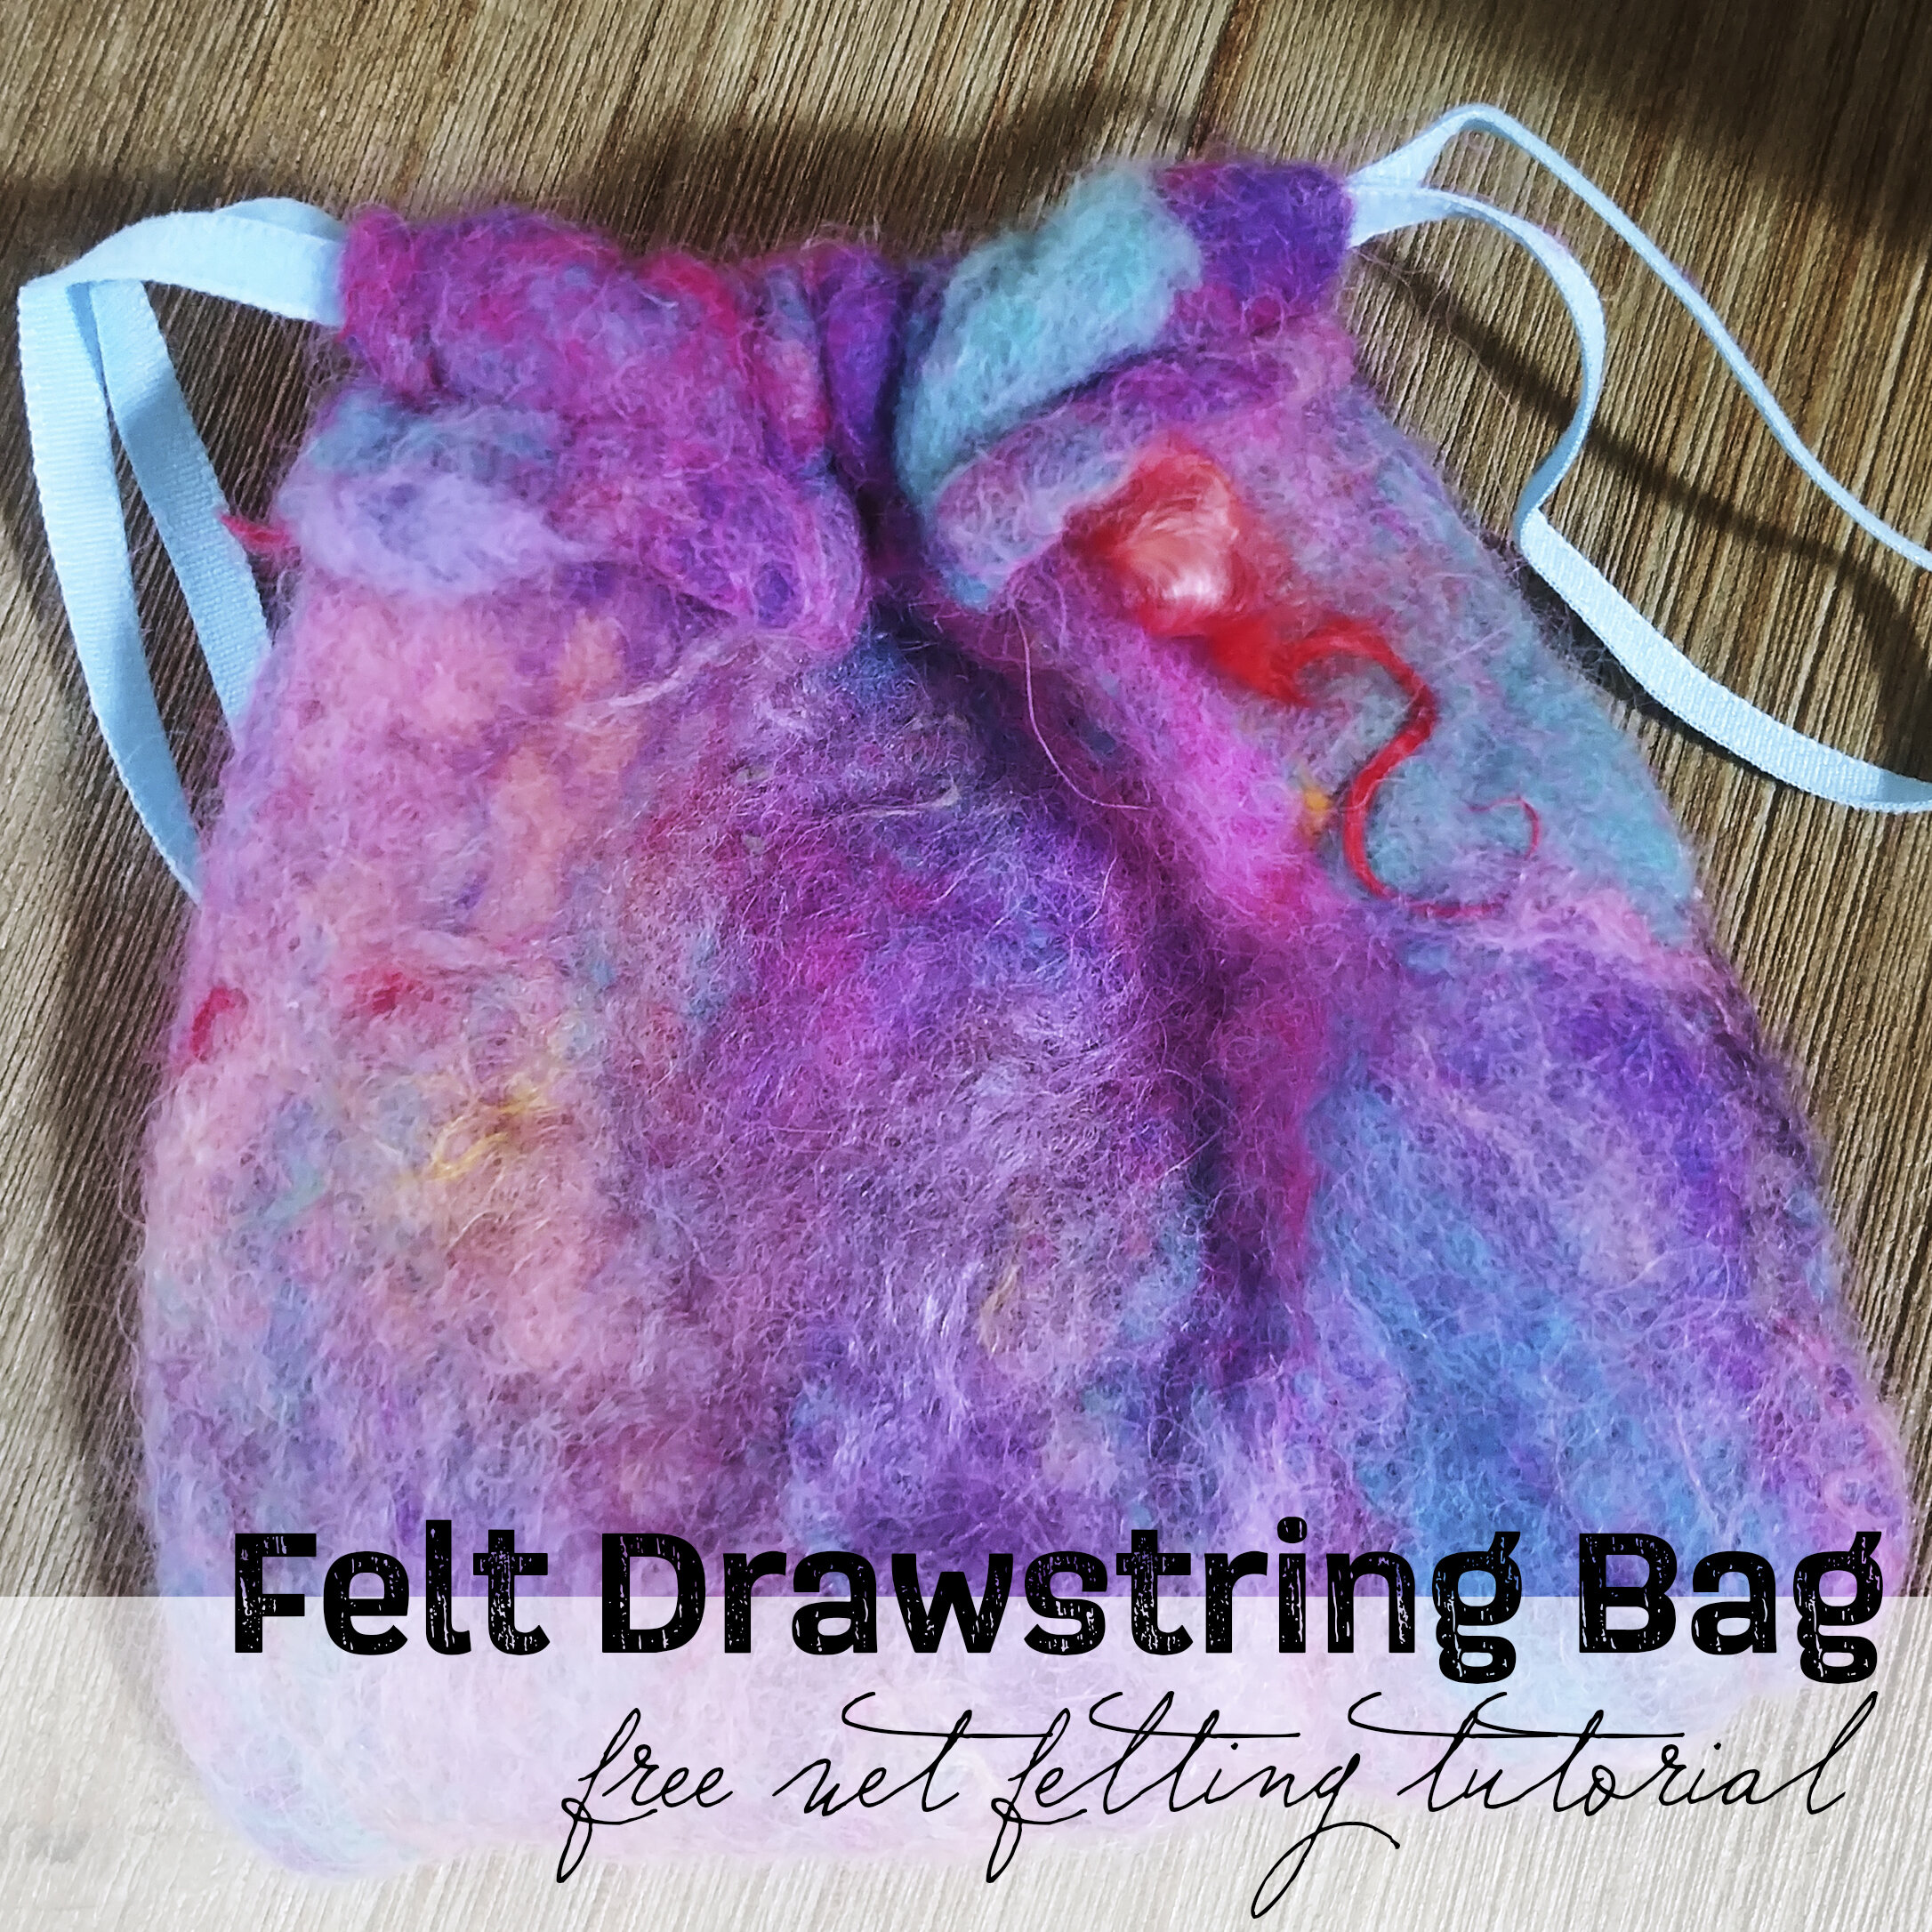
DIY Wet Felted Drawstring Bag
FTC Disclosure: Please note that some of the links in this post are affiliate or referral links (full disclosure here), and if you make a purchase or sign up for a service within a certain timeframe after clicking on one of those links, I may earn a small commission paid by the retailer at no extra cost to you. I wouldn't recommend anything that I don’t or wouldn't use myself. Thank you for your support!
This post was last edited/updated in March 2021.
Update 2021: I don’t know why, as someone who is absolutely not a wet felting expert, and though wishes she could be able to make some of the amazing wet felted stuff out there, is just not that into the process of wet felting, I made so many tutorials that involve wet felting! I really need to get back in my fiber lane and focus on the things I’m actually good at - i.e. needle felting - and leave the wet felting to the experts. Sigh. I’m leaving it up though, because it did turn out okay, and although it’s ridiculously thick and a bit shorter than I wanted it to be, it’s pretty. I still use it to hold that deck. You can learn from my mistakes, and if you are a wet felting expert, please feel free to share in the comments where I went wrong. Those of you who are new to all this fiber stuff, as you can see, I fail at some things too (some things more than others). At the time when I was blogging with far greater frequency (which I will get back into this year, but with a better plan in mind, not quite so spontaneous), I just wanted to write about anything fiber related, even if it meant sharing my attempts and still hilariously calling it a tutorial. Well, I mean, it does show the basics of wet felting a drawstring bag. So, a few things I would’ve done differently knowing what I did wrong: I would’ve probably opted to use a finer fiber, like a blend of merino and silk, and possibly nuno felted it onto a silk material - this would have given it more drape than the coarser, thicker wool that I used for this project. If I were slightly less impulsive and better at planning things out, I should have made a sample (and calculated shrinkage rate so I could make a resist that also took the sleeve for the drawstring into account). I also would’ve made it a bit bigger in general. Otherwise, the colors and texture of the batt turned out perfect.
Recently I acquired this gorgeous oracle deck made by Cathy Nichols. If you don't know what those are, they're similar to tarot in that it's a deck of cards with specific meanings which can be "read" for a number of reasons. While some people use them for divinatory purposes, many others use them to connect with their subconscious/unconscious as from a psychological standpoint, or for self-awareness/soul searching, and they can be used for creative inspiration. In fact, for every possible way to use the tarot or oracle, someone has written a book about it. And how could they not be inspiring?
I like using this particular deck for creative inspiration, because her cards are like tiny art journal pages. If I want to do something creative, but I don’t know what to make, I’ll shuffle and pull a card. Then I’ll spend some time looking at the card - maybe there’s a certain element in the card that catches my eye, or the word on the card conjures up a memory. If I’m stuck, I’ll read the little booklet of meanings to see what else comes up (or just pull another card if I’m not feeling it).
The art that goes into these decks is what draws people into collecting them. It's like having a little deck of art in your pocket, or your purse, or on your desk, art that tells you stories or gives you ideas or maybe things to think about. Oracles tend to be seen as less threatening to the average user, and with decks that are based on animals (like for kids) or affirmations, it’s more often than not a way to get a sort of “message of the day.”
Maybe it’s something to focus on for that day, or the words and imagery trigger a certain memory or event in your subconscious and bring it to the front of your mind. I’ve even used cards to help me with my therapy homework, because some of those questions can be tough. For example, a recent set of questions I had to think about and answer included “5 things I need to let go of.” I spent nearly a week trying to think of the answers to those, until I finally pulled out a deck, shuffled, laid out the cards, and those helped me focus my thoughts on what the cards could possibly mean in that context, and whether or not that was relevant to my personal life.
Since my deck came with a little tuck box (many decks do, though some come in fancier boxes these days), I wanted to make a little felt bag for my new inspirational art deck. The colors on the backs of the cards are captivating, and that's what I sought to recreate with this bag.
Luckily the card I picked to use as my color swatch was the spread suggestion card, because my 2 year old felt equally inspired and took off with it while I was carding. Hence the crease. I'm not happy lol.
So I got straight to work, using the back of the card as the inspiration for my art batt. Various purples and pinks and peaches and blues and the tiniest hint of reds and golds with curly locks for texture. Here's how it looks with the batt of the carder.
To make a seamless bag, you are going to need a resist. For this, I like using soft, thin foam. Make sure you account for thickness plus shrinkage (something that's really thick is going to need to be shaped more like a vessel, so this might not work for that purpose). Shrinkage can be anywhere from 30-40%. You can either do a test swatch and measure it, or do what I do and err on the side of caution. It doesn't have to fit it snuggly.
Side note: definitely make it bigger than you expect. I thought I had left more than enough space at the top to fit the cards lengthwise, and while they do fit, they kinda stick out the edge. Luckily I can put them in sideways and they fit perfectly. It still wasn't tall enough after sewing the loop for the drawstring. I could've made it at least a few inches taller than that.

Head on over to your wet felting station (for me it's the kitchen table covered with a towel and a bumpy shelf liner), get your hot water and soap and lay your wool down. If you aren't working with a batt like I am, lay it down slightly twice as wide as the resist, and slightly taller. We'll get into that in a minute. Personally I love Living Felt's olive oil soap. It leaves my hands feeling soft, and it really lasts a long time. And, speaking of Living Felt, if you've never wet felted before, I recommend checking out their youtube channel. It's the same thing I used when I was learning.
The resist in the photo above is off to the side to show you that it's a bit more than twice the width, but when it comes time to wrapping it, move the resist to the middle. That way your "seam" is in the middle, and if you need to, you can add more wool in between. the wool on top we will fold down to make a nicer edge, and the bottom we're going to wrap and tuck in to create the bottom.
To make sure that I didn't have anything falling apart, this is the seam side up. I tucked that down first between the wool and the resist. Once you have it tucked in, fold the wool on the bottom back up over the top. You will have to hold it in place and adjust your tucks/folds/edges a bit as you wet it down. The top edges get folded down under against the resist side - make sure the top edge of the resist is sticking out. You don't want to felt your bag closed.
Felt almost as usual. There is no rolling involved in this - that's where the bumpy shelf liner comes into play. Wet, apply tons of soap, press press press press press press. Oh, and I like to start out using tulle to keep the wool from sticking to my hands in this initial process, then I peel it off and get to work. Flip it over a few times to make sure nothing is coming apart or you're getting any holes.
Once everything seems to be where you want it, the wool isn't wrinkled or peeling off, push down and start rubbing it against that shelf liner. A washboard works as well. You'll start to notice the top edge of the bag shrinking down as you felt. Keep flipping it over back and forth and pushing/rubbing it against the shelf liner. Check your progress with the pinch test (pinch up a bit of the wool, if it doesn't come off, you're good).
Remove the bag from the resist, get your hand in there and felt the bottom, edges and corner of the bag. Once those look good, flip it inside out. Now is a good time to check for any thin spots (I had a few at the top). Add some more wool to where it looks weak and felt it on. Then get your hand in and start felting the inside of the bag on the liner to get it all smoothed out.
When you're done, go to the sink and give it a good rinse, palming it between your hands as you go. Now there are two schools of thought here. Some people will stuff it with towels, shape it and let it air dry. I like the amazing job my dryer seems to do at felting any sweaters that accidentally make it in there, so I stuffed mine with a towel and threw it in there. For things that you need to retain their shape more, like a hat or vessel, you probably don't want to do that? I mostly felt flat pieces so it gets the job done. I didn't do it too long with this, just enough to get it mostly damp in case I needed to shape or block it. I stuffed it with a towel and left it to dry before proceeding to the next step.

Once yours is dry, or mostly dry, pick a cute ribbon to use as your drawstring. You will want to get two pieces that are a little more than double the width.
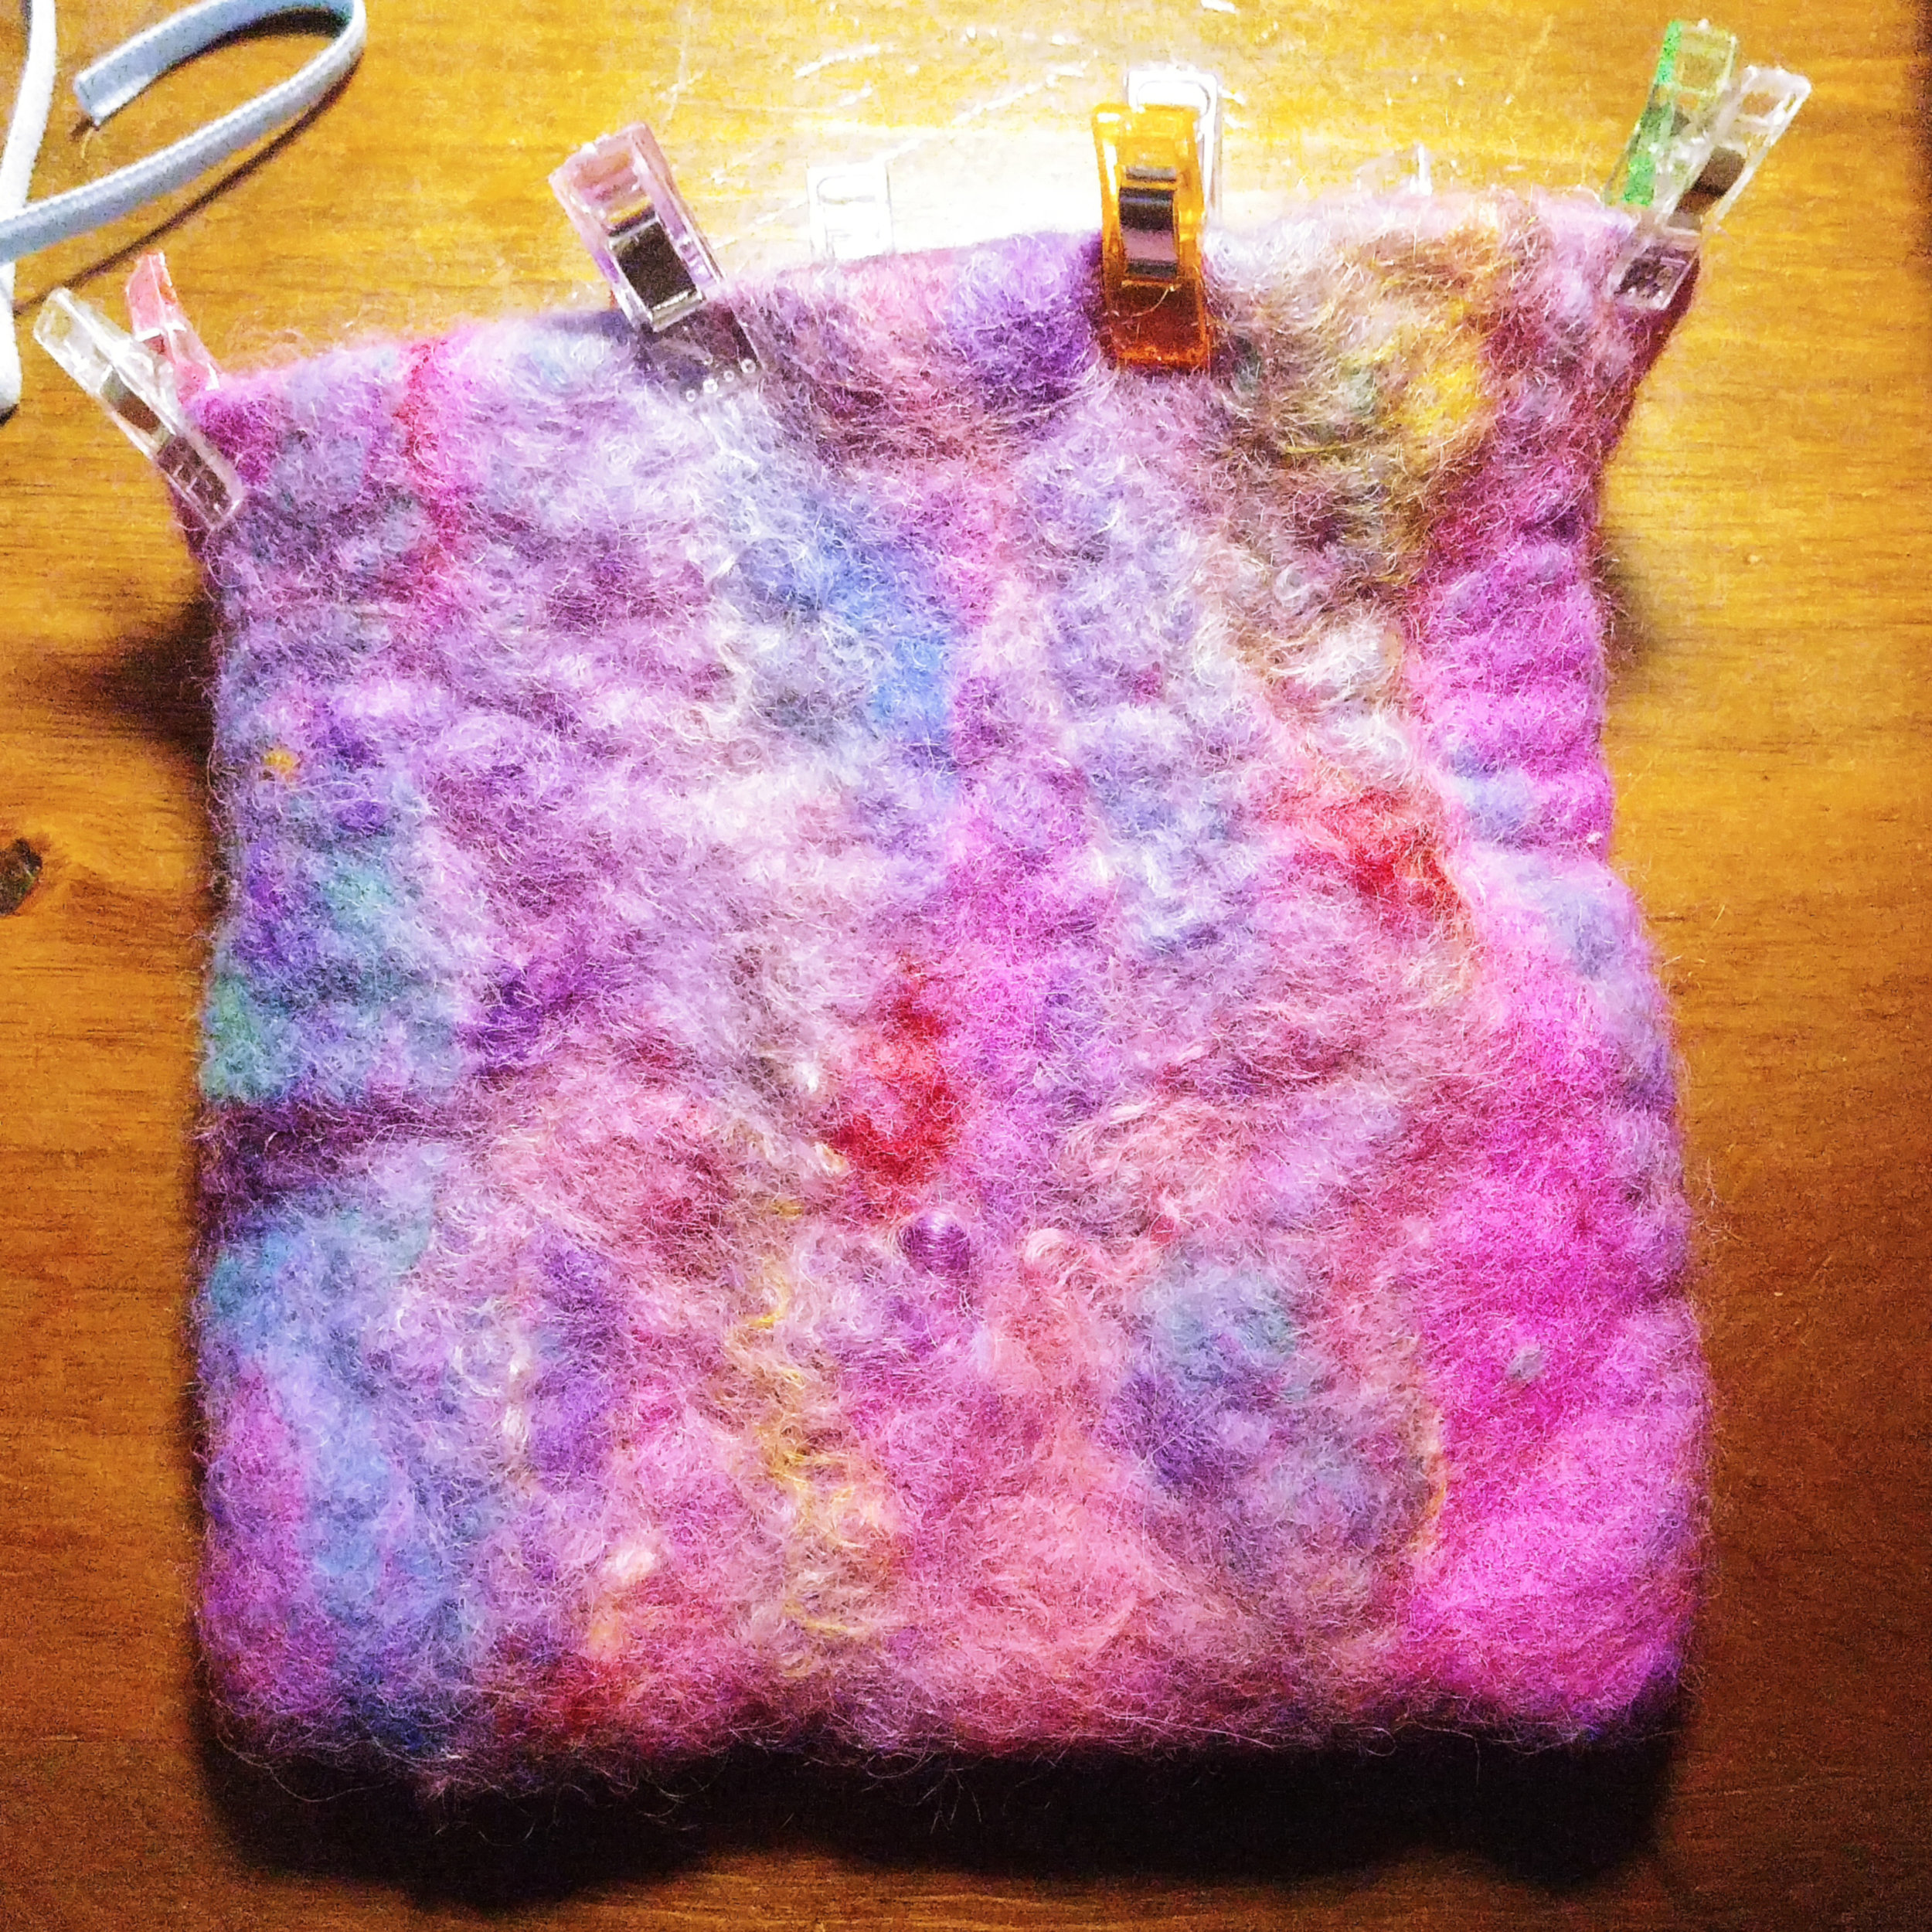
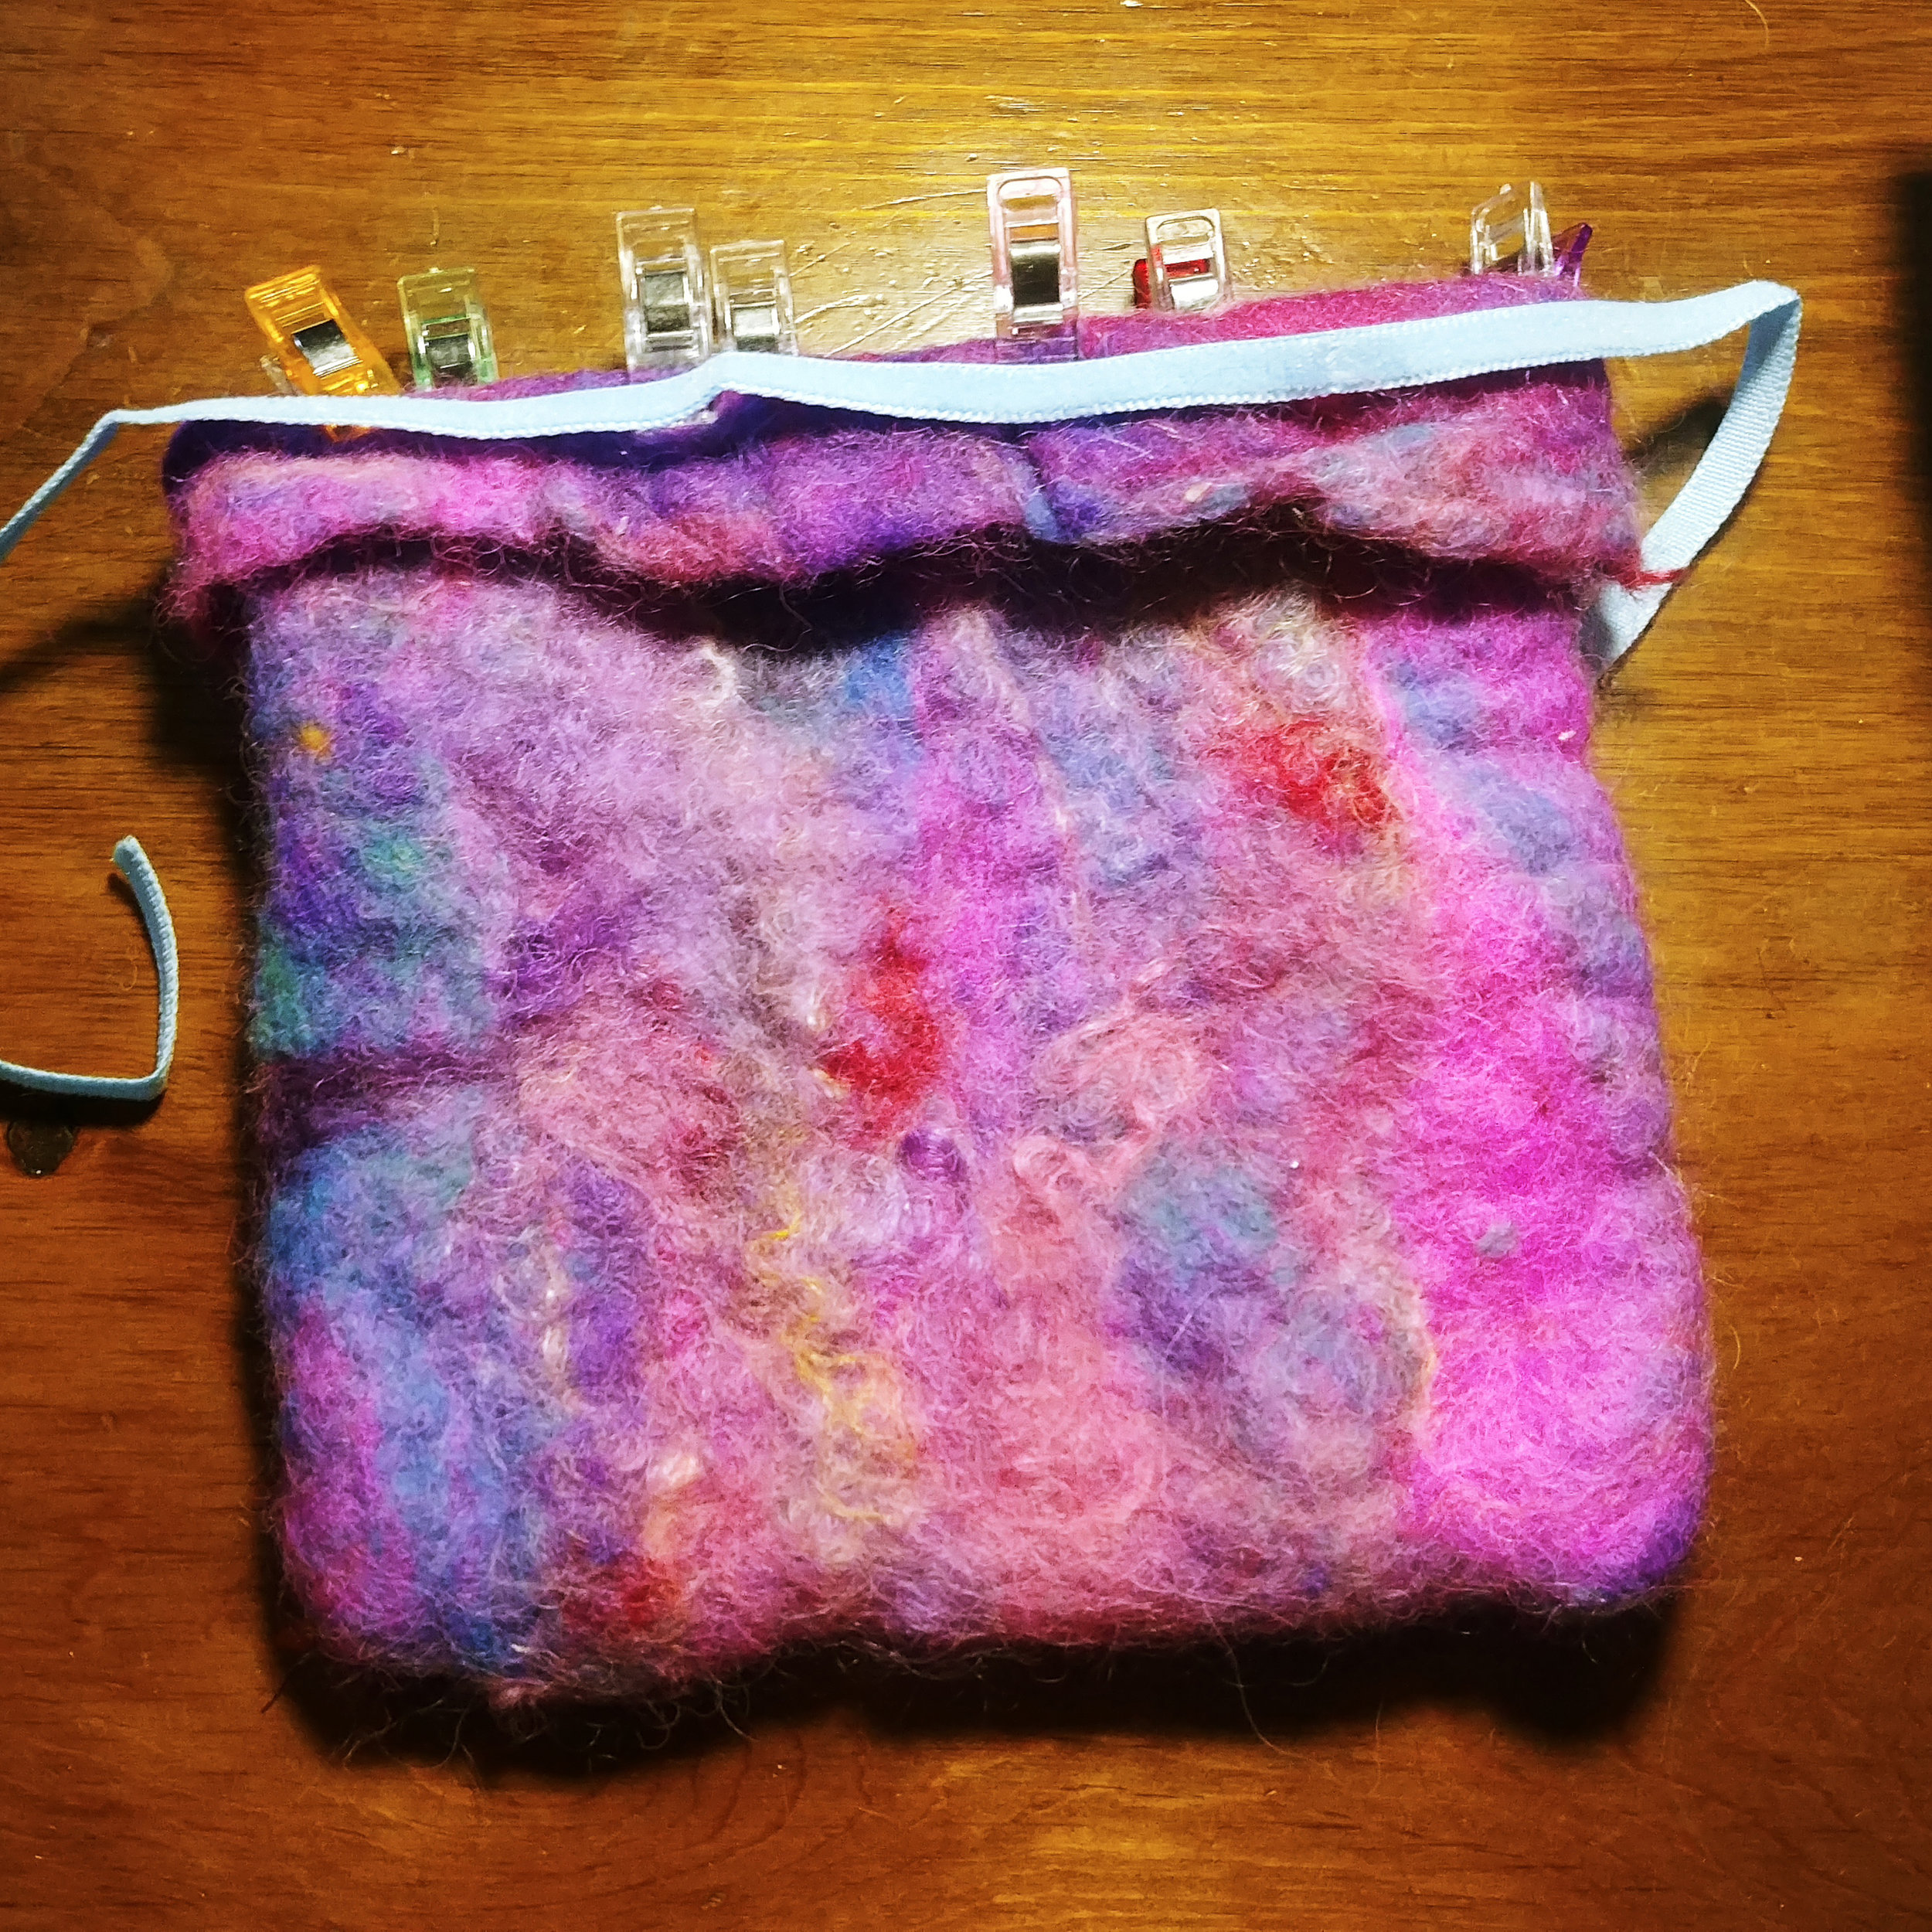
Here is where you decide if you want the edge of the felt on the inside or the outside. Since felt doesn't fray and it's technically a finished edge, either one is fine. Personally I love the ruffle created by the top so I went with it on the outside. Make sure you fold it over enough so there is room for your ribbon.

Snip a hole wide enough for your ribbon on the outside part of your "pocket," take your ribbon loop and slip it over the bag, and pull part of the ribbon out the hole. Do this with both, each going in its own hole. I wanted to hide the knots on the inside, so I made sure that the knot was on the opposite end of the loop that I pulled out.
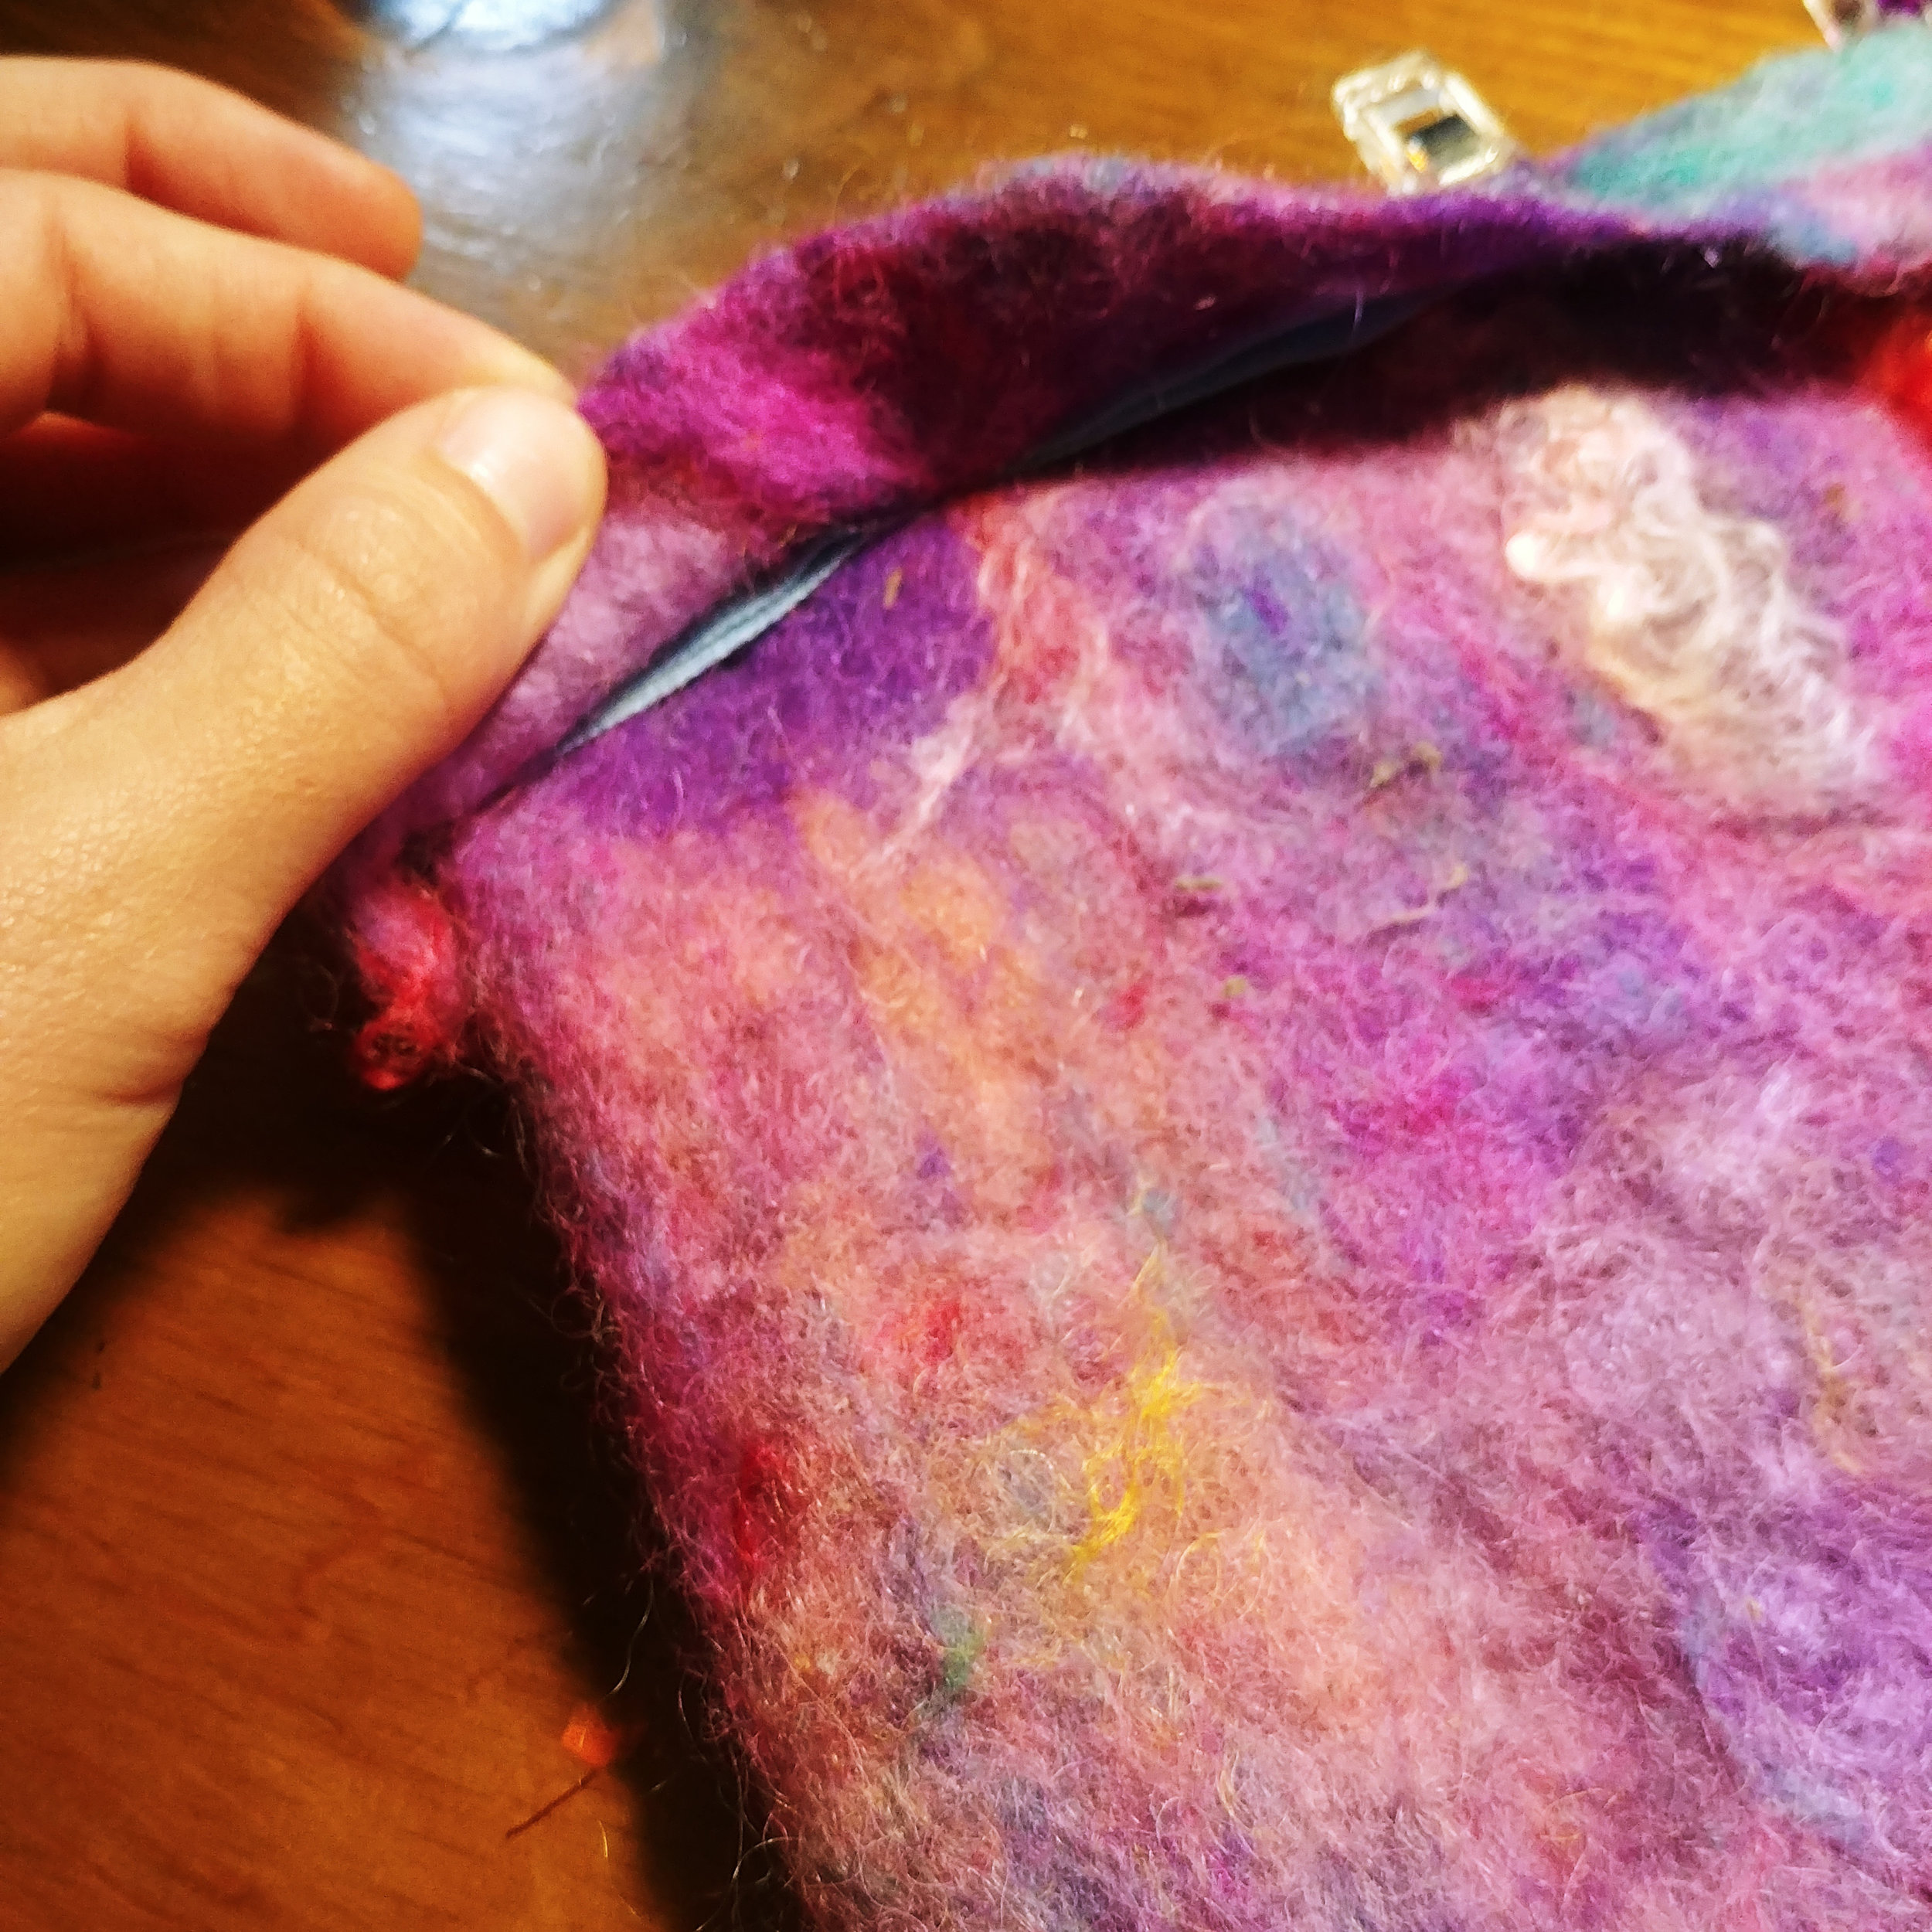
Clip or pin the fold down, making sure that your ribbon is as far up as it will go. You don't want to stitch/sew over the ribbon. Pick your thread and sew the little drawstring pocket up. I went with a yellow thread, but I'll admit, the stitches do get a bit buried in the felt. So it isn't going to be very obvious.
And it's done! To close your bag, pull both loops. The tied ribbon will pull the bag closed. The other nice thing about this way of doing the drawstring is that you don't have to worry about losing the loops inside the bag, or if you do, you don't have to dig to fish it out, or re-string it. And you also have the option of hanging your bag if you wish!